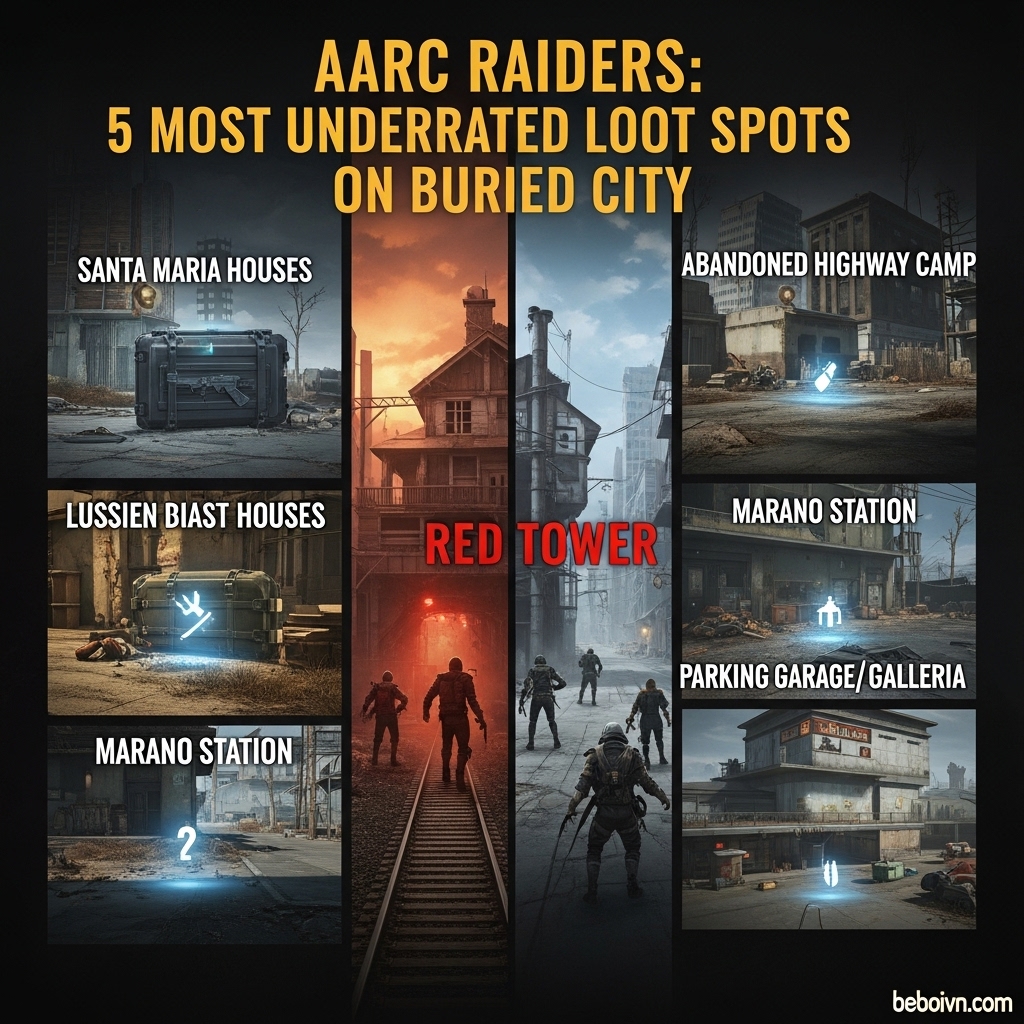
In the sprawling urban wasteland of Buried City, most ARC Raiders players flock to the obvious high-value zones like Space Travel Tower and Hospital, leaving countless hidden gems untouched by the masses. While these popular areas certainly deliver impressive loot, they’re also hotbeds for PvP combat and constant competition. What if I told you there are five underrated loot spots on Buried City that consistently deliver valuable rewards while flying under most players’ radar? These hidden treasure troves offer the perfect balance of risk versus reward, allowing savvy raiders to fill their inventories with high-tier items without constantly looking over their shoulders.
Santa Maria Houses: The Residential Goldmine
Why Most Players Overlook This Area?
The Santa Maria Houses sit right in the heart of Buried City, which ironically contributes to their underrated status. Most players sprint through this central area on their way to more famous landmarks, never realizing they’re passing over one of the most consistent residential loot zones in the entire map. The cluster of houses doesn’t look particularly impressive from the outside, but inside these seemingly ordinary buildings lies a treasure trove of valuable items.
The Hidden Wealth Within
What makes the Santa Maria Houses special is their remarkable consistency for spawning high-value residential loot. The western house in this cluster frequently contains a weapon case along its edge—a rarity for residential areas that typically focus on trinkets and household items. This weapon case has a surprisingly high spawn rate for uncommon and even epic weapons, making it worth checking every single run.
The middle house takes things further with a Security Locker accompanied by two utility cases. These utility cases have an excellent chance of spawning uncommon or epic grenades, which can be worth significant coins when sold or used effectively in combat. What’s particularly valuable about this spot is how these items spawn independently of each other, meaning you could walk away with multiple high-value items from just one building cluster.
Strategic Positioning for Maximum Efficiency
The central location of Santa Maria Houses makes it an ideal strategic stop during any Buried City run. The area connects seamlessly to several other underrated loot spots, including the Red Tower and Abandoned Highway Camp, allowing you to create an efficient loot route that covers multiple high-value areas without excessive backtracking. This connectivity means you can hit Santa Maria Houses early in your run for quick value, then continue to other spots as you work your way toward extraction.
Abandoned Highway Camp: The Hidden Paradise
The House That Keeps on Giving
Tucked away near the highway overpass, the Abandoned Highway Camp represents everything that makes underrated loot spots special. While most players focus on the obvious camp structures, the real treasure lies in the unassuming house adjacent to the Old Town Hatch. This building doesn’t require any keys or complex puzzle-solving—it’s a straightforward loot paradise that rewards thorough exploration.
Unprecedented Loot Density
What sets this location apart is the extraordinary density of valuable items packed into a relatively small space. Inside this single house, you can find multiple weapon cases alongside numerous utility and medical cases. The weapon cases alone make this spot worth visiting, but when combined with the utility and medical supplies, you’re looking at one of the most efficient loot-to-time ratios on the entire map.
The house’s layout contributes to its underrated status. It’s only accessible from the northern side, while the southern approach requires creative window-jumping to reach. This subtle design choice means many players either miss the entrance entirely or give up trying to access what appears to be an unreachable building.
Perfect for End-of-Run Looting
The presence of the Old Town Hatch next to this house makes it the perfect final stop before extraction. You can hit this spot late in your run when your inventory still has space, grab the valuable items, and immediately extract without risking a long trek across dangerous territory. This strategic positioning, combined with the high-quality loot available, makes the Abandoned Highway Camp house a must-visit location for experienced raiders who understand the value of efficient route planning.
Red Tower: The Enemy-Guarded Secret
Why the Presence of Enemies Actually Helps?
The Red Tower stands as a perfect example of why many players miss out on great loot spots. This eastern-side building is constantly surrounded by enemies, including the formidable ARC Bombardier, which naturally deters less confident players. However, this constant enemy presence is actually a clue to the tower’s value—why would the game place powerful enemies guarding an unimportant location?
Second-Floor Treasure Trove
The real magic happens on the Red Tower’s second floor, where players can discover up to two weapon cases alongside multiple regular cases and a security locker. This concentration of high-value items in a single location is rare outside of the most dangerous high-value zones, yet the Red Tower offers it without the same level of player competition.
What makes this spot particularly special is how the enemy presence actually works in your favor. While other players avoid the area due to the ARC threats, knowledgeable raiders can clear the enemies relatively quickly and enjoy uninterrupted looting time. The enemies are predictable and can be dealt with systematically, unlike human players who might ambush you at any moment.
The Residential Bonus
Beyond the weapon cases and security locker, the Red Tower’s ground floor is filled with furniture that contains surprisingly valuable residential loot. Many players ignore furniture, focusing only on obvious containers, but experienced raiders know that drawers, cabinets, and other furniture pieces in this area have an unusually high spawn rate for valuable trinkets and Scrappy quest items.
Marano Station: The Edge-of-Map Surprise
Why Location Doesn’t Determine Value?
Marano Station sits on the western edge of the Buried City map, a position that typically indicates lower-value loot in most games. This geographic disadvantage has led many players to write off the entire area, assuming it’s not worth the travel time. However, this assumption couldn’t be more wrong—Marano Station is one of the most consistently rewarding underrated spots on the entire map.
Triple Weapon Case Potential
What makes Marano Station special is its remarkable capacity for weapon case spawns. Inside the station itself, players can find up to two weapon cases with reliable consistency. But the real surprise awaits outside—right next to the Train Station Hatch sits another weapon case that many players miss entirely.
This means on a good run, you can acquire three or more weapons from a single location, providing either excellent gear for personal use or valuable blueprints to sell or upgrade. The weapon cases here have a higher-than-average spawn rate for rare and epic variants, making each visit potentially game-changing.
The Strategic Extract Advantage
The presence of the Train Station Hatch next to Marano Station adds another layer of strategic value. You can loot the station thoroughly, grab the external weapon case, and immediately extract without risking your newly acquired treasures. This makes Marano Station an excellent choice for players who prefer high-reward, low-risk runs or those who need to make quick, profitable raids between longer gaming sessions.
Parking Garage and Galleria: The High-Value Buffer Zone
The Psychology of Proximity
The Parking Garage and Galleria buildings sit between two of Buried City’s most notorious high-value loot areas: the Hospital and Space Travel. This positioning has created an interesting psychological effect—most players either rush past these buildings on their way to the bigger targets or avoid the area entirely due to the high concentration of raiders drawn to the nearby hotspots.
Multi-Level Loot Potential
What players miss by avoiding this area is a multi-level loot paradise. Both buildings feature multiple floors with countless containers, drawers, and hiding spots for valuable items. Each building has a reliable chance to spawn at least one weapon case, with additional opportunities for utility cases, medical supplies, and valuable trinkets scattered throughout the various levels.
The Parking Garage, in particular, has a basement area that many players never discover. This lower level requires some creative navigation to access but rewards explorers with a higher density of military-grade loot and another weapon case spawn point.
Risk Management and Timing
While this area does carry more risk than the other spots on this list due to its proximity to high-traffic zones, this risk can be effectively managed with proper timing. During the early stages of a raid when most players are rushing toward Space Travel or Hospital, the Parking Garage and Galleria are often completely empty. Similarly, in the final minutes of a raid when players are extracting, these buildings see significantly less traffic.
The key is to hit these areas during off-peak times within the raid cycle. This approach allows you to enjoy the benefits of high-value loot without the constant threat of PvP encounters that plague the more famous nearby locations.
Advanced Tips for Maximizing These Underrated Spots
Route Optimization Strategies
To get the most value from these underrated loot spots, consider creating optimized routes that connect multiple locations efficiently. For example, you could start at Santa Maria Houses, move to Red Tower, then hit the Abandoned Highway Camp before extracting at Old Town Hatch. This route covers four of the five spots with minimal backtracking and includes an extraction point.
Timing Is Everything
Each of these locations has optimal times to visit during a raid. Santa Maria Houses and Red Tower are best hit early when you have full inventory space and most players are still spawning in. The Abandoned Highway Camp and Marano Station work perfectly as mid-to-late raid stops when you’re working toward extraction. The Parking Garage and Galleria are ideal for mid-raid visits when the initial rush to high-value areas has subsided.
Loadout Considerations
When planning to hit these underrated spots, adjust your loadout accordingly. Since these locations often require breaching doors or accessing hard-to-reach areas, bringing breach tools and mobility equipment (like ziplines or climbing gear) can significantly increase your efficiency. A small investment in the right equipment can pay dividends when accessing these hidden treasure troves.
Why These Spots Remain Underrated?
The Psychology of Loot Hunting
These locations remain underrated due to several psychological factors that affect how most players approach loot hunting in ARC Raiders. The game trains players to look for obvious markers of high-value areas—large buildings, special zone designations, or visible enemy concentrations. The spots on this list lack these obvious indicators, causing most players to overlook them.
The Information Gap
Another factor is the information gap in the community. Most guides and videos focus on the well-known high-value areas, creating a self-reinforcing cycle where everyone flocks to the same locations. This leaves these underrated spots relatively untouched and consistently profitable for those in the know.
The Comfort Zone Effect
Finally, many players stick to familiar routes and locations out of comfort and habit. Breaking out of these patterns to explore less-known areas requires confidence and knowledge that many players lack. This creates an opportunity for adventurous raiders willing to explore beyond the beaten path.
Conclusion: Your Competitive Advantage Awaits
The five underrated loot spots on Buried City—Santa Maria Houses, Abandoned Highway Camp, Red Tower, Marano Station, and the Parking Garage/Galleria complex—represent more than just alternative locations to visit; they’re your competitive advantage in ARC Raiders. While other players fight over scraps in the overcrowded high-value zones, you can systematically clean out these hidden treasure troves, building wealth and acquiring high-tier gear with minimal competition.
The key to success with these locations is knowledge and consistency. Now that you know where to find these underrated loot spots on Buried City, you can incorporate them into your regular raiding routine, creating efficient routes that maximize your loot-to-time ratio while minimizing risk. Remember, in ARC Raiders, the most successful players aren’t necessarily the best shots or the luckiest—they’re the ones who know where to look when everyone else is looking somewhere else.
Start incorporating these hidden gems into your Buried City runs, and you’ll quickly discover why the most successful raiders guard their secret spots so carefully. Your treasure hunting advantage begins now.