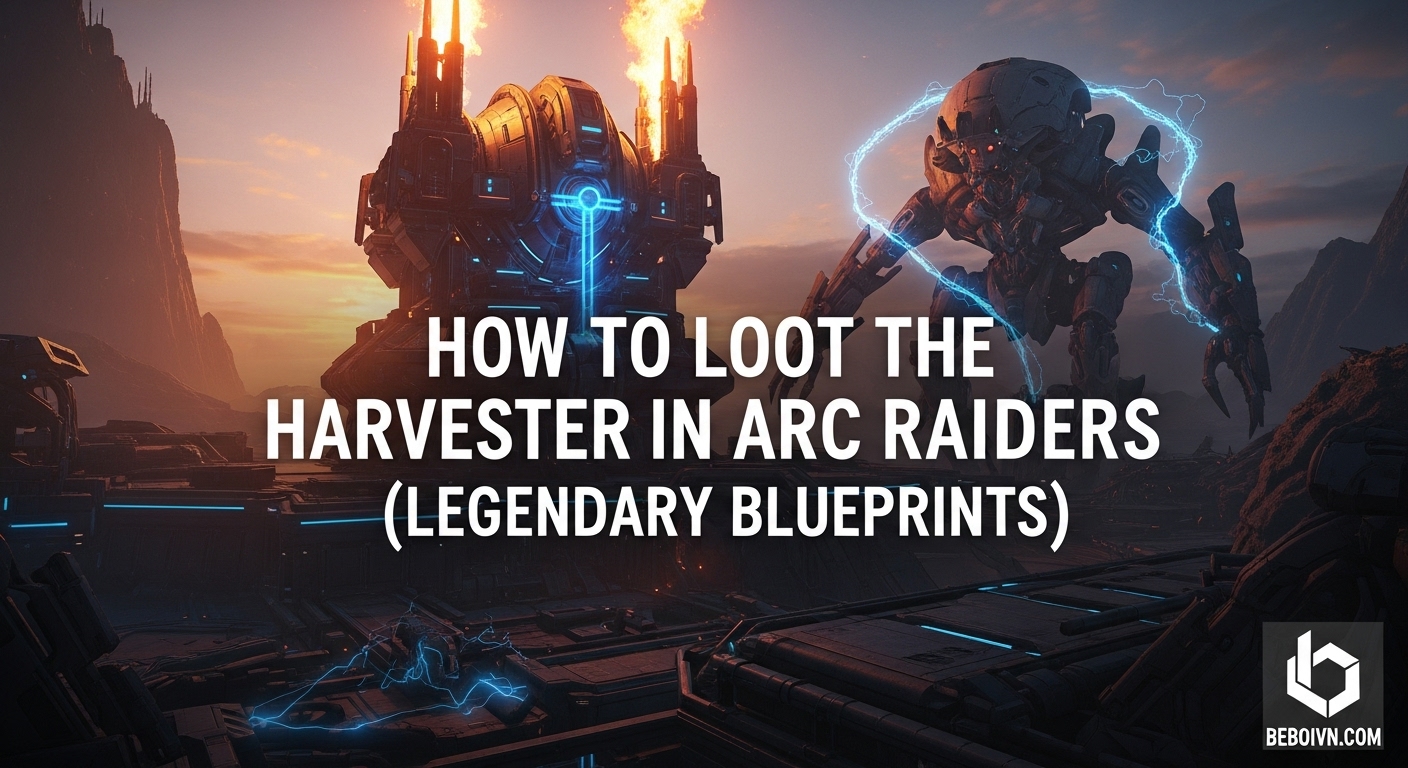
The Harvester event in ARC Raiders stands as one of the most lucrative yet challenging activities in the game, offering players the chance to obtain legendary weapon blueprints that can’t be found anywhere else. This high-risk, high-reward event requires precise timing, strategic planning, and often teamwork to successfully complete. Whether you’re a solo raider looking to test your skills or part of a coordinated squad aiming to maximize efficiency, this comprehensive guide will walk you through every aspect of the Harvester puzzle and help you secure those coveted legendary blueprints.
Understanding the Harvester Event
The Harvester is a dynamic event that appears randomly on the Dam Battlegrounds map, typically running for a couple of hours when active. Unlike many other events in ARC Raiders, the Harvester doesn’t require you to defeat the powerful Queen guarding it – though you’ll need to be stealthy and patient to avoid her wrath. The real challenge lies within the Harvester structure itself, where a complex puzzle awaits those brave enough to enter.
Location and Timing: You’ll find the Harvester southeast of the Power Generation Complex in Dam Battlegrounds. The event isn’t permanent, so check your map regularly for the “Harvester” event marker. When it appears, drop everything and head there immediately – these events are rare and the rewards are worth the detour.
The Rewards: Successfully completing the Harvester puzzle grants access to three loot containers containing legendary weapon blueprints, most notably the Jupiter rail gun and Equalizer energy weapon. These blueprints are exclusive to the Harvester event and represent some of the most powerful weapons in ARC Raiders. The Jupiter blueprint alone can sell for up to 45,000 coins on the market, making each successful run incredibly profitable.
Preparation: Setting Yourself Up for Success
Before attempting the Harvester puzzle, proper preparation can mean the difference between walking away with legendary blueprints or leaving empty-handed. Here’s what you need to know:
Essential Gear:
- Shield Management: Bring a shield but be prepared to remove it during EMP phases. The Harvester’s electrical pulses will destroy your shields but won’t damage your health bar.
- Weapons: Pack a mix of ranged and melee weapons. While guns work for destroying the yellow buttons, many experienced players find melee weapons more effective during the electric pulse phases.
- Medical Supplies: Stock up on healing items, especially if attempting this solo. The Queen and other ARC patrols in the area can quickly overwhelm unprepared raiders.
Strategic Setup:
- Zip Line Placement: Before approaching the Harvester, set up a zip line from a safe location to the structure. This allows for quick entry and, more importantly, rapid extraction when things go wrong.
- Safe Slot Strategy: If you secure a valuable blueprint, immediately place it in your safe slot. This ensures you keep it even if you’re downed before successfully extracting.
- Team Coordination: While possible solo, bringing a team of three makes the puzzle significantly easier. Each player can handle one canister during Phase 1, dramatically increasing your chances of success.
Phase 1: Canister Retrieval and Installation
The first phase of the Harvester puzzle involves locating and installing three power cells to activate the central column. This phase requires careful timing and positioning to avoid the Harvester’s deadly defense systems.
Finding the Canisters:
- Automatic Canister: You’ll automatically have one power cell canister when you enter the Harvester.
- Upper Level Canisters: The remaining two canisters are hidden in breachable containers on the upper floor of the Harvester. Use the elevators around the room to access the upper level and search all panels until you find them.
Understanding the Defense Systems: The central column periodically lights up yellow, indicating the room is about to fill with fire. This happens every 45 seconds, giving you a limited window to work. Additionally, the Harvester emits electrical pulses that destroy shields but don’t damage health.
Pro Strategy: Pre-Positioning Instead of trying to install canisters one by one, collect all three canisters first and pre-position them next to their respective doors on the central column. This minimizes movement during the critical installation phase and maximizes your working time after the fire clears.
Installation Process:
- Wait for a fire cycle to complete and the room to clear
- Quickly enter and open the access doors
- Insert all three canisters simultaneously (or as quickly as possible)
- Exit immediately if the column starts lighting up yellow again
Team vs. Solo Approach:
- Team Strategy (Recommended): With three players, each can handle one canister. Position yourselves at your assigned doors and install simultaneously when the fire clears.
- Solo Strategy: This requires perfect timing. Pre-position all canisters, then quickly install them one by one during a single fire-free window. It’s challenging but possible with practice.
Phase 2: Destroying the Yellow Nodes
Once all three canisters are installed, the puzzle immediately transitions to Phase 2, where yellow buttons emerge from the walls around the room. This phase tests your speed and accuracy under pressure.
Understanding the Yellow Buttons:
- Yellow nodes will pop out from various locations on the walls
- Your goal is to destroy all of them before the next fire cycle
- If the buttons retract back into the wall, it’s a sign that fire is imminent
- If you fail to destroy all buttons before the fire, you’ll need to reinstall the canisters to restart this phase
Combat Considerations:
- Electric Pulses: During this phase, the Harvester intensifies its electrical attacks, which can disrupt weapon reloads. Many players find melee weapons more reliable during these pulses.
- External Threats: Rocketeers and other ARC units outside will continue to attack, adding pressure to complete the puzzle quickly.
- Fire Cycles: The 45-second fire cycles continue, forcing you to periodically exit the room.
Destruction Strategies:
- Team Approach: Divide the room into sections, with each player responsible for destroying buttons in their area. This systematic approach ensures no buttons are missed.
- Solo Approach: Focus on one section at a time, destroying buttons as quickly as possible. Don’t hesitate to exit if the column starts lighting up yellow – you can restart the phase by reinstalling the canisters.
Advanced Tip: Some experienced players recommend using weapons with high fire rates or area-of-effect effects to destroy multiple buttons simultaneously. However, be mindful of reload times during electrical pulses.
Collecting Your Legendary Rewards
With all yellow buttons destroyed, the central column will release three loot containers containing your hard-earned rewards. This is the moment you’ve been working toward, but don’t let your guard down yet.
Loot Expectations:
- Guaranteed Rewards: Each successful Harvester completion guarantees at least one legendary blueprint
- Possible Blueprints: Jupiter rail gun, Equalizer energy weapon, and other high-tier weapon recipes
- Additional Items: The containers may also contain rare materials, mods, and other valuable items
Securing Your Loot:
- Immediate Safe Slot: As soon as you obtain a legendary blueprint, move it to your safe slot. This protects it even if you’re downed before extraction.
- Quick Extraction: The Queen and other ARC units will still be active outside. Wait for the Queen to turn her back, then make a run for the nearest extraction point or Raider’s Hatch.
- Team Coordination: If playing with a team, designate one player to watch for threats while others collect the loot.
Value Assessment:
- Jupiter Blueprint: Requires 3x Magnetic Accelerator and 3x Complex Gun Parts to craft, sells for approximately 45,000 coins
- Equalizer Blueprint: Similar high-value energy weapon blueprint with exclusive crafting requirements
- Market Value: These blueprints typically sell for triple their crafting cost, making Harvester runs incredibly profitable
Common Mistakes to Avoid
Even experienced players can fall victim to common pitfalls when attempting the Harvester puzzle. Learn from these mistakes to improve your success rate:
Timing Errors:
- Ignoring Fire Cycles: Many players try to push their luck and work through the fire warnings, resulting in unnecessary damage or death.
- Slow Canister Installation: Taking too long to install canisters means you might not complete the process before the next fire cycle.
Preparation Failures:
- Forgetting Shield Management: Failing to remove your shield during EMP phases results in constant shield depletion and wasted resources.
- Poor Loadout Choices: Bringing only long-range weapons makes destroying yellow buttons inefficient, especially during electrical pulses.
Strategic Blunders:
- Ignoring the Queen: While you don’t need to defeat her, underestimating the Queen’s patrol patterns can lead to surprise attacks.
- Hoarding Unlearned Blueprints: Carrying multiple unlearned blueprints risks losing everything. Learn or sell them immediately.
Advanced Strategies for Efficiency
Once you’ve mastered the basics, these advanced strategies can help you complete Harvester runs more efficiently and increase your overall success rate:
Event Calendar Tracking: Harvester events follow predictable cycles. Track these patterns and plan your play sessions around active events to maximize your chances of encountering the Harvester.
Material Preparation: Before attempting Harvester runs, ensure you have sufficient materials to craft the legendary blueprints you might obtain. The Jupiter blueprint, for example, requires rare materials that take time to farm.
Squad Specialization: When running with a regular team, develop specialized roles:
- Point Person: Handles entry timing and Queen observation
- Canister Specialist: Focuses on upper-level canister retrieval
- Button Destroyer: Equipped with optimal weapons for Phase 2
Risk Management:
- Extraction Planning: Always identify multiple extraction routes before entering the Harvester
- Emergency Protocols: Establish clear communication for when things go wrong
- Resource Management: Keep track of healing items and ammunition usage throughout the run
Solo vs. Team: Choosing Your Approach
While the Harvester puzzle can be completed solo, each approach has distinct advantages and challenges. Understanding these differences can help you choose the right strategy for your playstyle.
Team Advantages:
- Speed: Three players can complete the puzzle in a single fire cycle
- Safety: Team members can watch for threats while others focus on the puzzle
- Efficiency: Higher success rate means more blueprints per hour
- Learning Curve: Easier for new players to learn with experienced teammates
Solo Advantages:
- Stealth: Easier to avoid detection by the Queen and other ARC units
- Profit: No need to split rewards
- Flexibility: Complete the event on your own schedule
- Challenge: Greater sense of accomplishment and skill development
Hybrid Approach: Consider starting with team runs to learn the mechanics, then transitioning to solo attempts once you’re comfortable with the timing and patterns. This progression builds confidence while maximizing your blueprint acquisition rate.
The Long-Term Value of Harvester Blueprints
Beyond the immediate thrill of completing the puzzle, Harvester blueprints offer significant long-term value in ARC Raiders:
Crafting Advantages:
- Permanent Unlocks: Once learned, blueprints allow infinite crafting of the associated weapons
- Material Independence: No longer reliant on random drops for your preferred weapons
- Economic Opportunities: Craft and sell high-tier weapons for substantial profit
Progression Impact:
- Power Scaling: Legendary weapons provide significant advantages in later-game content
- Resource Optimization: Efficient crafting reduces overall resource consumption
- Squad Contribution: Bringing powerful crafted weapons benefits your entire team
Market Dynamics:
- Supply and Demand: Harvester-exclusive blueprints maintain high value due to limited supply
- Investment Potential: Blueprints often appreciate in value as more players seek them
- Trading Opportunities: Valuable for negotiating with other players for rare items
Conclusion: Mastering the Harvester Challenge
The Harvester puzzle in ARC Raiders represents one of the game’s most rewarding challenges, offering legendary blueprints that can significantly impact your progression and economic standing. By understanding the mechanics, preparing properly, and executing with precision, you can consistently complete this event and walk away with some of the most valuable items in the game.
Remember that success in the Harvester requires patience, practice, and adaptability. Don’t be discouraged by initial failures – each attempt teaches you more about the timing, patterns, and strategies needed for success. Whether you choose to tackle it solo or with a team, the rewards waiting inside those three loot containers make every risk worthwhile.
As you continue to refine your Harvester strategies, you’ll find that this event becomes not just a source of legendary blueprints, but a true test of your ARC Raiders skills. The combination of puzzle-solving, combat, and resource management makes the Harvester one of the most engaging and rewarding experiences in the game. So prepare your gear, coordinate with your team, and get ready to loot the Harvester for those coveted legendary blueprints.