
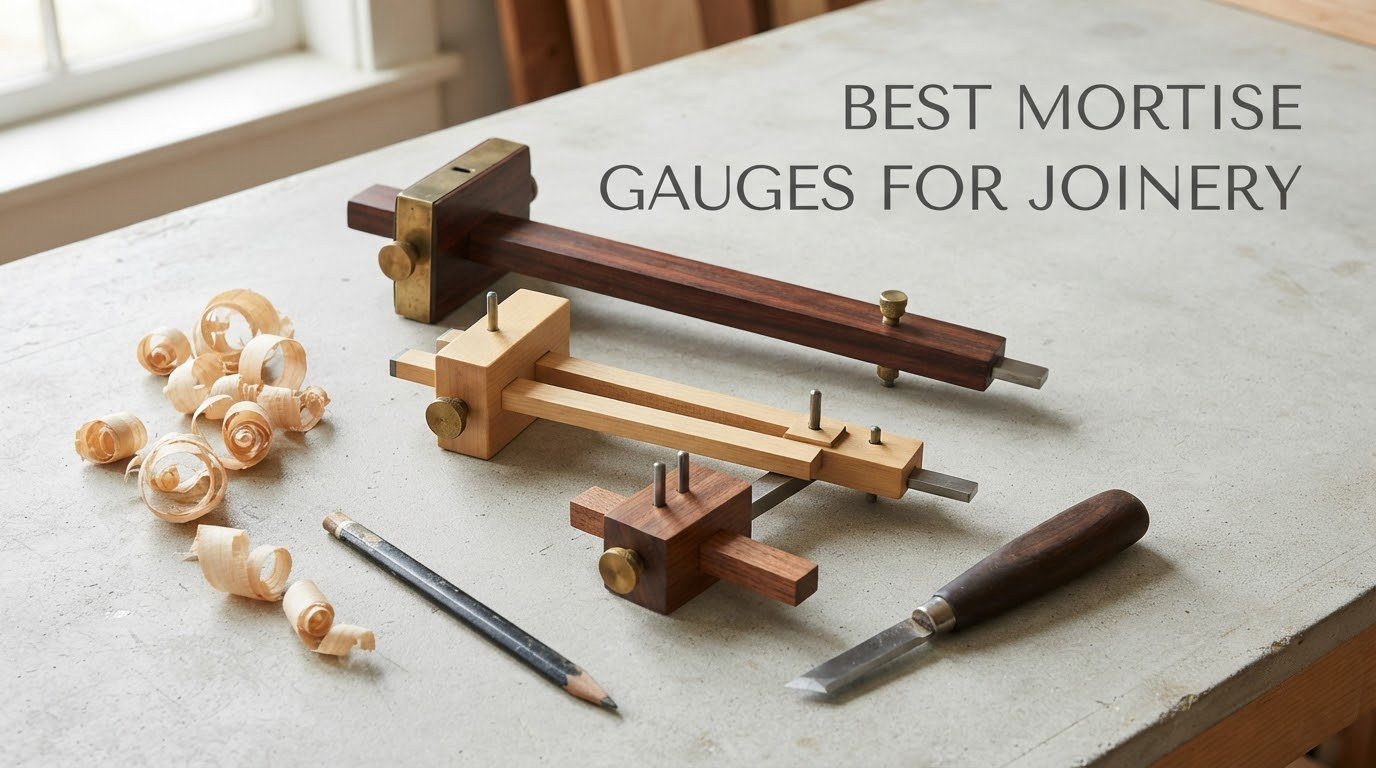
A mortise gauge is a woodworking layout tool with two adjustable pins or wheels that scribes two parallel lines at the same time, so you can mark both walls of a mortise, or both cheeks of a tenon, in a single pass. That single pass is the whole point. It is the only common layout tool that guarantees the two lines come out at an identical spacing, which is the difference between a tenon that drops into its mortise by hand and one you have to plane down twice because the cheeks came out out of parallel.
I have spent a lot of hours in joinery layout with these tools, and the failure mode is always the same. Without a gauge you mark one line, flip the tool or re-register it by eye, and mark the second one. The second line is never quite the same distance from the edge as the first. Multiply that error by the length of a tenon and you get a joint that is tight at one end and open at the other. Once you have used a proper two-pin gauge, going back to pencil and square feels reckless.
For this roundup I compared ten mortise gauges currently on the market, spanning stamped alloy bodies, brass instruments, rosewood and beech bench tools, and one digital readout model. I read every spec sheet, worked through the adjustment mechanisms, and cross-referenced hundreds of owner reviews, because almost none of these tools carry the kind of review volume you would expect. The honest conclusion is that no single tool wins, so I have written this as a guide to matching the right gauge to the joints you actually cut.
Here is how a mortise gauge works, in three parts:
Dual pins or wheels. One cutting point is fixed on the beam, and a second point slides along the beam to match. Both touch the workpiece at the same time, which is what produces two lines at an identical spacing.
The fence. A movable block registers against the reference edge of your workpiece and locks with a thumb screw or clamp. The fence position is the only variable you set before scribing.
A dual-function reverse face. Most traditional gauges put a single pin on the opposite side of the beam, turning the same tool into a one-pin marking gauge for half-lap and shoulder lines.
Top 3 Mortise Gauges for Joinery in October 2026
The three picks below cover the range most joiners need: a general-purpose workhorse, a traditional hardwood bench tool, and a compact multipurpose gauge for a small kit or a small budget. The full ten follow underneath, but these three are where I would start.
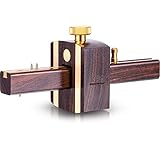
Frienda Ebony Brass Gauge
- › Ebony and brass body
- › Adjusts 0.21 to 3.9 inch
- › Dual pins
- › double-sided body

iGaging 3-in-1 Gauge
- › Brass body
- › 8 inch steel rod
- › Dual 1mm and 1/32 inch scale
- › Reversible wheel cutters
All 10 Mortise Gauges Compared in October 2026
Every gauge below appears in the same order as the individual reviews, with its construction, cutting element and adjustment style. Scan the table first if you want the short version, then read the review for the tool that matches your joinery.
| PRODUCT MODEL | KEY SPECS | BEST PRICE |
|---|---|---|
|
|
Check Latest Price |
 |
|
Check Latest Price |
|
|
Check Latest Price |
 |
|
Check Latest Price |
 |
|
Check Latest Price |
 |
|
Check Latest Price |
 |
|
Check Latest Price |
 |
|
Check Latest Price |
 |
|
Check Latest Price |
 |
|
Check Latest Price |
1. Frienda Ebony and Brass Mortise Gauge – Widest Adjustment Range
Mortise Gauge Woodworking Marking Gauge Ebony Mortise Square Gauge 6.4 Inches Sliding Mark Scraper Marker Measuring Tool with Brass Screw Type Adjustable Head Meter Carpentry Carpenter Accessories
Ebony and brass body
6.4 inch overall length
Adjusts 0.21 to 3.9 inch
11.84 oz
+ The Good
- Ebony and brass body resists rust
- Adjusts from 0.21 to 3.9 inch
- Three nails draw single or double lines
- Lightweight at under 12 oz
- Sharp needle points
- The Bad
- The rail fits loosely and can shift under pressure
- Accuracy below fractions of a millimetre
- Some owners tighten the rail themselves
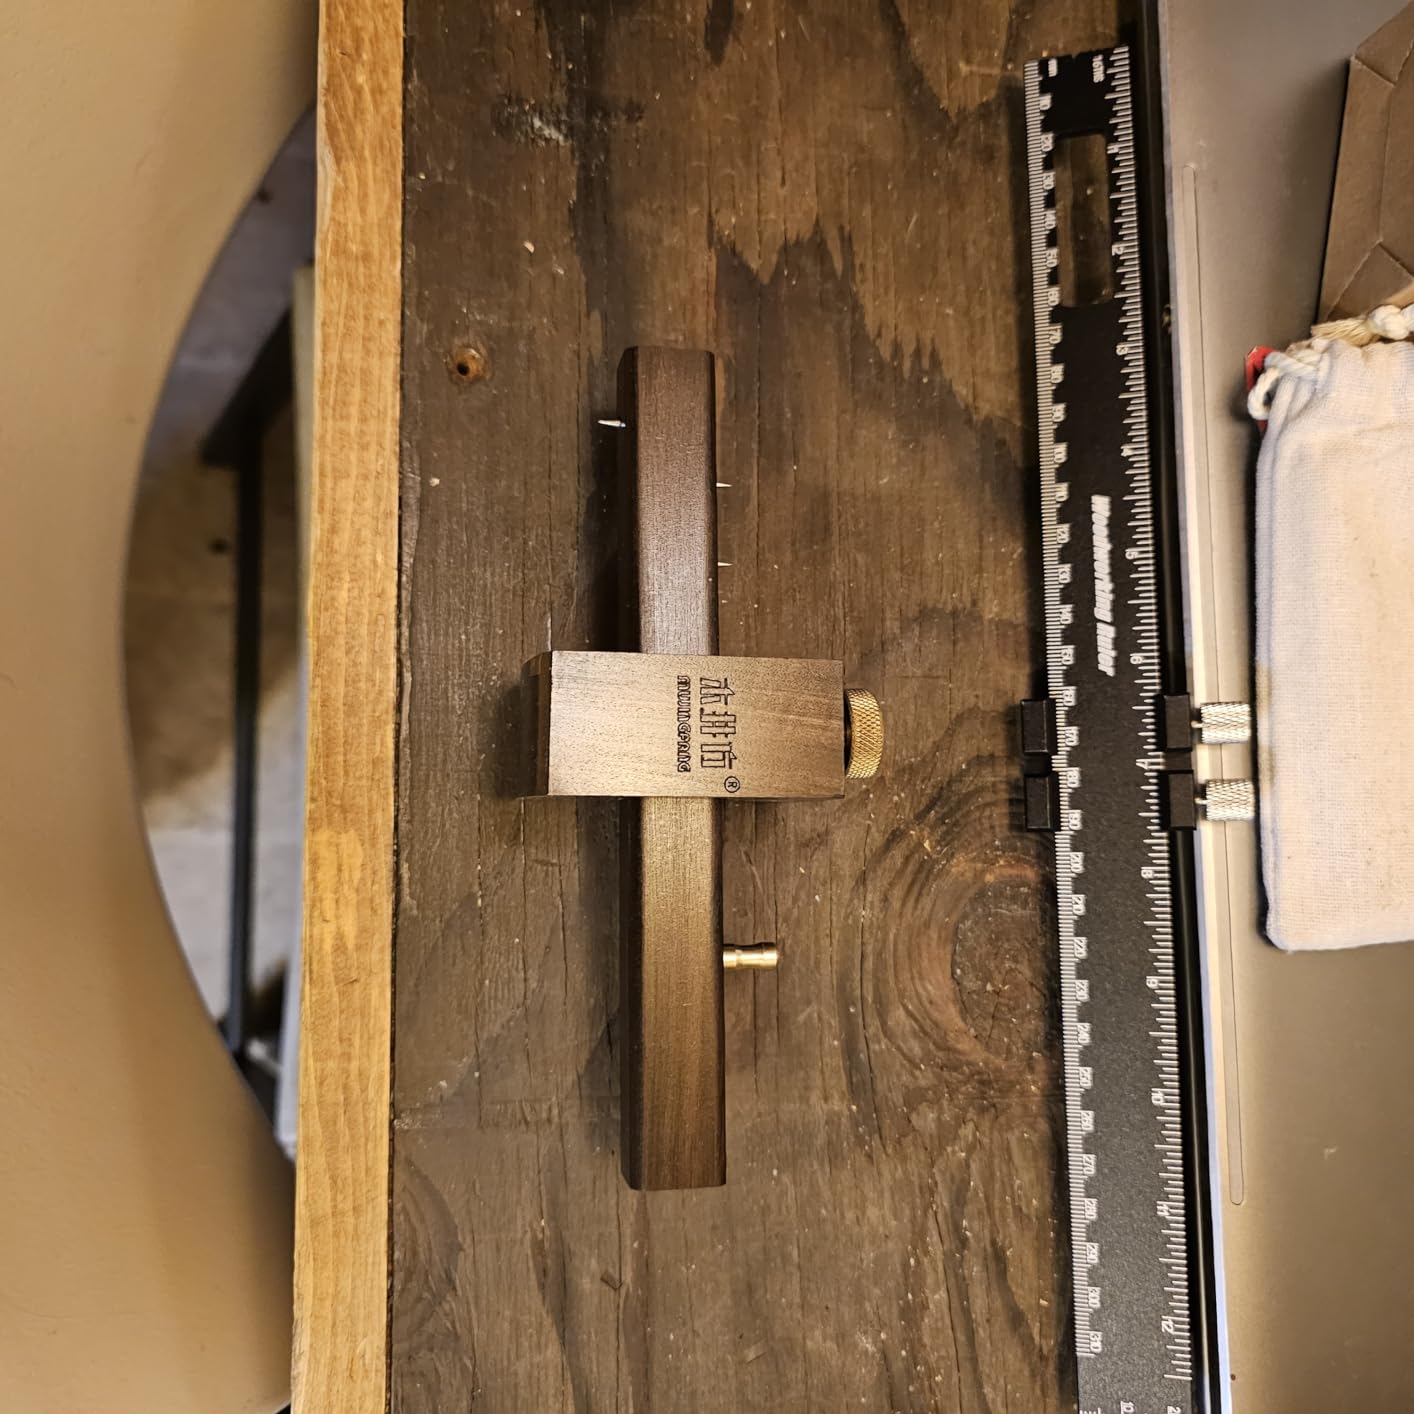
This is the gauge I keep reaching for, and the reason is the adjustment range rather than the materials. The needle spacing runs from 0.21 inch to 3.9 inch, which is 5.5 mm to 100 mm. Very few mortise gauges in this roundup cover anything like that span on one tool, and it means the same gauge handles a slender 1/4 inch tenon in light framing and a heavy housing joint in thick hardwood.
The body is ebony with brass fittings, and the double-sided block carries three nails so you can pull a single line or a pair of lines from the same face. The pointed tips and the fixing screw on the rail make the job quick, and at just under 12 ounces it disappears in the hand rather than fighting you. Finish is smooth enough to run against a finished surface without risk.
The honest weakness is the wear rail. Owners report that the rail does not fit snugly out of the box, so under the push and pull of scribing across a board the gauge can drift to a slight angle. That is fixable, and many reviewers fix it in the first ten minutes by tightening the rail, but you should know it before you rely on the tool for a matched pair of lines in a single setup. The second limitation is precision at the fine end, which simply is not there for work measured in fractions of a millimetre.
The ownership record here is the deepest in the roundup by volume of owner feedback. Buyers rate the workmanship, the sharpness of the points and the smooth slide action highly, with a rating distribution running heavily to the top end. Many of them use it for mortise-and-tenon work specifically, which is the job I am judging it on.
Who the Frienda Gauge Works Best For
It suits the joiner who cuts mortise-and-tenon joints in mixed thicknesses and does not want to reconfigure tools between a 1/4 inch frame joint and a heavy table mortise. The wide range means one gauge covers a small shop building anything from stools to workbenches.
It also suits anyone who wants a traditional-looking ebony and brass tool without the traditional wooden-guage maintenance. There is no waxing schedule, no rosewood to check for movement, and the whole thing weighs almost nothing in a tool roll.
Where the Frienda Gauge Falls Short
Do not buy it for instrument-grade layout. If your tenons need to be dead parallel over a long run, or you are working to a drawing tolerance, tighten the rail before the first line and recheck the setting every few strokes.
It is also a pin gauge, so it punctures rather than cuts. On figured or soft hardwood the pins leave a visible pair of small holes on show faces. Score the line with a knife afterwards if that bothers you, which is standard practice anyway.
2. Spear and Jackson CMTG Mortice Gauge – Traditional Hardwood Bench Tool
Spear & Jackson CMTG Mortice Gauge
Hardwood block with brass plates
Brass lock screw on top
8 inch format
7.4 oz
+ The Good
- Solid hardwood body with brass wear plates
- Marks mortise and tenon cleanly
- Compact and handy for hand-tool work
- Traditional bench tool appearance
- The Bad
- Registering surface is small
- Beam can wiggle in a slightly oversize fence hole
- Occasional bent or rusty pins out of the box
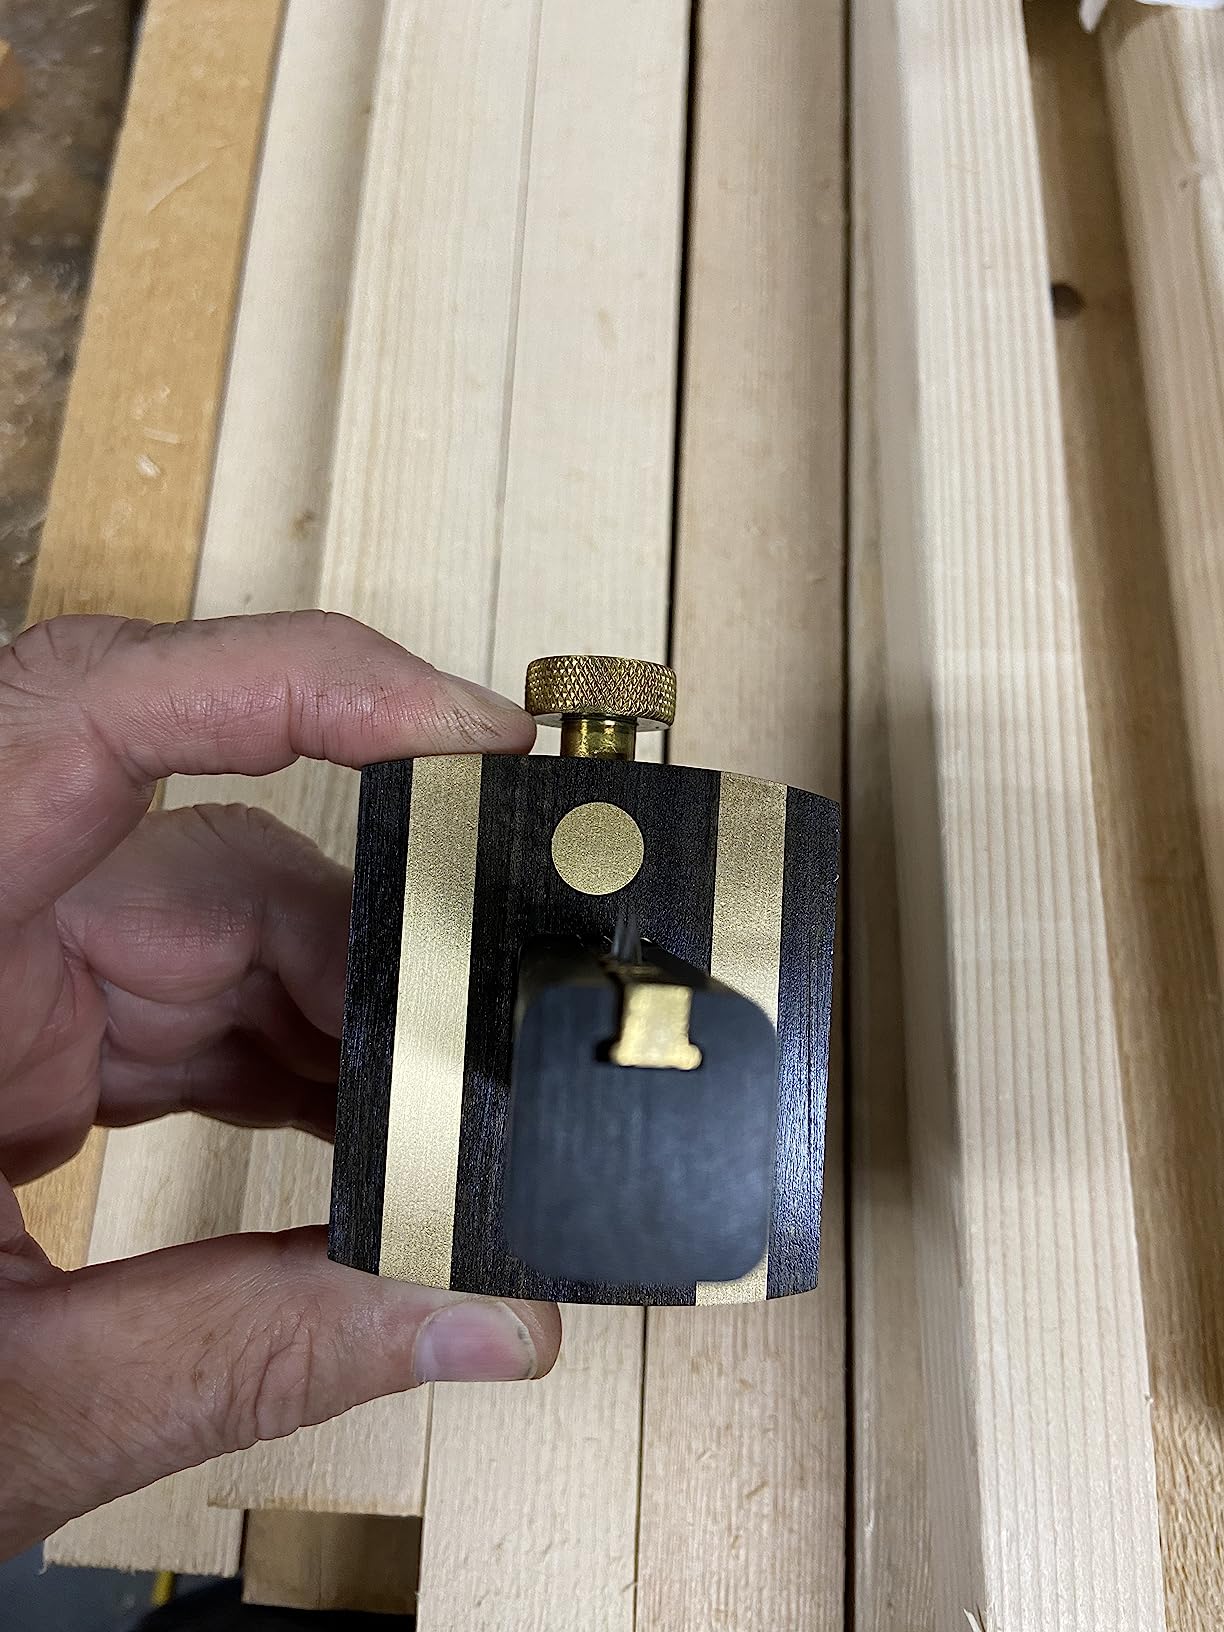
The CMTG is a rosewood stained hardwood block with two brass plates on the working face, a round brass bar through the top section and a brass lock screw. It is a bench tool in the traditional sense, and it looks like one. At 7.4 ounces it sits flat and steady, and the block size of roughly 66 by 55 by 26 mm gives you a decent reference face to register against a workpiece edge.
What earns it the value badge is that it simply does the job. Owners report marking mortise and tenon joints cleanly and accurately, and there is a recurring comparison to thirty-year-old original gauges that is about the strongest endorsement a traditional tool can get. The rating distribution is heavily weighted to five stars.
The complaints cluster around finish and fit out of the box rather than design. The registering surface is on the small side, so the gauge wants to be kept flat on the workpiece while you mark. The hole the beam passes through in the fence can be slightly too large, letting the beam move side to side, and some owners receive bent marking pins or a slightly twisted beam. Brass screws and pins occasionally arrive with surface rust.
Who the Spear and Jackson CMTG Works Best For
It fits the hand-tool joiner who wants a traditional gauge, works in solid hardwood, and would rather buy one bench tool and keep it for decades than chase a measurement. The brass lock screw holds a setting well once the beam is seated properly.
It is also a good first traditional gauge. The format is immediately recognisable, the operation is simple, and it pairs naturally with a mortising chisel set of the same period feel.
Where the Spear and Jackson CMTG Falls Short
Inspect it on arrival. Check the pins for straightness and the brass for surface rust before you trust a setting, and if the beam moves in the fence, work the adjuster down until the fit is snug. A few owners simply replace bent pins.
It also has no fine adjustment. The width is set by sliding the pin block and clamping, with no screw-driven micro-adjust, so very narrow spacing is a matter of feel rather than a dialed figure.
3. iGaging 3-in-1 Wheel Marking and Mortise Gauge – Three Tools in One
iGaging Wheel 3 in 1 Marking Gauge with 1/32nd & 1mm scale & Mortise Gauge
Brass body with 8 inch steel rod
1 mm and 1/32 inch scale
18.14 g
+ The Good
- Precision machined solid brass body
- Knurled lock nut grips positively
- Dual scale graduations on the rod
- Reversible wheel cutters
- Under 20 g
- The Bad
- Wheel cutters need honing before they cut
- Small wheels are fiddly to sharpen
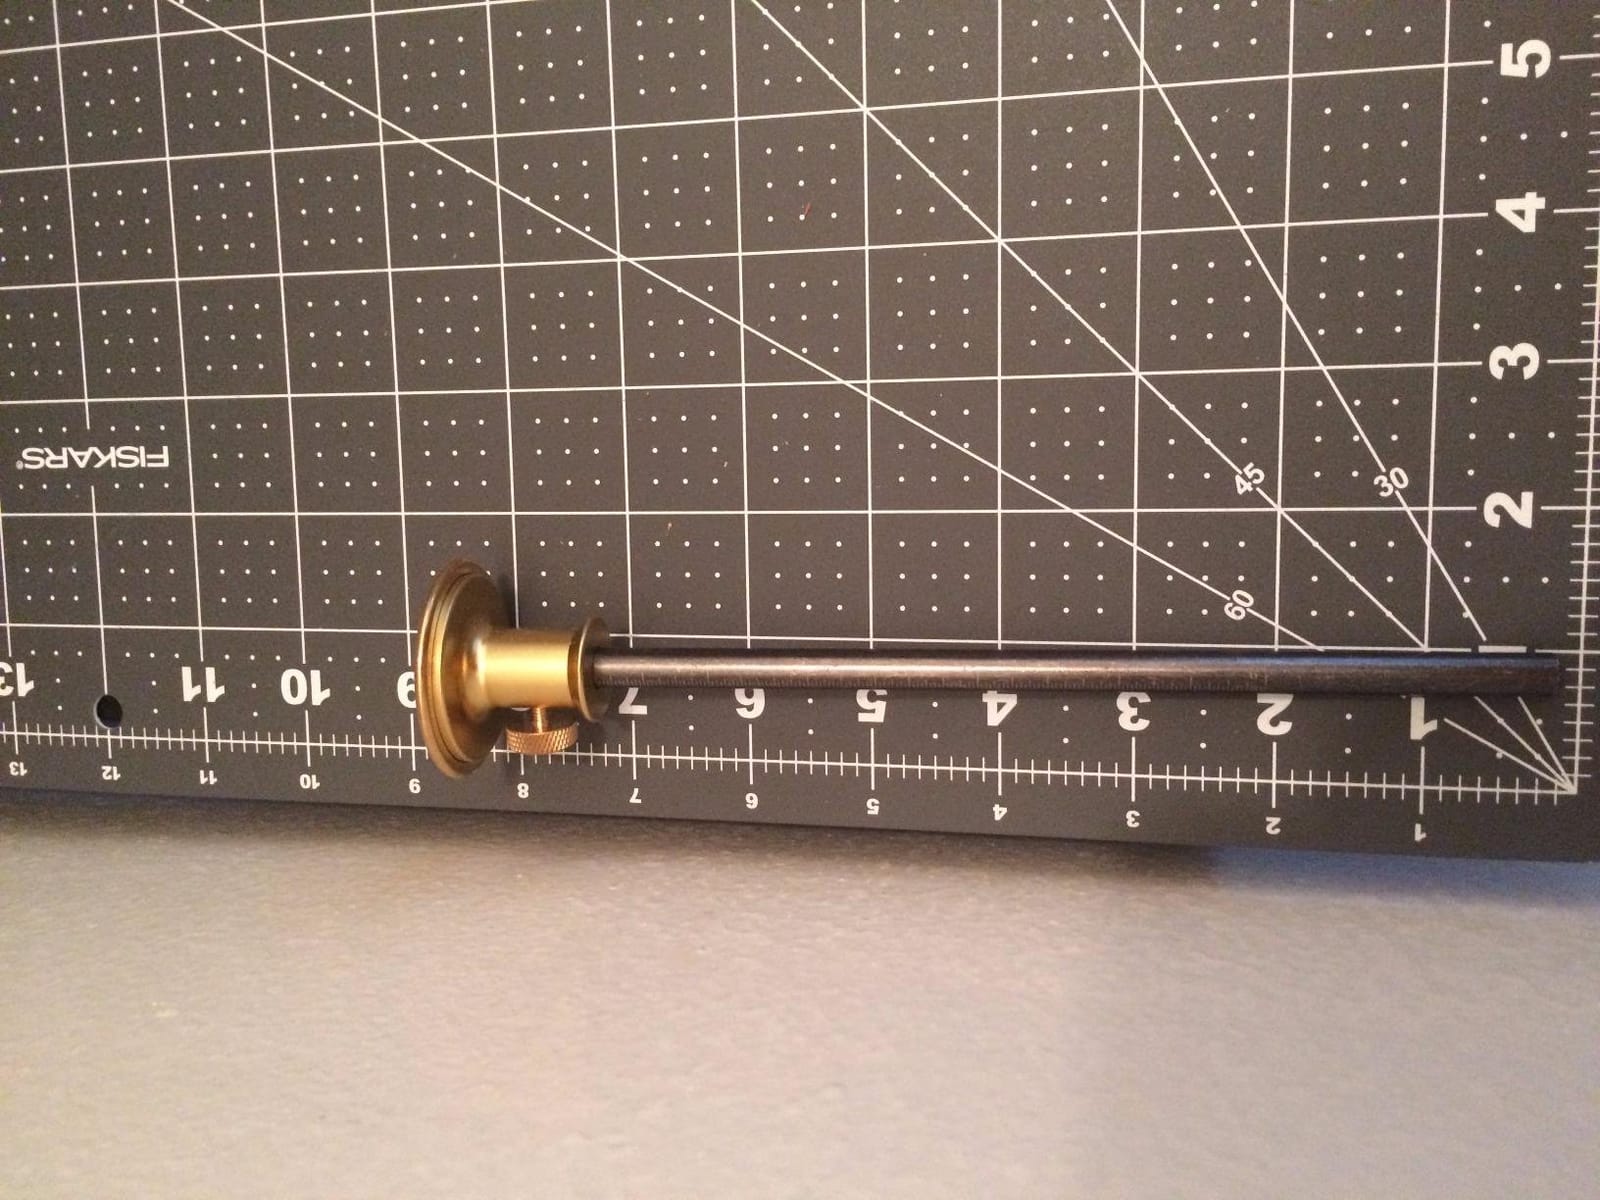
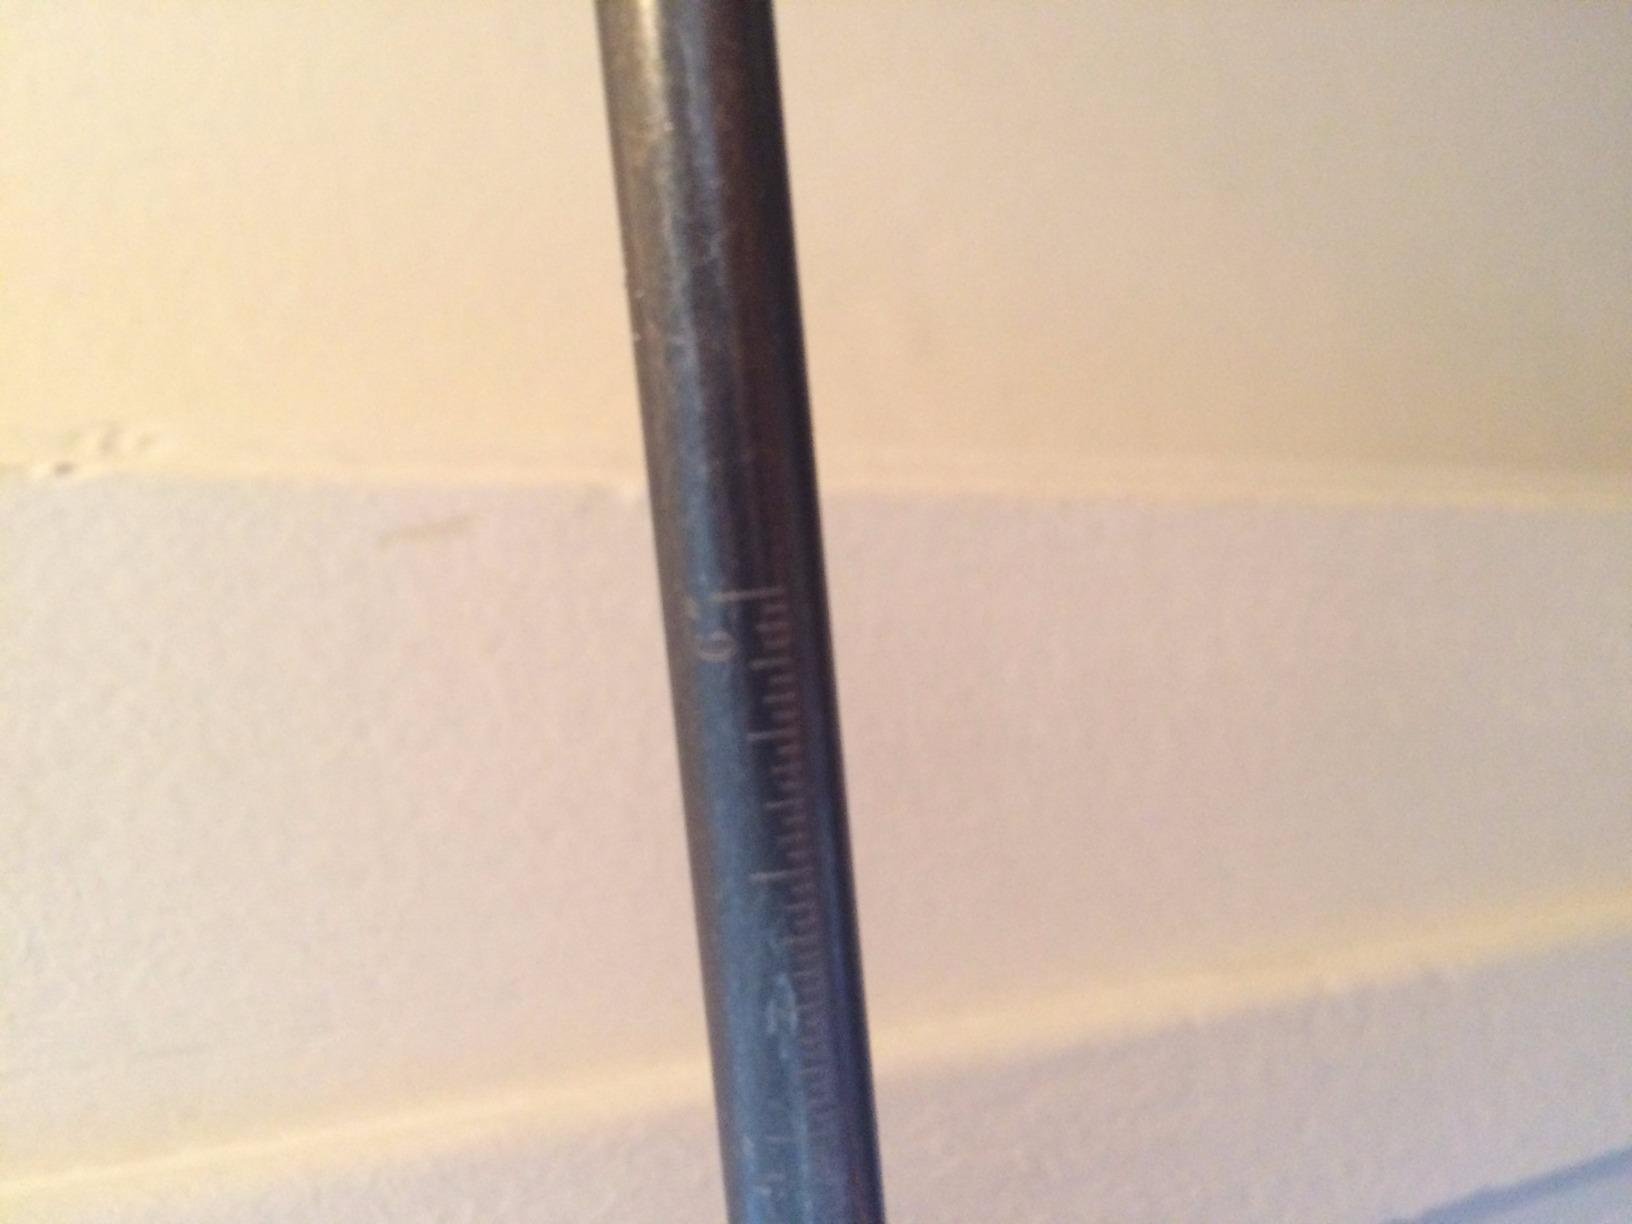
It covers three jobs in one compact body, which is why it is the tool I would hand to a beginner. The body is precision machined solid brass with a knurled lock nut, and the 8 inch steel rod is graduated in both 1 mm and 1/32 inch increments. Dual scale is the quiet advantage: you are not converting, and you are not guessing at a fraction.
It switches between configurations as a wheel marking gauge, a mortise gauge and a depth gauge, and it includes a stop collar and two reversible wheel cutters plus an alloy steel marking blade. For a small kit, one tool covering three layout jobs is hard to argue with. The line width is a fine 0.3 mm, and at 18.14 g it lives in a pocket.
The single consistent note across the review base is the wheels. They do not arrive sharp, and until you hone them on a flat diamond stone they tear fibres rather than cut them. Once sharpened, the free-spinning action is genuinely good, but budget five minutes and a diamond plate before your first serious layout session. Sharpening the small cutters is fiddly work and takes practice.
Beyond that, the feedback is settled and positive. This is a long-running gauge with a real ownership history, and the brass build and dual-scale rod are the two things owners mention most often.
Who the iGaging 3-in-1 Works Best For
It suits anyone building a compact hand-tool kit who needs mortise layout, general marking and depth transfer without carrying three separate tools. Students and first-time hand-tool builders get the most out of it.
It also suits shops that work in metric and imperial in the same week. Having both scales on the same rod removes an entire class of arithmetic error from layout.
Where the iGaging 3-in-1 Falls Short
It is not a wooden bench tool and does not pretend to be. There is no brass wear strip to wax and no hand-finished feel, and the wheels need maintenance that a pin gauge does not.
For fine cabinet work where the layout line must be invisible on a show face, the 0.3 mm line is visible. Score it with a knife and the tool has done its job perfectly.
4. Robert Larson 605-1250 Beechwood Mortise and Marking Gauge – Light Traditional Body
ROBERT LARSON 605-1250 Beechwood Mortise/Marking Gauge
Beechwood body with brass hardware
6.4 oz
Classic bench tool style
+ The Good
- Solid beechwood body with brass hardware
- Light at 6.4 oz for long sessions
- Smooth finished surfaces
- Traditional bench tool construction
- The Bad
- Listing gives little graduated scale detail
- Slide and pin fit may need adjusting before it holds
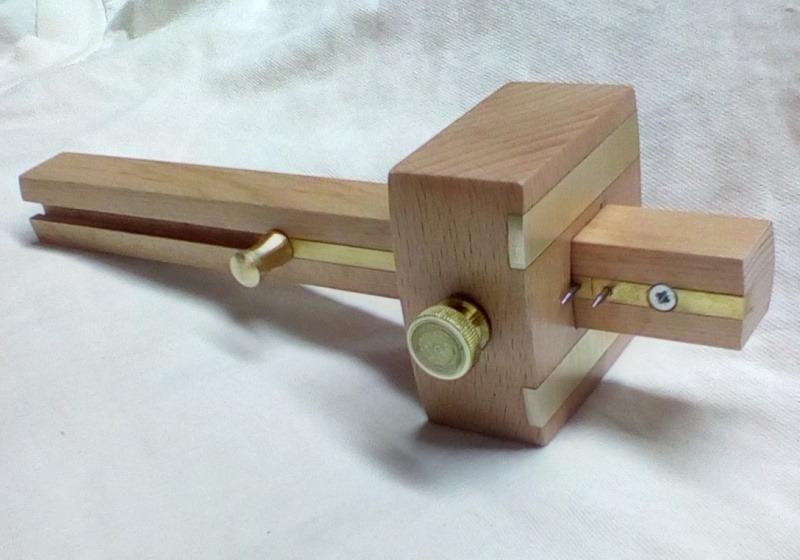
Robert Larson builds traditional bench tools, and this beechwood body with brass hardware is a plain, honest example. The weight is 6.4 ounces, which is lighter than the other wooden gauges in this roundup, and that is the reason I picked it out. When you are laying out a whole table of mortises, the weight of the tool starts to matter, and a lighter gauge means less hand fatigue across a long session.
Surfaces are evenly finished and sit comfortably against the workpiece, which is what you want when the gauge is registering on a face and scribing at the same time. Construction is the traditional format, so it reads correctly on a bench full of other hand tools.
Two things hold it back. First, documentation. The published listing gives almost no information about the graduated scale or the adjustment detail, so if you like to know what the divisions mean before you rely on them, you will not find it here. Second, fit. Owners report that the slide and pin fit can need adjustment before the gauge holds a steady setting, which is common in wooden gauges but still costs you a few minutes at the start.
Sentiment is positive but measured, with more four-star reviews than the top three picks. That is exactly what you would expect from a tool that works reliably rather than one that excites, and for a bench gauge reliability is the metric that counts.
Who the Robert Larson 605-1250 Works Best For
It suits the joiner doing long production layout sessions, cutting a run of mortises across a set of legs or rails, where a light traditional body reduces fatigue and the beech is easy to keep in a working condition.
Beech is also a sensible wood for a tool that sees glue and moisture. It is stable, it takes a finish easily, and it is not the sort of timber you worry about every time a joint goes slightly tight.
Where the Robert Larson 605-1250 Falls Short
There is no micro-adjust, so setting a very narrow mortise width is a sliding and clamping exercise. Check the pin fit before committing to a matched pair of tenon cheeks.
If you want a tool that tells you where it is, look elsewhere. This is a set-it-and-trust-it gauge, which is fine for most joinery and wrong for instrument work.
5. iGaging 34-711 Micro-Adjust Mortise and Wheel Gauge – Best Dual-Scale Readout
iGaging Mortise Gauge + Wheel Marking Gauge Micro-Adjust Precision Woodworking 1/32nd Inch & 1 mm Scale
Brass head with 6 inch steel shaft
1 mm and 1/32 inch scale
Fine micro-adjust
+ The Good
- Fine micro-adjust dials in close mortise widths
- Dual scale graduations
- Free-spinning wheel cuts fibres
- Solid brass body and knurled lock nut
- The Bad
- Closest setting is around 3/8 inch
- too wide for narrow tenons
- Wheels need honing before use
- No written instructions for mortise setup
This is the micro-adjust gauge, and the mechanism is the reason to look at it. Instead of sliding a block and hoping, you dial the setting in on a fine screw, which is the single quality-of-life upgrade that experienced users notice immediately. The brass head carries a 6 inch steel shaft graduated in both 1 mm and 1/32 inch increments, and the knurled lock nut holds the setting once you get there.
It also works as a depth gauge for quick measurement transfers, so it earns its bench space twice over. The free-spinning wheel is designed to cut wood fibres rather than tear them, which is the right behaviour for a marking wheel, and several owners keep more than one of these on the bench.
Now the catch, and it is a real one. On the closest setting without the support disc between the cutters, the gauge bottoms out at roughly 3/8 inch, and around 1/2 inch with the disc in place. That is too wide for 1/4 inch mortise and tenons cut in 3/4 inch material, which is a very common small-joinery dimension. Measure your smallest mortise before you commit.
The other notes are practical. Wheels do not arrive presharpened and will mar the surface until honed, the small wheels are hard to sharpen, and there are no written instructions for switching into the mortise configuration. The rating spread here is the sharpest of the ten, which tells you the gauge performs well when it suits the work and frustrates when it does not.
Who the iGaging 34-711 Works Best For
It suits the joiner cutting mid-width mortises who wants a repeatable setting instead of a slid-and-clamped guess. If your typical mortise falls between 3/8 inch and a couple of inches, the micro-adjust is the most satisfying mechanism in this roundup.
It also suits mixed-unit shops, since the same shaft carries both scales, and anyone who wants one tool to handle mortise layout and quick depth transfer.
Where the iGaging 34-711 Falls Short
Narrow mortises are out of reach at its closest setting. If your work is small-scale, or you cut 1/4 inch tenons in thin material, this is not the gauge and no amount of careful adjustment will change that.
There is also a setup cost: sharpen the wheels, work out the configuration change without instructions, and check the setting with a test scribe before you cut anything.
6. Fafeicy Alloy Mortise Gauge with Bubble Level – Best for Angled Panel Layout
Woodworking Marking Gauge Mortise Gauge Ruler Double Head Aluminium Alloy Carpenter Tool Mortise Gauge Scriber Ruler
Aluminium alloy body
145 mm effective scale
Bubble level with 45 degree
+ The Good
- Integrated level with level and 45 degree references
- Anti-slip teeth hold the tool steady
- Rounded alloy body is comfortable to grip
- Double head gives a second reference edge
- The Bad
- Scale is metric only
- Heavy for a marking tool at 513 g
This one earns its place with a feature no other gauge in the roundup has. There is a clear acrylic, shock-proof bubble level built into the body showing both level and 45 degree references. If you lay out panels, frames or any joint where squareness and angle matter, that is genuinely useful rather than decorative, and it is the reason I picked it out of a fairly thin review base.
The body is aluminium alloy with rounded corners, so it is comfortable to grip, and the anti-slip teeth hold the tool steady on the workpiece while you mark. A double head design gives a second reference edge, which gives you options for registering. The effective scale is 145 mm, matched to standard steel ruler increments.
Two things to weigh. The scale is metric only, which several buyers wished had been stated up front. And at 513 g it is heavy for a marking tool, far heavier than the compact brass gauge in this roundup. That weight is stable but tiring over a long layout session, and it is a real consideration for anyone marking dozens of joints.
The review base is small at twenty, but the sentiment is unusually positive, with the large majority at five stars. Users find the tool attractive, accurate and well finished, and the level is called out as the standout feature.
Who the Fafeicy Alloy Gauge Works Best For
It suits panel, frame and cabinet work where a 45 degree reference saves you checking a square mid-layout. The anti-slip teeth mean it holds position on a large flat panel better than a light pin gauge will.
It also suits a shop already working in metric, since the 145 mm scale drops straight into an existing rule system with no conversion step.
Where the Fafeicy Alloy Gauge Falls Short
Imperial-only shops will find the scale awkward, and the heavy body works against you on fine, small joinery. It is a layout instrument for large flat work rather than a delicate bench gauge.
The thin review history means long-term durability is not well documented yet. Judge it on the build and the features rather than on an established ownership record.
7. Robert Larson 605-1150 Rosewood Sliding Mortise Gauge – Best Premium Wooden Body
Robert Larson 605-1150 Rosewood Sliding Mortise Gauge
Rosewood body with brass slider
Dual sharp pins
Made in United Kingdom
6.4 oz
+ The Good
- Beautifully made rosewood body with a dense feel
- Locks up tight for repeatable settings
- Dual pins give parallel lines once levelled
- Compact size suits a small hand-tool kit
- The Bad
- Pins mark with the grain
- so a cutting gauge is still needed
- Quality control varies out of the box
- Head can bind on the shaft
This is the one to buy if the gauge is going to live on an open bench rather than in a drawer. The rosewood body has a dense, solid feel and the brass slider for the dual pin looks and works the part. It is made in the United Kingdom, and the dual sharp pins are specified for marking with the grain, which is the direction a mortise normally runs.
Owners describe a gauge that locks up solidly and should last a lifetime, which is the argument for paying a premium on a wooden bench tool. The compact size also suits a small hand-tool kit, and several buyers note that it is handsome enough to keep on display.
The critical notes are all about quality control out of the box rather than design. Some owners receive dual pins that are not parallel, or a sliding block with a chipped corner. The head can arrive so tight on the shaft that it will not slide at all, and one pin is sometimes noticeably blunter than the other. The rating variance here is the widest of the wooden premium picks, which is a fair signal: when it is right, it is right, and when the QC misses, it is obvious.
There is also a functional limitation worth planning around. Because the pins mark with the grain, you still need a cutting gauge for lines that run across it.
Who the Robert Larson 605-1150 Works Best For
It suits the furniture maker building traditional mortise-and-tenon work in hardwood, who wants a wooden gauge that will outlive the current project and looks good on the bench. The dense rosewood body registers well and does not mark the workpiece.
It also suits anyone restoring period furniture, where a traditional wooden gauge matches the tooling of the piece and the joints run with the grain.
Where the Robert Larson 605-1150 Falls Short
Inspect the pins on arrival. Level both pins against a straightedge on a flat surface before the first cut, and free the head if it binds on the shaft. A chipped sliding block corner is a return-to-seller issue, not something to work around.
Pair it with a cutting gauge. With-grain mortise layout is what this does well, and nothing else is a substitute for the other direction.
8. iGaging Digital 3-in-1 Marking and Mortise Gauge – Digital Readout
iGaging Digital 3-in-1 Marking/Mortise Gauge
Stainless steel body
Digital display to 0.0005 inch
Accuracy to 0.001 inch per 6 inch
+ The Good
- Digital readout removes guesswork from setting widths
- 0.0005 inch resolution and 0.001 inch accuracy
- Hefty solid stainless steel body
- Handles marking measuring and depth reading
- Works on aluminium and steel
- The Bad
- Needs CR2032 batteries and the supplied one may arrive dead
- Battery tray orientation is confusing
- Second pin may arrive out of level with the main pin
This is the only instrument in the roundup, and for some shops that is the entire argument. The digital display resolves to 0.0005 inch and the stated accuracy is 0.001 inch per 6 inch, which puts it in a different class from every mechanical gauge here. Setting a mortise width becomes typing a number rather than sliding a block and hoping. That is the same accuracy-first thinking we cover in our guide to the best paint thickness gauges, where a repeatable number beats an eyeballed one.
The body is stainless steel with an adjustable main pin and a clamping screw, and you level the main pin against the second pin to mark two parallel lines. It covers marking, measuring and depth reading in one tool, and owners single out its usefulness on aluminium and steel as well as wood, for milling and drilling layout where a wooden pin gauge would mark nothing at all.
Almost every complaint is about setup rather than accuracy. It takes CR2032 batteries, and the supplied cell can arrive dead. The battery tray only goes in one way and the instructions do not make that clear. The rubber gasket in the compartment fits poorly, which makes contact unreliable. And one reviewer found the secondary pin out of level with the main pin, which makes parallel lines hard to mark. Several owners also describe it as awkward to learn compared with a purely mechanical gauge.
Who the Digital iGaging Gauge Works Best For
It suits a shop working in metal as well as wood, where layout marks on aluminium and stainless need a hard point and a repeatable figure. Nothing else in this roundup does that job.
It also suits the joiner with tight tolerances who would rather read a number than trust a mechanical setting, and who is comfortable with a small amount of setup ritual before the first cut.
Where the Digital iGaging Gauge Falls Short
Carry spare batteries and check the contact gasket if the readout flickers. Confirm the pin level with a straightedge before you trust a parallel pair of lines.
It is the least pleasant tool here to operate quickly. If you cut one or two mortises a week, the setup cost outweighs the precision and a mechanical gauge serves you better.
9. Crown Tools 153 Mortise Gauge – Sheffield Made Plated Rosewood Head
CROWN Tools 153 Mortise Gauge, Plated
Plated rosewood head
Brass thumbscrew and fittings
8 x 3 x 2.2 inch
8 oz
+ The Good
- Made by Crown Hand Tools in Sheffield
- Plated rosewood head with brass fittings
- Reported to lay out tenons cleanly
- Good value for the price
- The Bad
- Very small review base limits long-term feedback
- Sold with no warranty
Manufacturer provenance matters more in this category than in almost any other tool category, and Crown Hand Tools of Sheffield is a name that carries real weight with traditional joiners. The 153 has a plated rosewood head with brass thumbscrew and brass fittings, at 8 ounces and about 8 by 3 by 2.2 inches. It is a bench gauge in appearance and in build.
Owners who have bought it report that it lays out tenons cleanly and accurately, and they rate it good value for what it is. The rating is among the highest of the roundup, with the large majority of buyers at five stars. The brass fittings and the English manufacture are the two things mentioned most often as the reasons to choose it.
Be honest about the evidence, though. Ten reviews is a very thin base, and that is exactly what the ownership record shows. There is not yet enough long-term feedback to make claims about how the rosewood head moves over decades or how the brass thumbscrew wears. What you can say is that the early record is clean and the maker is respected.
One practical note: this model is sold with no warranty, so inspect it on arrival as carefully as you would inspect a used tool.
Who the Crown Tools 153 Works Best For
It suits the joiner who cares where a tool is made. Sheffield manufacturing and brass fittings are a genuine quality signal in hand tools, and this is the most direct way to buy that provenance at a traditional price.
It also suits someone building a matching set of wooden bench tools, where the plated rosewood head and brass hardware sit correctly next to other traditional layout tools.
Where the Crown Tools 153 Falls Short
Buy it for the maker, not for the data. With ten reviews there is not enough evidence to promise long-term accuracy, and the no-warranty sale means a defect has no fallback.
It has no fine adjustment, so very narrow spacing is again a sliding and clamping exercise rather than a dialed figure.
10. Crown Tools 154 Mortise Gauge with Screwslide – Screw-Driven Width Setting
Crown Tools 154 Mortise Gauge with Screwslide
Premium brass construction
Screwslide width adjustment
British made
+ The Good
- Premium brass construction from Crown
- Screwslide gives a repeatable way to set width
- British made traditional joinery tool
- The Bad
- Lowest average rating of the ten picks
- Review base is small and heavily polarised
- Listing specifications are largely boilerplate
I am including this one because the mechanism is genuinely interesting, not because the ownership record supports a recommendation. The screwslide adjustment sets the mortise width on a screw rather than by sliding a block, which in principle gives you a repeatable, thread-locked setting. The build is premium brass, made in the United Kingdom, and it is the only screw-driven width adjustment in this roundup.
The results are not good. At 3.2 stars it is the lowest rated of the ten picks, with only about a third of buyers giving five stars and close to a quarter at one star. The small, heavily polarised review base points at the screwslide itself: on some units it holds a setting well, and on others it does not hold or is awkward to operate. That is the worst combination for a layout tool, where a setting that creeps mid-job ruins the pair of lines you came for.
The published listing is also largely boilerplate that does not describe the gauge accurately, so you are buying on the Crown name and the mechanism concept rather than on documented specification.
Who the Crown Tools 154 Works Best For
It suits the joiner who specifically wants a screw-locked width setting and is prepared to test and re-test it before trusting it on a matched pair of tenons. The brass construction is of the quality you would expect from the Sheffield maker.
It is also a useful reference point. If you are weighing adjustment styles, this is the clearest example in the roundup of why a screw mechanism has to be executed well to beat a good sliding fit.
Where the Crown Tools 154 Falls Short
Test the setting repeatedly on scrap before cutting. If the width moves under light pressure from the beam, it is not a gauge you want holding a tenon and a mortise apart.
I would not make this the first mortise gauge anyone buys. Check the setting after every few strokes, and keep a mechanical fallback in the drawer.
How to Set and Use a Mortise Gauge in Five Steps
A gauge is only as good as the setup, and the setup is where most disappointing mortises come from. This is the sequence I use, and it works with any of the ten gauges above.
1. Set the pin spacing off your mortising chisel. Measure the width of the cutting edge of the mortising chisel you will actually use, then open the gauge to exactly that width. A chisel ground to a bevel narrower than its nominal width will produce a mortise that is deliberately tapered, which is a choice, not a defect. The point is that the gauge setting comes from the tool that will cut the hole, not from a number in a book.
2. Register the fence and lock it. Stand the fence against the reference edge of the workpiece, make sure the fence face is square to the edge, and tighten the thumb screw or clamp until the gauge cannot be pushed sideways. On wooden gauges, check the beam is seated snugly in the fence hole first.
3. Test scribe before you commit. Draw both lines on a scrap of the same thickness. Measure the spacing with a rule. If the two lines are not identical, fix the rail or the adjuster now rather than after you have marked a whole table of legs.
4. Mark the mortise, then mark the tenon with the same setup. This is the step people skip. Mark both walls of the mortise, then without touching the adjustment, mark both cheeks of the tenon. The whole point of a two-pin gauge is that the mortise and tenon are scribed in the same configuration, so the two spacings are guaranteed to match. Adjust the gauge between the two operations and you have thrown away the advantage.
5. Cut proud, then trim to the line. Pare the mortise walls and the tenon cheeks down to the layout lines. Leave material standing slightly proud of the line, then pare to it. Where you want a visible line to follow, score the scribed line with a marking knife first, which many joiners do as standard practice because a pencil line disappears as soon as the chisel touches it.
Finally, do not glue up with the gauge still clamped if you can help it. Wipe glue off the pins and the rail while it is still soft, and re-check the setting after the bench has been through a humid week.
How to Choose the Right Mortise Gauge in 2026
Decide between a pin, a wheel and a knife first. A steel pin punctures the fibre and leaves a small hole, but it is fast, simple to set and does not need sharpening. A wheel cuts a fine line about 0.3 mm wide, leaves less visible damage, and dulls over time. A cutting gauge scores the line properly and gives you something to follow, but it is a separate tool rather than a feature of a mortise gauge. If you work in hardwood with visible faces, pin or wheel is fine. If you work in figured stock or want a line you can pare straight to, keep a cutting gauge alongside whatever mortise gauge you buy.
Then decide how the width is set. There are three styles in this roundup. A slid and clamped block is the traditional mechanism, simple and repairable, and it is what the wooden gauges use. A fine micro-adjust screw dials the width in and is the upgrade experienced users notice first. A screwslide locks the width on a thread. In practice, micro-adjust is the most satisfying, sliding is the most forgiving, and screwslide has to be executed well to beat either.
Check the minimum width against your smallest joint. This is the most common disappointment in the category, and it appears repeatedly in the reviews. Some gauges bottom out around 3/8 inch or wider, which rules out 1/4 inch mortise and tenon in 3/4 inch material. The Frienda gauge, adjusting from 0.21 inch to 3.9 inch, is the one in this roundup that comfortably covers small work, and the maximum of just under 4 inches also handles heavy housings.
Match the body to how you work. Aluminium and steel bodies are stable, light to maintain and indifferent to glue and moisture. Solid brass is heavier, pleasant to handle and develops a patina, but the screws and threads need watching. Wood, whether rosewood, beech or ebony, looks right on a bench and registers beautifully, and it asks more of you: wipe glue promptly, keep it out of standing moisture, and expect the wood to move a little over decades. A brass wear strip takes a wax now and then and then stops moving against the beam.
Think about beam length and reference face. Longer beams suit large panels and long mortises, where the gauge needs to travel without losing registration. Shorter beams are easier to control on small workpieces and in tight hand positions. A larger fence face is easier to keep square, and a small one has to be kept flat deliberately. A multi-pin gauge can also creep on narrow workpieces, so on small mortises, a tool with a small, controllable footprint beats a big one.
And consider owning two. The single most common piece of advice in the woodworking forums is that a two-pin mortise gauge and a one-pin wheel marking gauge are not substitutes. The mortise gauge does mortise and tenon layout. The marking gauge does half-lap joints, shoulder lines and general transfer. Owners of both report that both get used, and the second one is inexpensive relative to the shop time it saves.
Maintenance is short. After each session, wipe the pins and the rail clean and check that the adjuster is still tight. Sharpen wheel cutters on a flat diamond stone. Wax a brass wear strip occasionally. If a wooden gauge has drifted, re-seat the beam and re-check your test scribe. Ten minutes at the bench keeps a layout tool honest for years.
One last option worth naming. Enthusiasts build fixed mortise gauges from hardwood with brass or steel pins, and there is a well-known shop-made fixed gauge in oak that has a devoted following. It costs nothing but an afternoon, it never needs adjusting because it never adjusts, and for a single repeat mortise width it is genuinely hard to beat. It does not replace an adjustable gauge for varied joinery, but it is a real alternative for the builder who only ever cuts one joint.
If layout accuracy is the theme rather than the specific tool, our guides to the best rain gauges and the best micron gauges for HVAC cover the same argument from the measuring-instrument side, and the best digital manifold gauges roundup goes deeper on digital readouts for shops that want a number rather than a setting.
Frequently Asked Questions
What is a mortise gauge used for?
A mortise gauge is used to lay out the two parallel lines of a mortise or the two cheeks of a tenon in a single pass. One cutting point is fixed on the beam and the second slides to match, so both lines come out at an identical spacing. That guarantees the tenon width matches the mortise width exactly and eliminates the out-of-parallel, over-thick tenons that ruin hand-cut mortise-and-tenon joints. It also marks housing joints, loose tenons and blind mortises.
What is the difference between a mortise gauge and a marking gauge?
A marking gauge has a single pin and scribes one line a set distance from the workpiece edge, which makes it the right tool for half-lap joints, shoulders and general transfer. A mortise gauge has two pins, or a pin and a wheel, and scribes two lines at once, which is the only reliable way to guarantee that a tenon matches its mortise. A cutting gauge is a third option that uses a short blade to score a line rather than puncture it.
What is the best marking gauge for woodworking?
For pure layout work the best choice is a wheel marking gauge with a fine micro-adjust, because a free-spinning sharp wheel cuts a clean line about 0.3 mm wide without tearing fibres or leaving a visible hole. Look for a knurled lock nut that holds under pressure and a shaft graduated in both metric and imperial so you are not converting mid-job. Buy a cutting gauge as well if you want a scored line you can pare straight to.
What is the marking gauge used for?
A marking gauge is used to scribe a single line at a fixed distance from a reference edge, and it is the everyday layout tool for half-lap joints, tenon shoulders, hinge and shelf positions, and any place you need a line parallel to an edge without measuring twice. Register the fence against the edge, set the pin, and draw. It is cheaper and simpler than a mortise gauge and it earns its bench space constantly.
What are the different types of marking gauges?
There are four main types. A wheel marking gauge has a single cutting wheel and a fine micro-adjust, and it cuts a narrow line that does not tear fibres. A cutting gauge uses a short blade or knife edge to score a line into the surface. A mortise gauge has two pins or a pin and a wheel and marks both lines at once. A plough or centreline gauge rides in a groove already cut in the wood. Traditional wooden gauges may also have a reverse face with a single pin for cross-grain lines.
How to use a marking gauge step by step?
First set the pin spacing to the dimension you need, then register the fence against the reference edge of the workpiece and lock the thumb screw so the gauge cannot slide. Check the fence is square to the edge. Hold the gauge down with even pressure and draw it toward you in one continuous stroke rather than short tugs. Lift it at the end of the line, move it back, and repeat if the mark is light. Score the line with a marking knife afterwards if you want to follow it precisely.
Final Verdict on the Best Mortise Gauges for Joinery
After working through all ten, the Frienda ebony and brass gauge is the one I recommend most often, because its 0.21 to 3.9 inch adjustment range covers more joinery than anything else in the roundup and the ownership record behind it is the deepest. Tighten the wear rail on day one and it becomes the default gauge in most shops.
Buy the Spear and Jackson CMTG if you want a traditional hardwood bench tool with brass wear plates and a long service life. Buy the iGaging 3-in-1 if you want one compact tool to cover wheel marking, mortise layout and depth transfer, and sharpen the wheels before you need them.
For mid-width mortises, the iGaging micro-adjust model is the most satisfying mechanism here, provided your smallest joint is not narrower than its 3/8 inch bottom end. For metal work, only the digital gauge is a real option. For provenance, the Crown Tools 153 carries Sheffield manufacture and brass fittings, with the caveat that the evidence base is thin. The Crown Tools 154 screwslide is the one I would test hardest before trusting.
Whichever you choose, set the width off your mortising chisel, mark the mortise and the tenon in the same setup, and cut proud before trimming to the line. That habit matters more than the tool. It is the standard of comparison for anyone shopping for the best mortise gauges for joinery in 2026, and it is worth revisiting whenever a new model appears.