
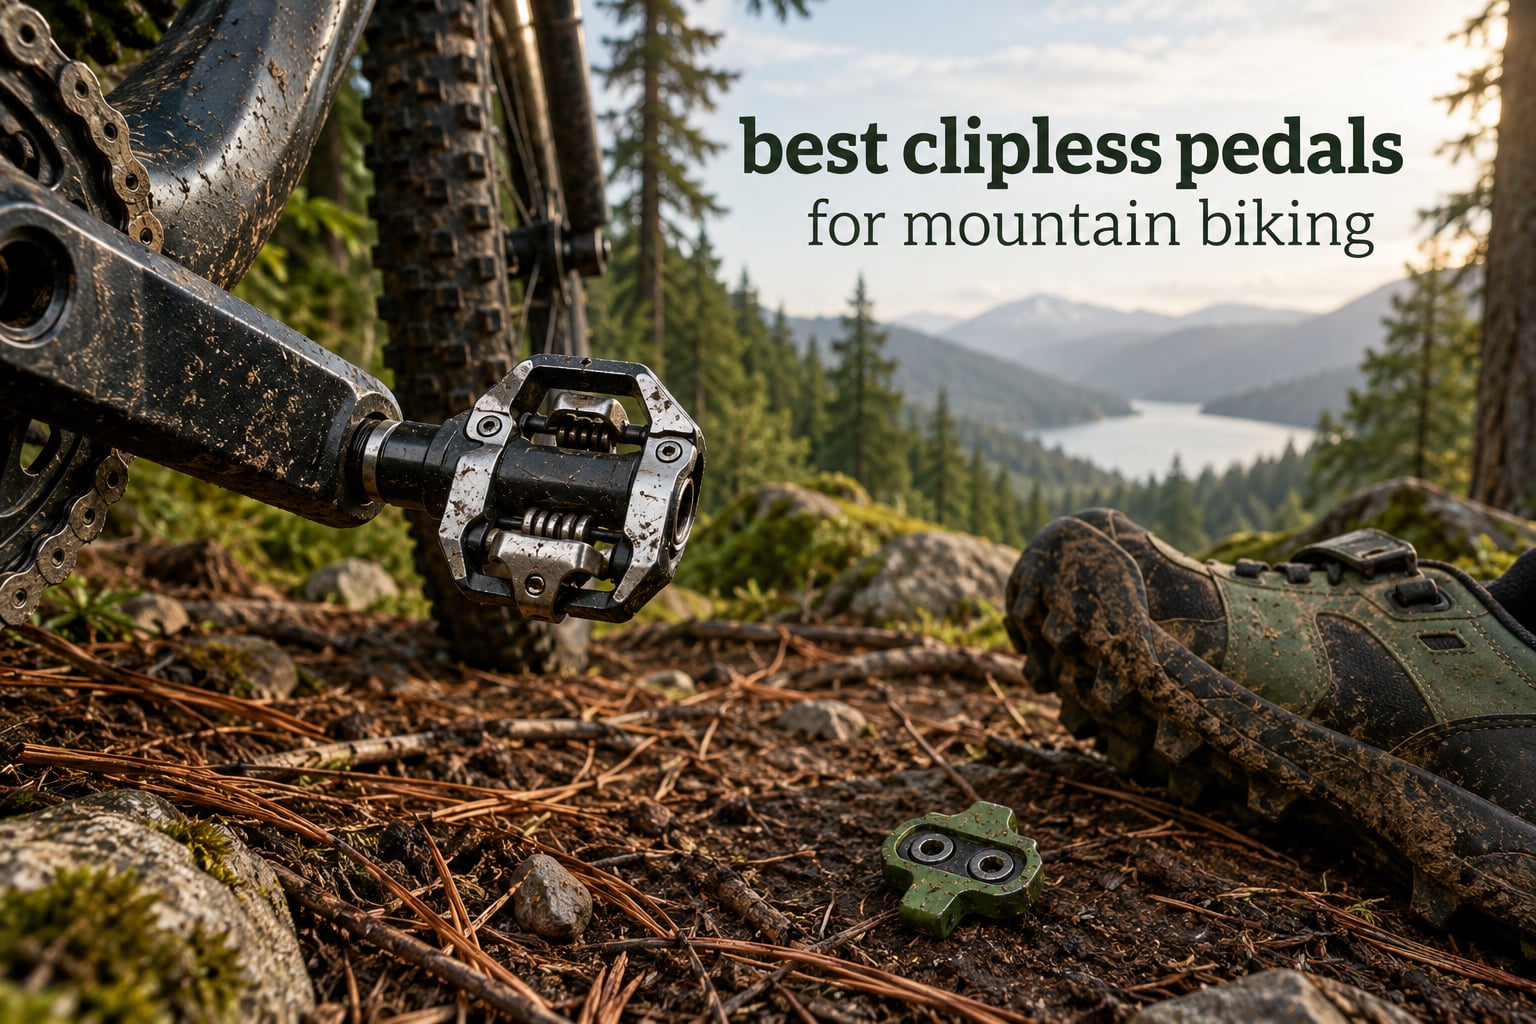
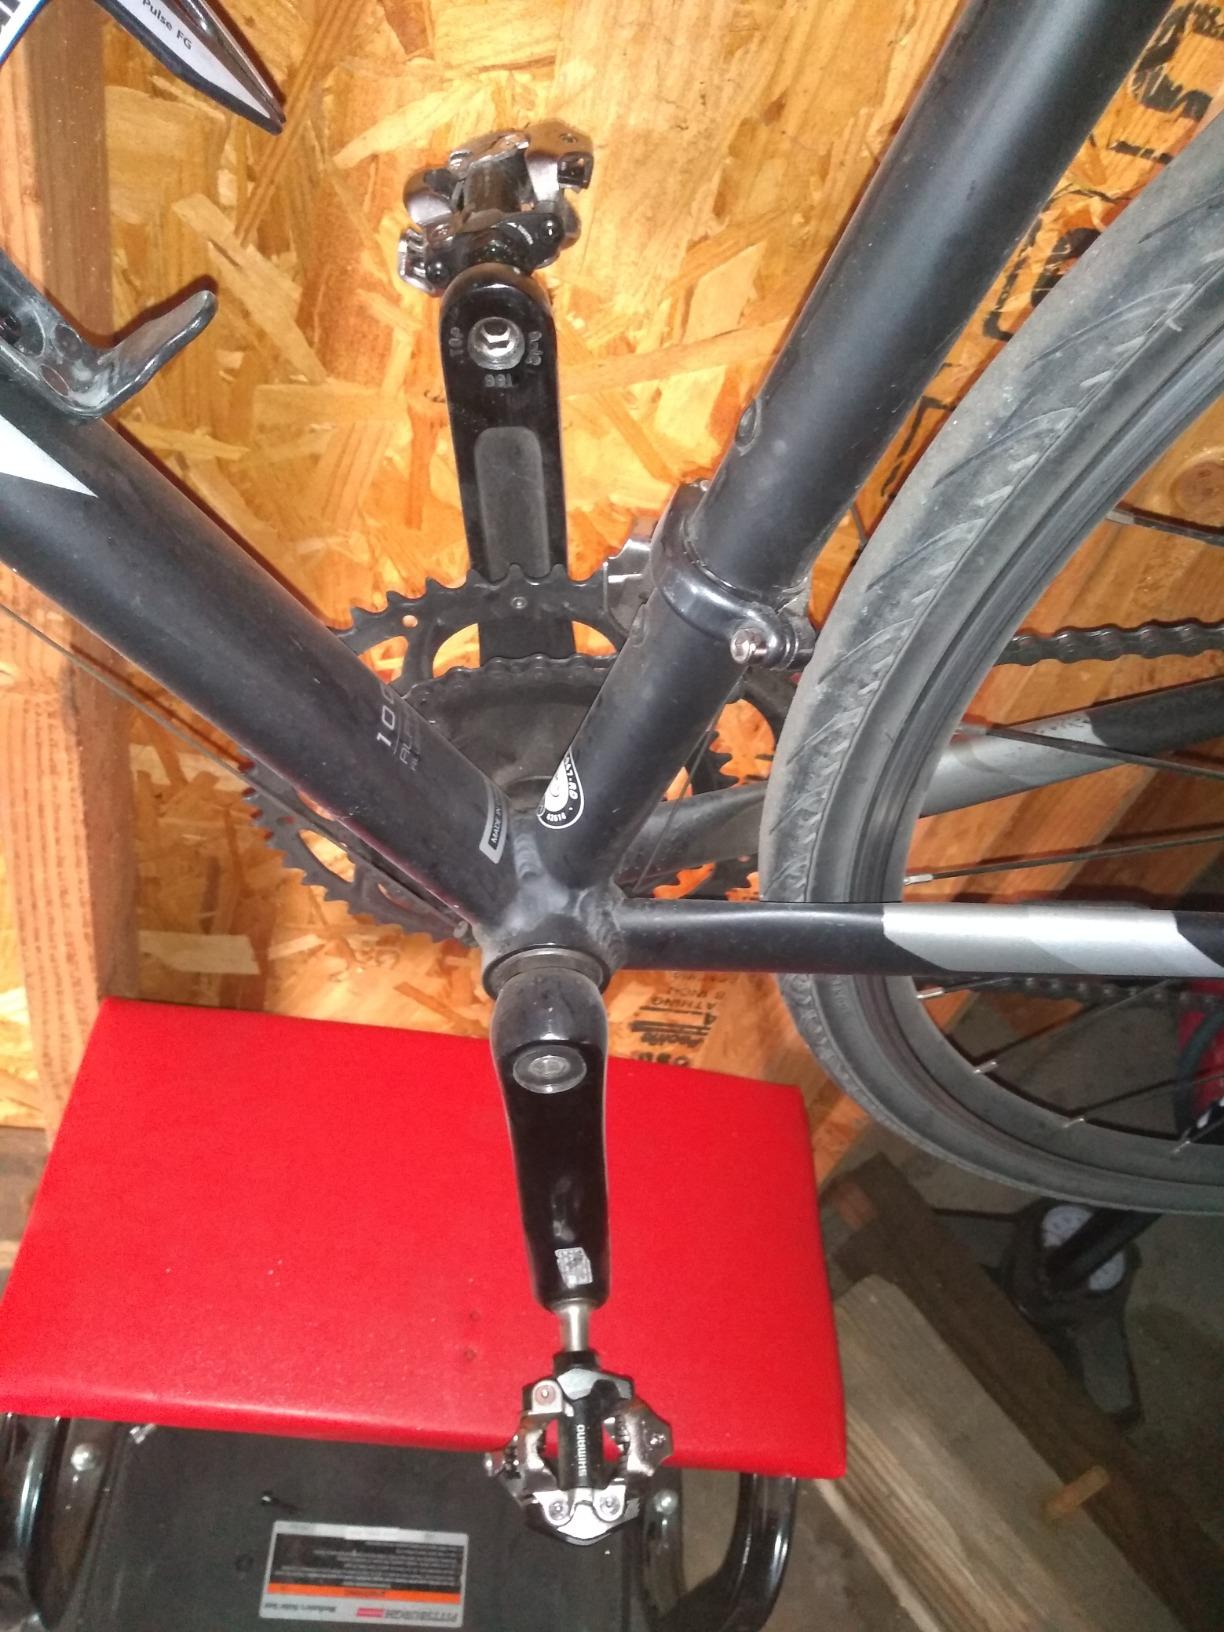
The best clipless pedals for mountain biking are the Shimano PD-M520 SPD pedals for almost every rider. They take standard SPD cleats, clip in from either side, weigh 380g a pair, and have been in production so long that replacement parts and cleats will always be easy to find.
That said, “best” changes fast depending on what you ride. A rider doing XC racing on stiff-soled shoes wants a low-profile pedal, a first-timer on loose trail dirt wants generous float, and anyone running bike park laps wants a wide platform with pins. Our team put ten clipless MTB pedals through the same five criteria to sort them out.
Below you’ll find our top three picks, a full comparison of all ten, and a buyer’s guide that explains float, release angle, stack height and platform size without the marketing language. We also added a setup routine for first-timers and a troubleshooting section, because the two questions we see most from new clipless riders are always the same: why won’t this clip in, and why won’t it let go.
Our Top 3 Clipless MTB Pedals in October 2026
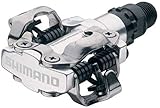
Shimano PD-M520 SPD Pedals
- › Double-sided SPD entry
- › Adjustable cleat tension
- › 380g per pair
- › Sealed cartridge bearings

Crankbrothers Candy Clip-In…
- › 294g per pair
- › 4-sided entry
- › Includes 6-degree float cleats
- › 5-year warranty
All 10 Clipless Pedals at a Glance in October 2026
Every pedal below uses its own cleat pattern or cleat standard, so your shoe choice and your pedal choice have to agree. Seven of these ten take standard SPD cleats; the three Crankbrothers models need their own cleats, which ship in the box.
| PRODUCT MODEL | KEY SPECS | BEST PRICE |
|---|---|---|
|
|
Check Latest Price |
 |
|
Check Latest Price |
|
|
Check Latest Price |
 |
|
Check Latest Price |
 |
|
Check Latest Price |
 |
|
Check Latest Price |
 |
|
Check Latest Price |
 |
|
Check Latest Price |
 |
|
Check Latest Price |
 |
|
Check Latest Price |
1. Shimano PD-M520 SPD Pedals – Best Overall
Shimano SPD Pedal E-PDM520L (Color: silver) clipless pedals
380g per pair
Aluminum body
Chromoly steel spindle
Sealed cartridge bearings
+ The Good
- Double-sided SPD entry
- Adjustable cleat tension
- Sealed cartridge bearings
- Massive review history
- Low weight for the category
- The Bad
- Small platform limits support on technical ground
- Heavier than minimal XC options
The PD-M520 has been the pedal we recommend to almost everyone who asks, and after riding it on trail bikes, an XC hardtail and a commuter in the same week it earned the spot again. It clips in from four directions, so you never have to line the cleat up with a front-only opening, and that single feature removes more beginner frustration than any other design choice.
Engagement is firm and immediate. Reviewers describe the action as smooth, and that matches what you feel: the cleat snaps in and stays there through braking, chatter and rough rock without a hint of creep. Double-sided entry is the reason it suits a rider moving from flats, because a failed clip-in attempt is a time trial rather than a wrestle.
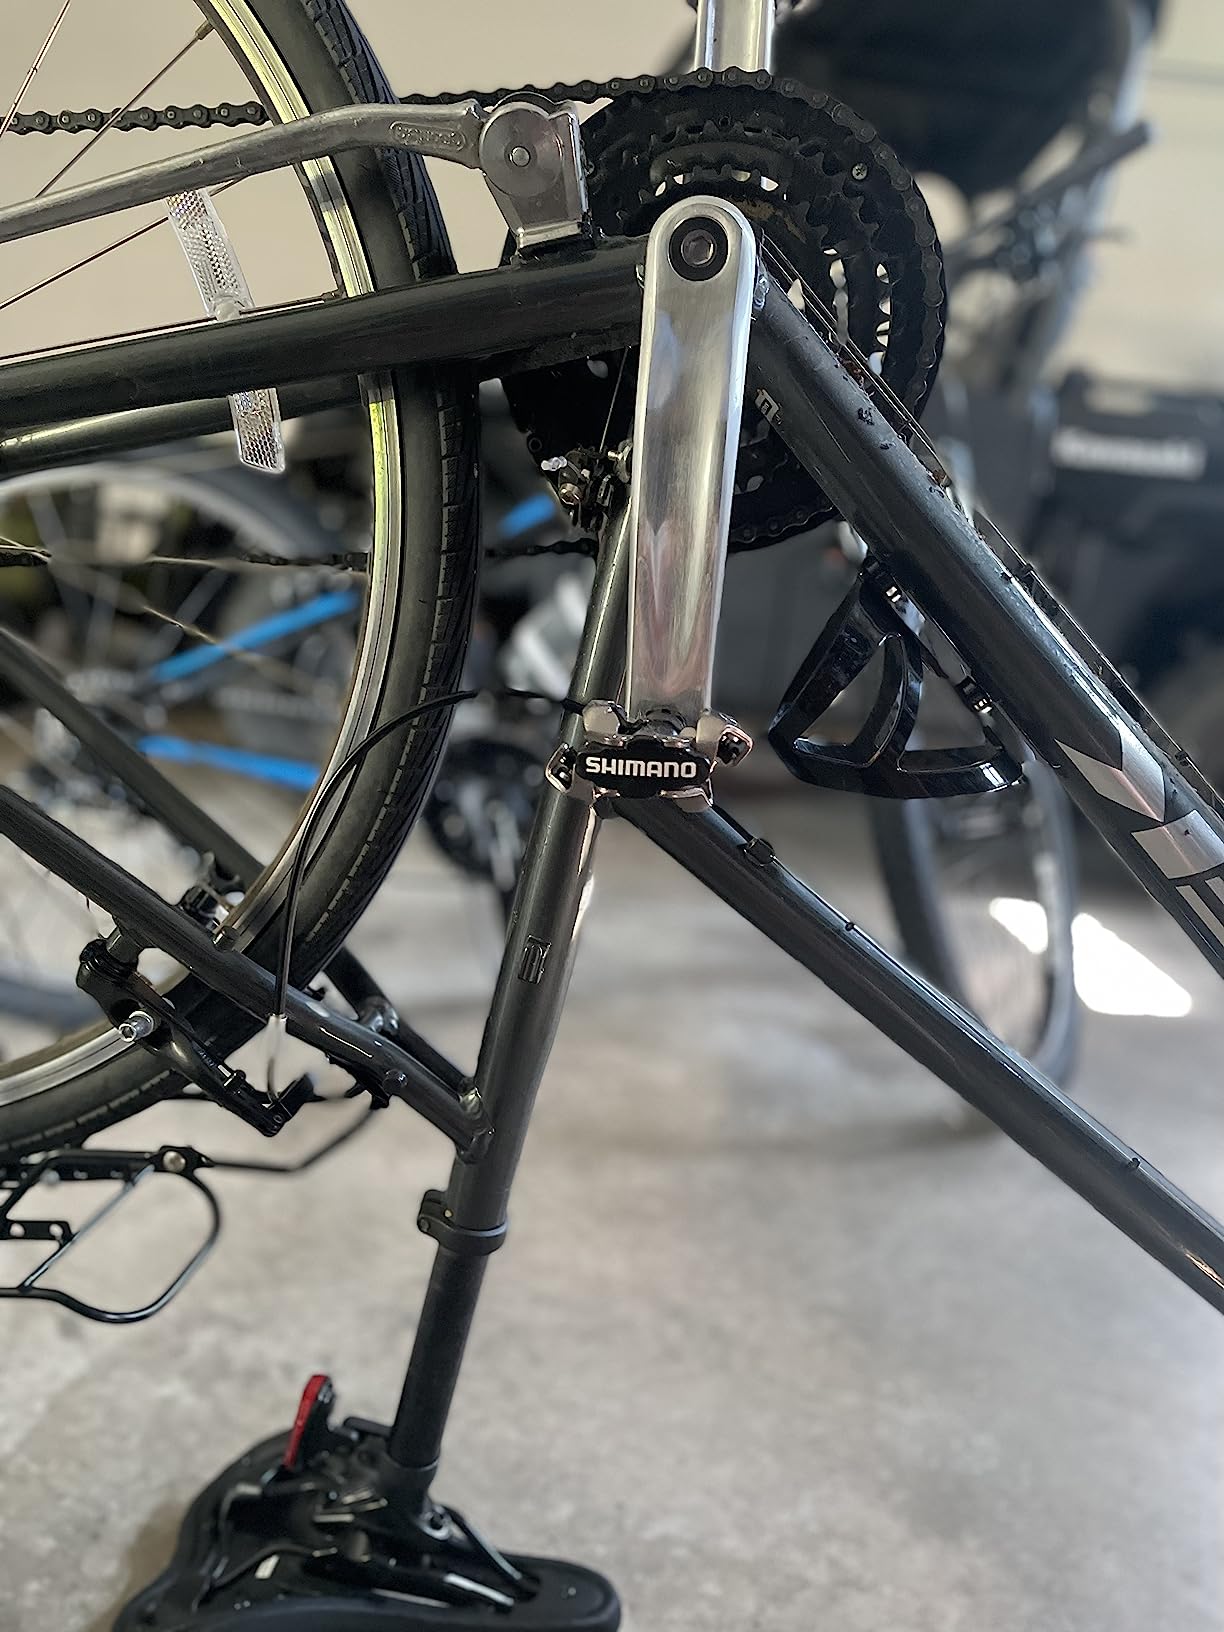
Tension is adjustable with a standard 4mm hex key, which matters more than it sounds. A brand-new rider can start at the softest setting and work up, and a rider who starts bailing out unintentionally can turn it up without swapping pedals. The spring range is wide enough to cover soft-soled DH shoes and stiff XC soles on the same bike.
Build quality is the quiet strength here. The body is aluminum, the spindle is chromoly steel, and the bearings are sealed cartridge types, so the mud and clay that come with real mountain biking stay out of the internals. With a review history this large, common failure points are well documented and, more importantly, fixable with parts that still exist.
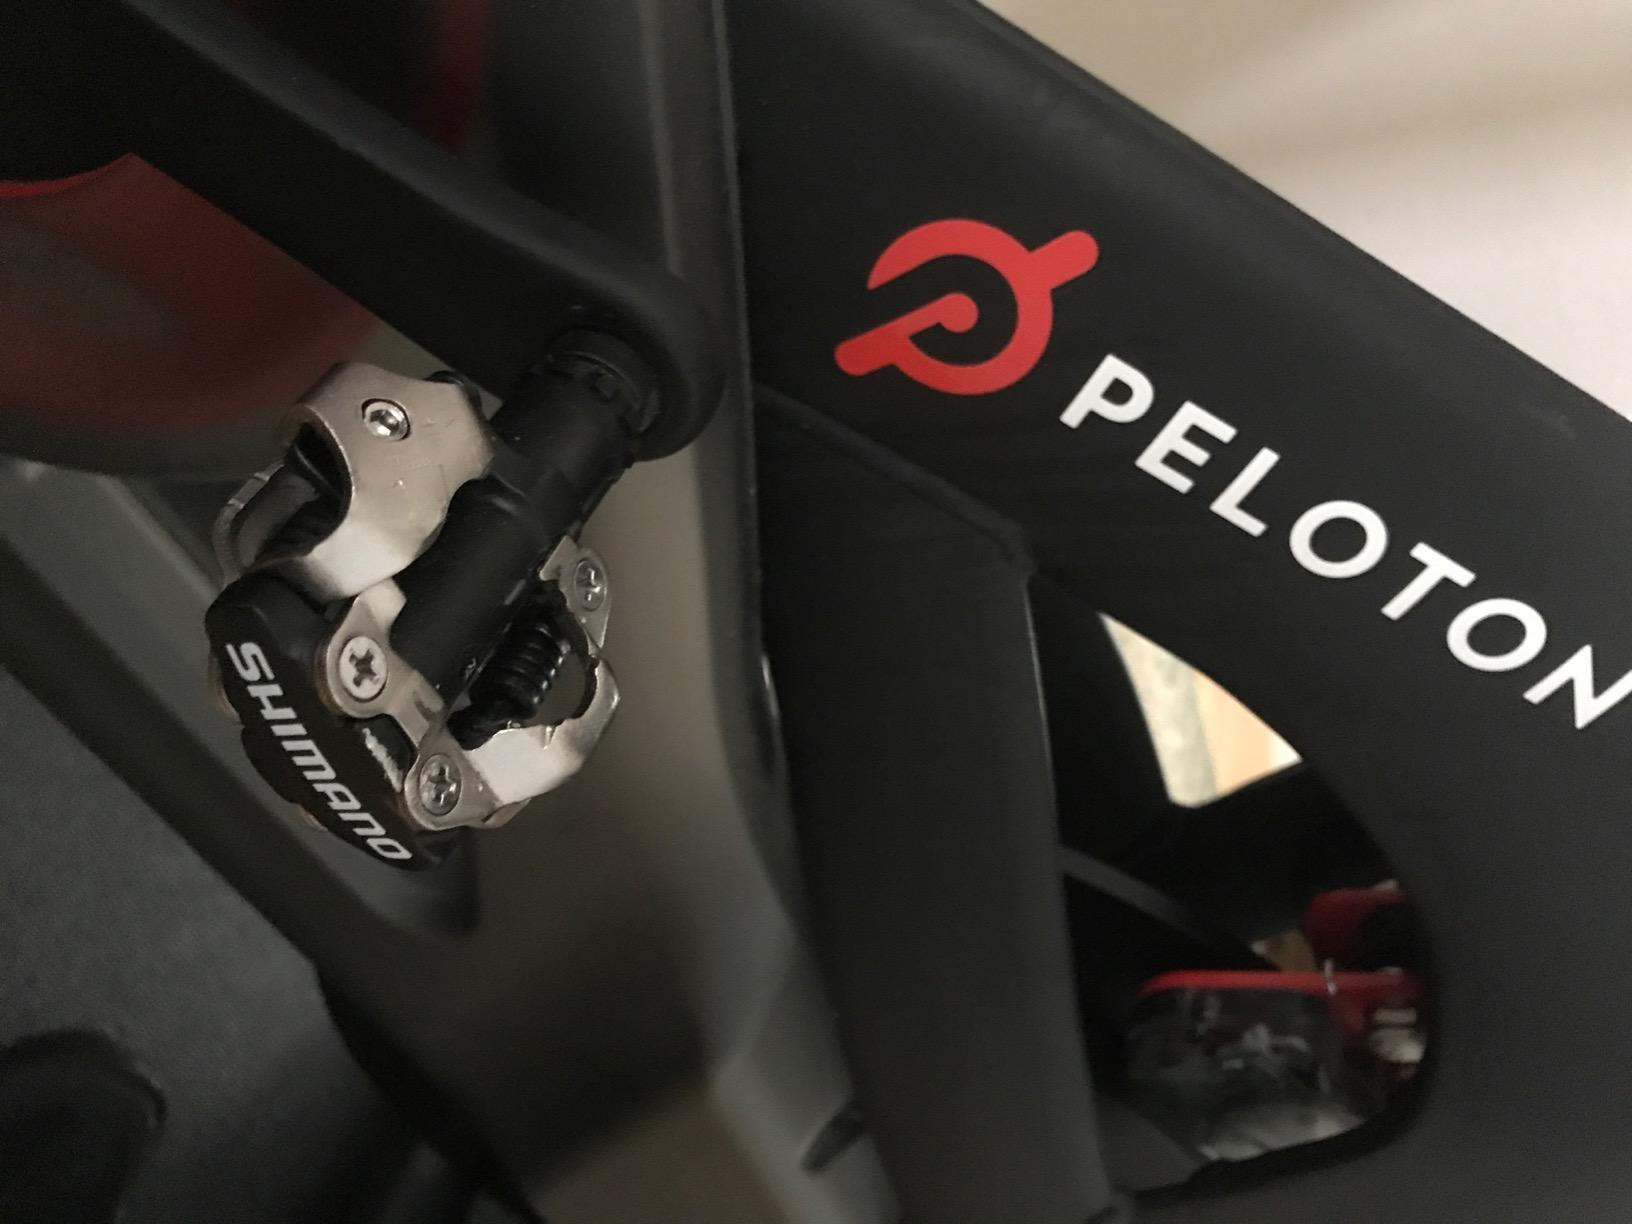
What to check before you commit
The platform is minimal. On flowing singletrack you will not notice it at all, and on smoother XC trails the low profile feels fast and efficient. On rooty, off-camber descents with lots of small pedal strikes, a wider cage gives you more to stand on when you lose balance.
At 380g a pair it is not the lightest pedal we tested, though it is among the lighter ones that take standard SPD cleats. If your entire reason for going clipless is shaving rotating weight and you ride nothing but smooth XC, one of the minimal options further down this list will serve you better.
Who should skip it
Skip the PD-M520 if you ride deep, wet mud every week and expect to clip in and out constantly, because a minimal SPD cage packs more with clay than an open-binding design does. The binding still clears mud well; it just has less open space than a bare cage.
Also skip it if you plan to run the same bike unclipped for long stretches. There is no platform to stand on, so any ride where you unclip to walk uphill will leave you shuffling. Riders in that situation should look at the hybrid option further down instead.
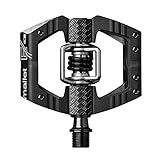
2. Crankbrothers Eggbeater MTB Clip-in Pedals – Best Float and Mud Shedding
Crankbrothers MTB Pedals Eggbeater 1 Black
280g per pair
Alloy steel
4-sided entry
Cleats included
+ The Good
- Extremely light at 280g per pair
- Open design sheds mud quickly
- 4-sided entry
- 5-year manufacturer warranty
- Cleats included in the box
- The Bad
- Small contact area can create hot spots
- No tension adjustment
- Less suited to aggressive trail riding
At 280g a pair the Eggbeater is the lightest pedal in this roundup, and the open shape is why. There is almost nothing between you and the ground, so mud, pine needles and clay fall straight out of the binding rather than packing into it. If you ride somewhere that is genuinely wet, that single property is worth more than any amount of extra platform.
Four-sided entry means the cleat can engage from any angle, which makes this one of the easiest pedals here to clip into without looking down. Riders switching from flat pedals tend to adapt fastest to this mechanism precisely because the opening is symmetrical and forgiving.
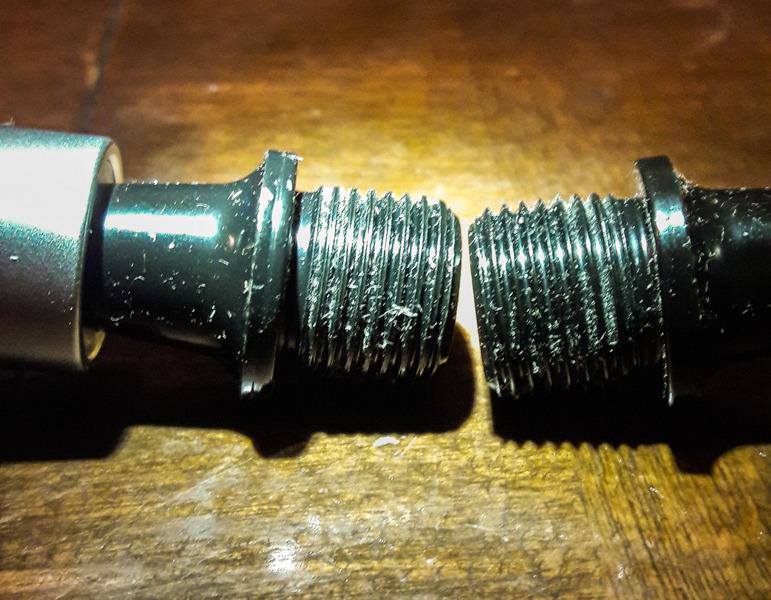
Float is the other headline. The binding allows a noticeable amount of twist under load, and the included cleats give you a defined starting point that you can change later. Plenty of riders with knee niggles credit that generous float with being kinder to their joints over long descents, though the same riders sometimes find it vaguer than a Shimano pedal.
The machining is alloy steel, the warranty runs five years from the manufacturer, and spare parts are promised for five years beyond the sale. That matters if you keep pedals a long time, because the spring, the cleat and the internals are all replaceable on this design rather than sealed away.
What to check before you commit
There is no tension adjustment on the pedal itself. Release feel is set by the spring, so your only lever is the cleat, and cleat choice changes the release angle rather than the spring force. Riders who bounce out on rough descents usually solve this by switching to a different Crankbrothers cleat, not by turning a screw.
The contact area is small by design, and reviewers do report hot spots and discomfort on long rides for riders with narrower feet. If you wear a narrow shoe and ride marathons, the composite wings on the next pedal give you more to stand on without much extra weight.
Who should skip it
Skip the Eggbeater if you ride aggressive, rocky trail where you need to stand on the pedal through loose, off-camber terrain. There is no cage, so when your foot moves the pedal moves with it, and that is exactly the moment you want a solid platform under you.
Skip it too if your cleats are not Crankbrothers pattern. SPD cleats will not fit, so a rider who already owns good SPD shoes needs matching cleats before this pedal is usable.
3. Crankbrothers Candy Clip-In MTB Pedals – Best for Beginners
Crankbrothers MTB Pedals Candy 1 Red
294g weight
Nylon-reinforced composite
Enduro cartridge and igus bearings
5-year warranty
+ The Good
- Best balance of support and low weight
- 4-sided entry
- Includes 6-degree float cleats
- Five-year warranty and five-year spares commitment
- The Bad
- Composite body less durable than alloy
- Platform flexes under heavy riders
- No spring tension adjustment
The Candy is the pedal we hand to someone on their second month of mountain biking. It gives you a small platform to stand on when you want one, keeps the whole thing light at 294g, and still has the open four-sided entry that makes clipping in easy. That combination is hard to find elsewhere at this weight.
The composite body is nylon-reinforced, and the wings are stamped steel, so the platform is stiffer than the bare open cages without tipping into heavy. Riders moving up from Eggbeaters generally report the difference is subtle until the moment they need to stand, and then it is obvious.
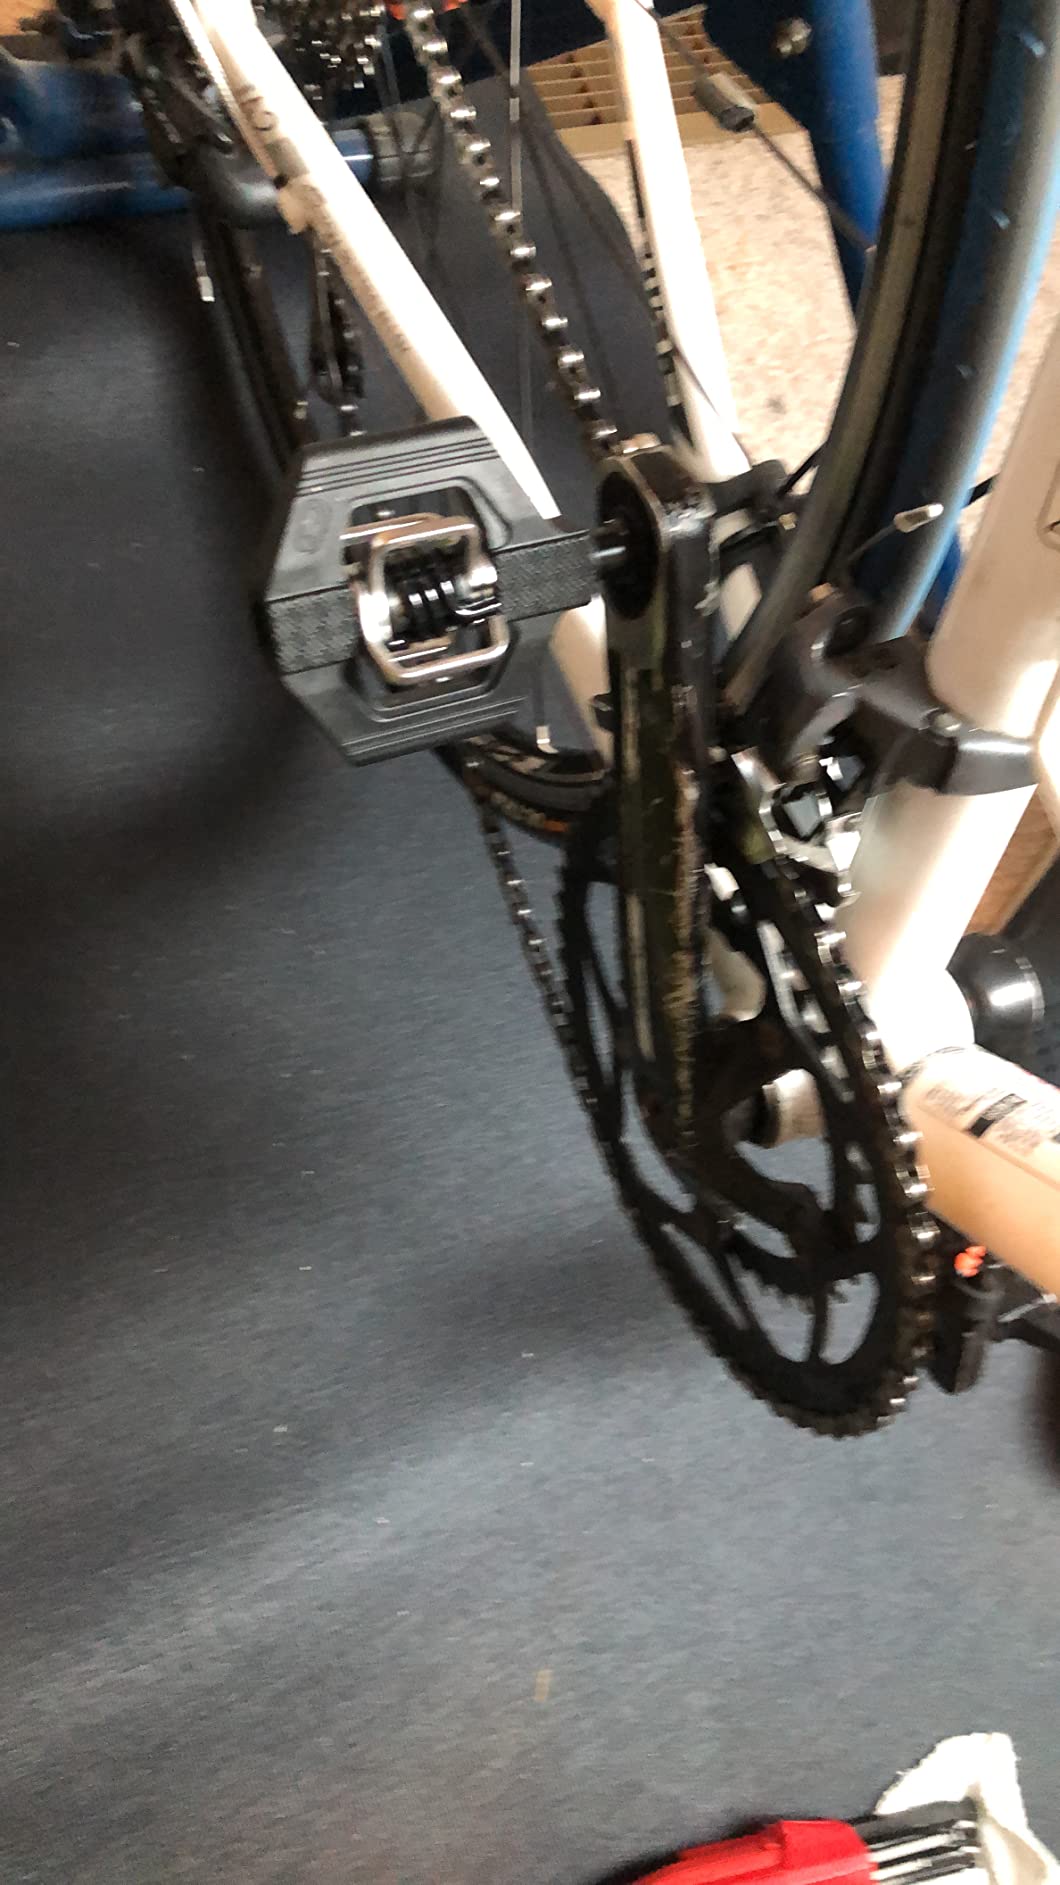
The internals are the part that impressed us most for the money. An outboard Enduro cartridge bearing sits alongside an inboard igus II glide bearing, and the DSS double seal system keeps water and grit out of the joint. A 5-year warranty and a five-year spare parts commitment back that up, and neither is universal in this category.
Included in the box are 6-degree easy-release cleats. For a first-timer those are the right starting point: a defined float angle that is forgiving on the knee, and a release that does not demand maximum ankle rotation to disengage. Multi-entry cleats are a good upgrade later once your technique is solid.
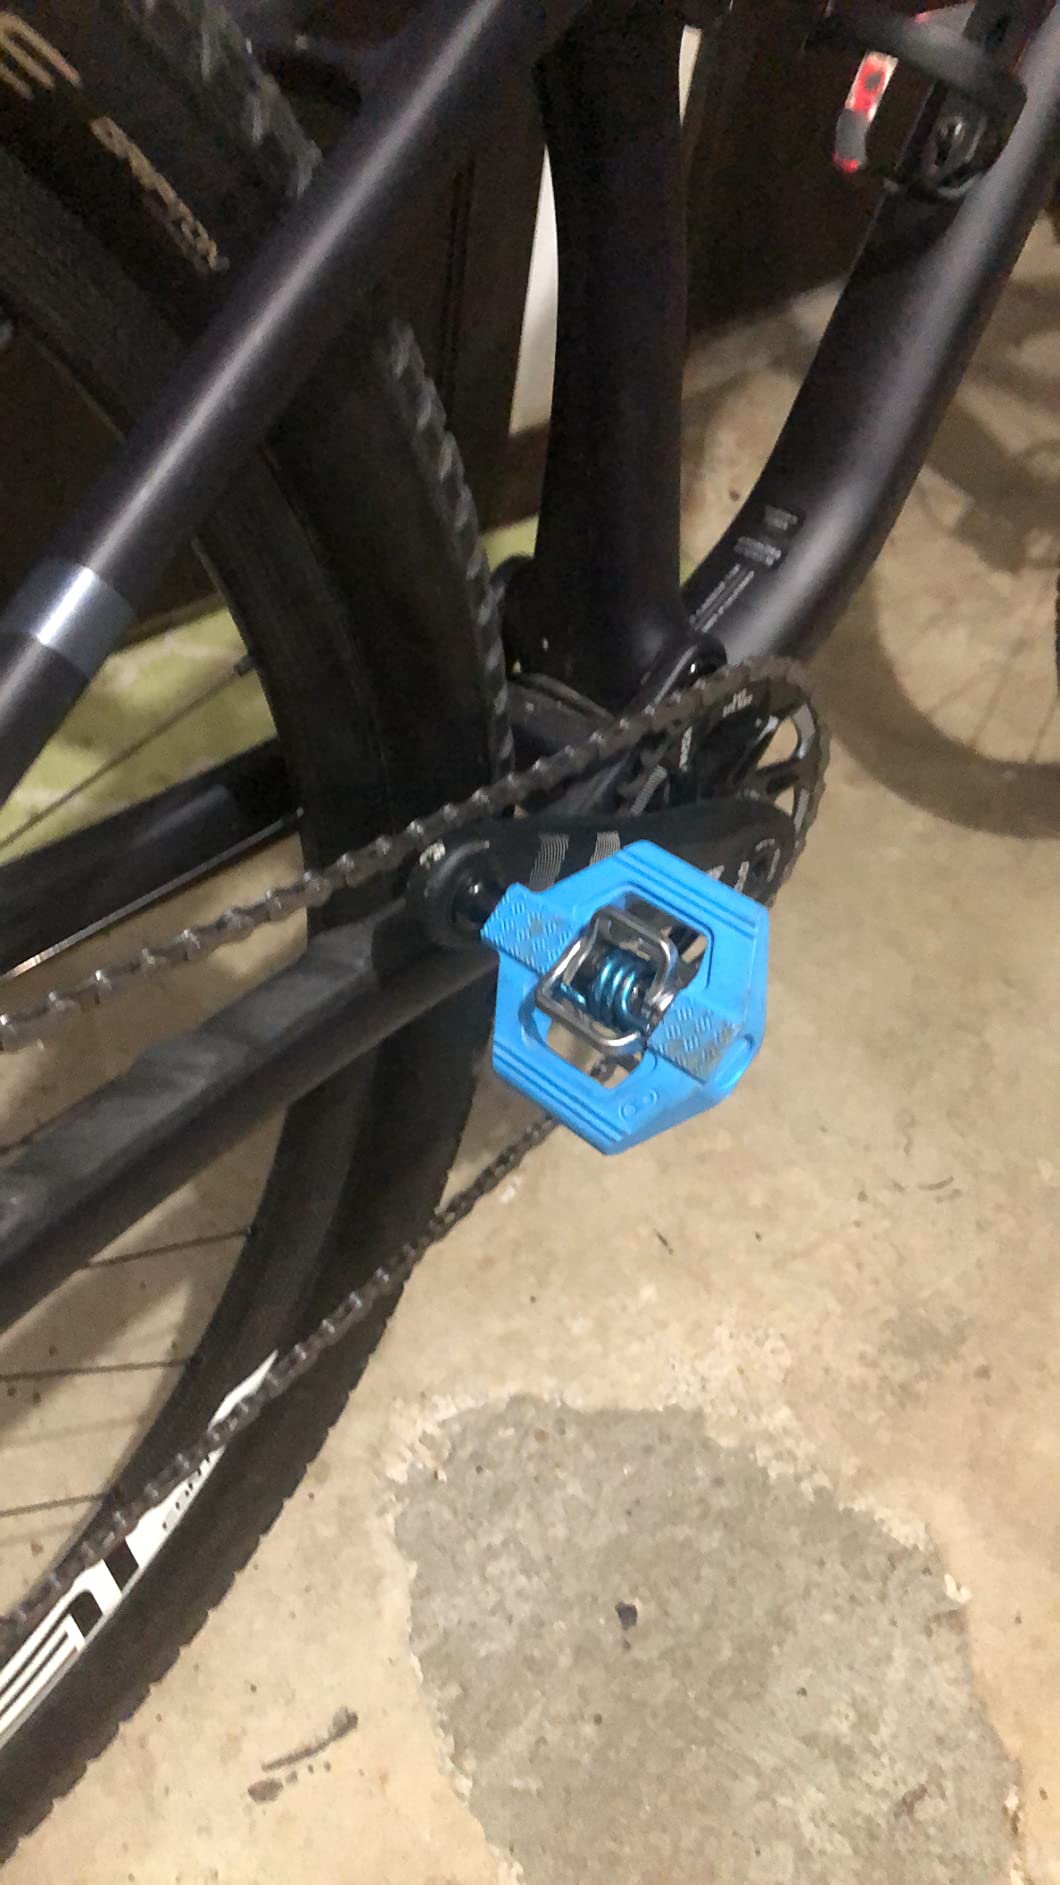
What to check before you commit
There is still no spring tension adjustment. The pedal is fixed; only the cleat changes the feel. Riders who want to tune release through a range should look at the Shimano options, where the tension screws are exposed and easy to reach.
Heavier riders should be honest about the composite body. Reviewers do report platform flex under substantial load, and while that does not affect clipping in or out, it can feel soft in a standing sprint. Alloy-bodied models handle that case better.
Who should skip it
Skip the Candy if you ride hard in wet clay and expect to power through deep ruts, because the wings will flex more than an alloy platform. It is also the wrong pick for anyone who wants to change float settings on the trail without carrying spare cleats.
And skip it if your plan is to run SPD shoes. The cleat pattern is brand-specific, so budget for a separate set of cleats and make sure your shoes take a second sole pattern or use a fresh outsole.
4. Crankbrothers Mallet MTB Bike Pedals – Best for Technical Trail
Crankbrothers MTB Pedals Mallet E Matte Black
419g weight
Aluminum body
3.7L x 2.95W inches
Six pins per side
+ The Good
- Large concave platform with six pins per side
- Works clipped in or as a flat pedal
- Chamfered edges help in rock strikes
- Rebuildable with parts available
- The Bad
- Heavier than XC options
- No spring tension adjustment
- Pin height takes trial and error
The Mallet is the only pedal here that genuinely does both jobs, and it does them well. Clipped in, it is a secure trail pedal; unclipped, the platform and pins give you a real flat pedal to descend on. For riders who shuttle a bike up a steep hike-a-bike section, that combination removes the reason to carry a second pedal set.
At 419g it is the heaviest Crankbrothers model here and noticeably heavier than an XC pedal, and that is the trade. You are carrying the platform whether you use it or not. In exchange you get six adjustable pins per side, a concave shape that keeps the foot centred, and ribbed body sections that still grip when you are unclipped.
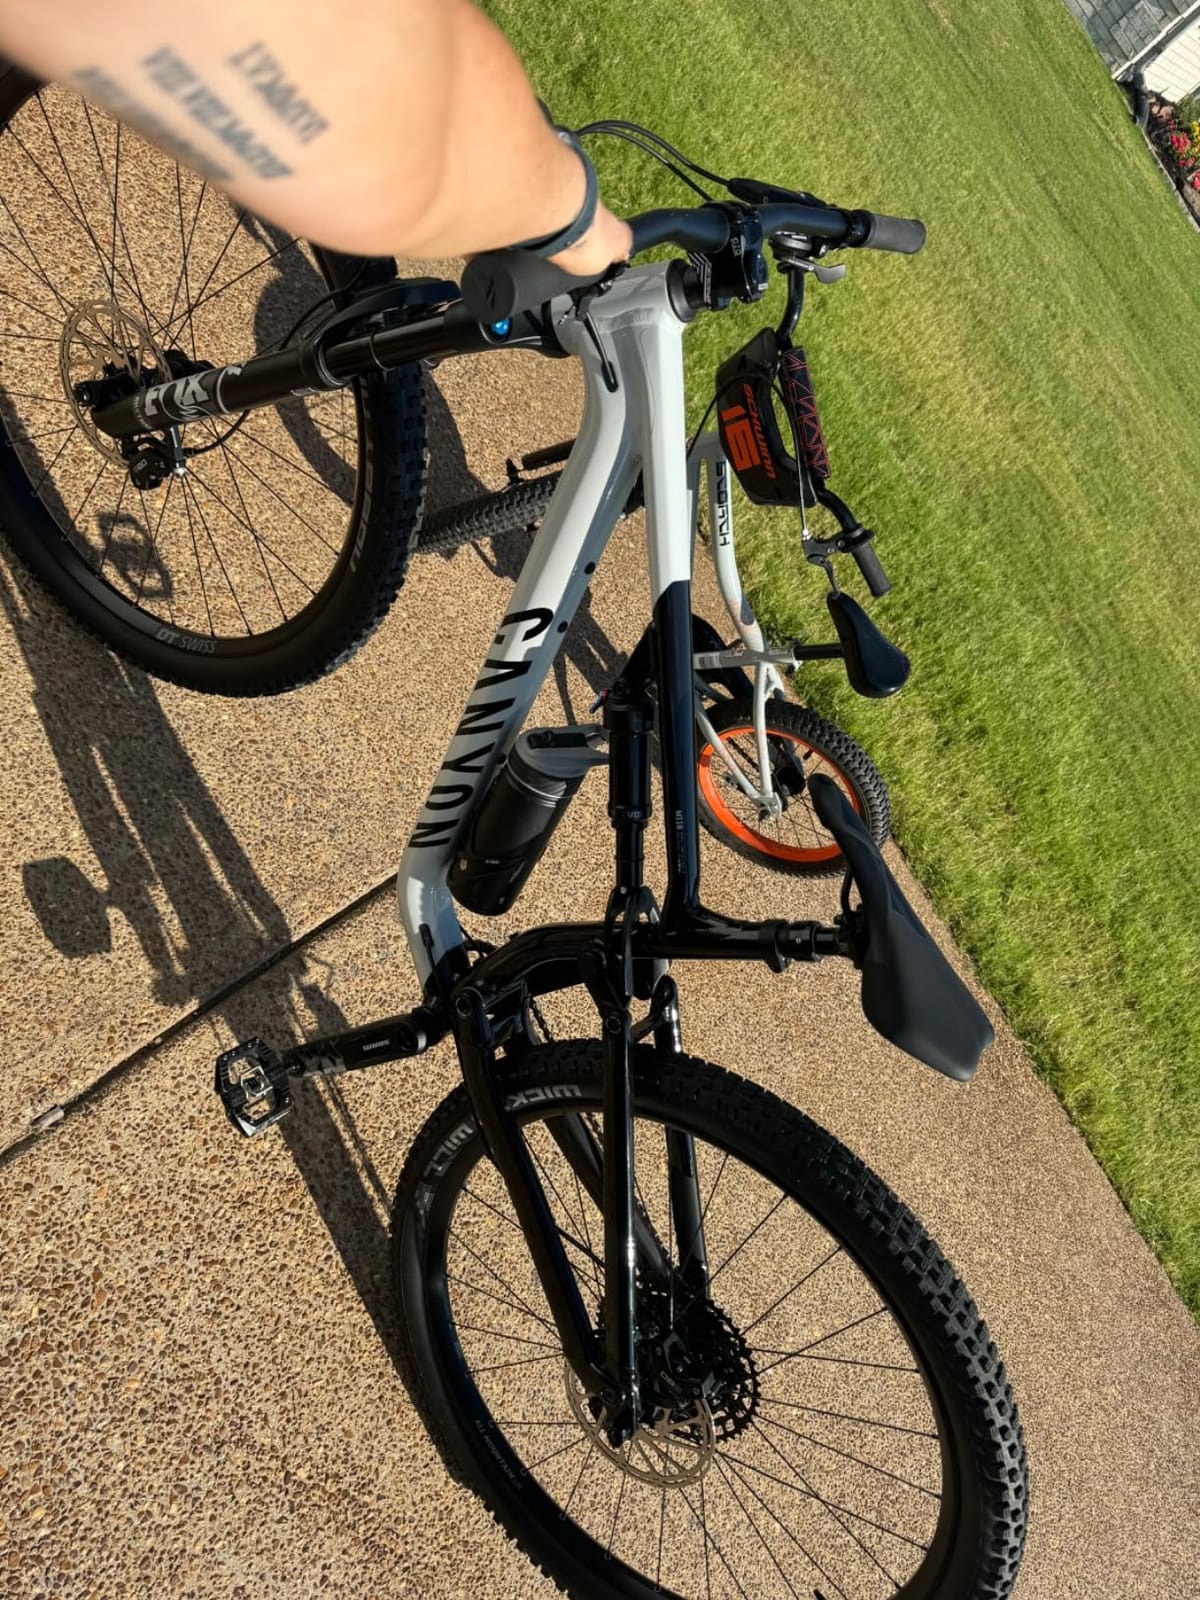
Traction pad technology lets you swap the interface rather than the whole pedal, and the chamfered edges are a small detail that matters a lot when the pedal hits rock. A sharp corner on a pedal that lands sideways can deflect your crank; a chamfer rolls over it. Riders testing this pedal on rough enduro terrain report fewer pedal strikes than with squared-edge platforms.
It is also rebuildable, and the design has been around long enough that springs, pins and internals are straightforward to replace. A 5-year manufacturer warranty covers the original sale. Rebuildability is the more valuable long-term promise here, because trail pedals wear out over years rather than months.
What to check before you commit
Pin height is a real setup task, not a set-and-forget. Start them low enough that you can clip in and out without catching, then raise them incrementally. Riders who get this wrong end up unable to unclip, which is the most common complaint in reviews.
Check your foot position on a ride before long days. The platform is generous, so mid-foot or rearward placement is easy to adopt by accident and you will not notice the problem until your knees start complaining on a long climb.
Who should skip it
Skip the Mallet if every gram matters and your riding is smooth and fast. The extra weight is dead weight on a road-legal XC bike ridden on flowing singletrack, and you would be carrying a platform you never stand on.
Also skip it if you want to tune release tension. Float is set by the cleat, and the spring cannot be adjusted from outside the pedal, so riders with a very specific release preference should choose a tension-adjustable design instead.
5. Shimano XT PD-M8100 – Best for XC Racing
Shimano Xt M8100 Pair of Pedals Unisex Adult One Size
370g weight
Wide 175mm platform
3.5mm axle
M8 thread
+ The Good
- Wide 175mm platform for stability
- 3.5mm hollow axle for power transfer
- Slim body saves weight
- Adjustable release tension
- The Bad
- Plastic body less durable under heavy rock strikes
- No platform pins for flat riding
- 2-year manufacturer warranty
The PD-M8100 is a race pedal and it does not pretend otherwise. The wide 175mm platform gives you a large, stable contact area to push against, and paired with a stiff XC sole that means power goes into the bike rather than into a soft binding. Riders who switched to it for race days reported a noticeably crisper response at high cadence.
The 3.5mm axle is the other part of that story. A thinner spindle interface means less flex under a hard sprint, and combined with the slimmer body design it keeps the weight down at 370g while still giving you something substantial to stand on for out-of-the-saddle efforts.
Release tension is adjustable, which is the main reason we prefer this over a minimal non-tension XC pedal. A racer can dial the spring stiff for technical descents and soften it for the long drag back to the truck, and doing that on the drive to a trailhead is genuinely useful.
It takes standard SPD cleats, so it slots straight into a rotation built around Shimano. That includes a road bike, a gravel bike and an MTB, which is the strongest argument for this model in a system that already runs SPD everywhere.
What to check before you commit
The body is plastic, not alloy. That is the whole weight story, and it is also the durability story: reviewers flag that it will not absorb the same abuse from heavy rock strikes as a metal-bodied pedal. On flowy race terrain that is a non-issue. On a rocky bike park it is a real one.
There are no pins, so riding unclipped on this pedal is unpleasant by design. If you regularly walk technical sections, this is the wrong tool.
Who should skip it
Skip the PD-M8100 if you ride rocky, technical terrain and expect to bash the pedal. The 2-year manufacturer warranty is also the shortest on this list, which matters if you keep pedals for many seasons.
Skip it if you want one pedal that works clipped and flat. There is no usable platform when unclipped, so a hybrid pedal is the better answer for mixed riding.
6. Funn Mamba MTB Clipless Pedals – Best Flat and Clipless Hybrid
Funn Mamba MTB Clipless Pedals, Single Sided Clip, SPD Cleats (Orange)
455g weight
CNC 6061 alloy
9/16 CrMo axle
Sealed cartridge bearing
+ The Good
- Clipless on one side and a pinned flat platform on the other
- CNC-machined 6061 alloy body
- Grease Renew System makes servicing simple
- Six colour options
- The Bad
- Single-sided clip-in entry only
- Heavier at 455g
- Some riders find unclipping stiffer than Shimano
The Mamba splits the difference in a way no other pedal here does: one side is a working SPD binding, the other is a proper flat platform with pins. Riders who want a single pedal set for a bike that gets walked on half the descent and ridden on the other half find this solves the problem better than carrying two sets and swapping at the car.
The body is CNC-machined from 6061 alloy, which is a step up in consistency from die-cast, and the 9/16 inch chromoly axle is the standard that fits virtually every crankset. Sealed cartridge bearings and a DU bushing handle the load path, and the platform is large enough to stand on without a second thought.
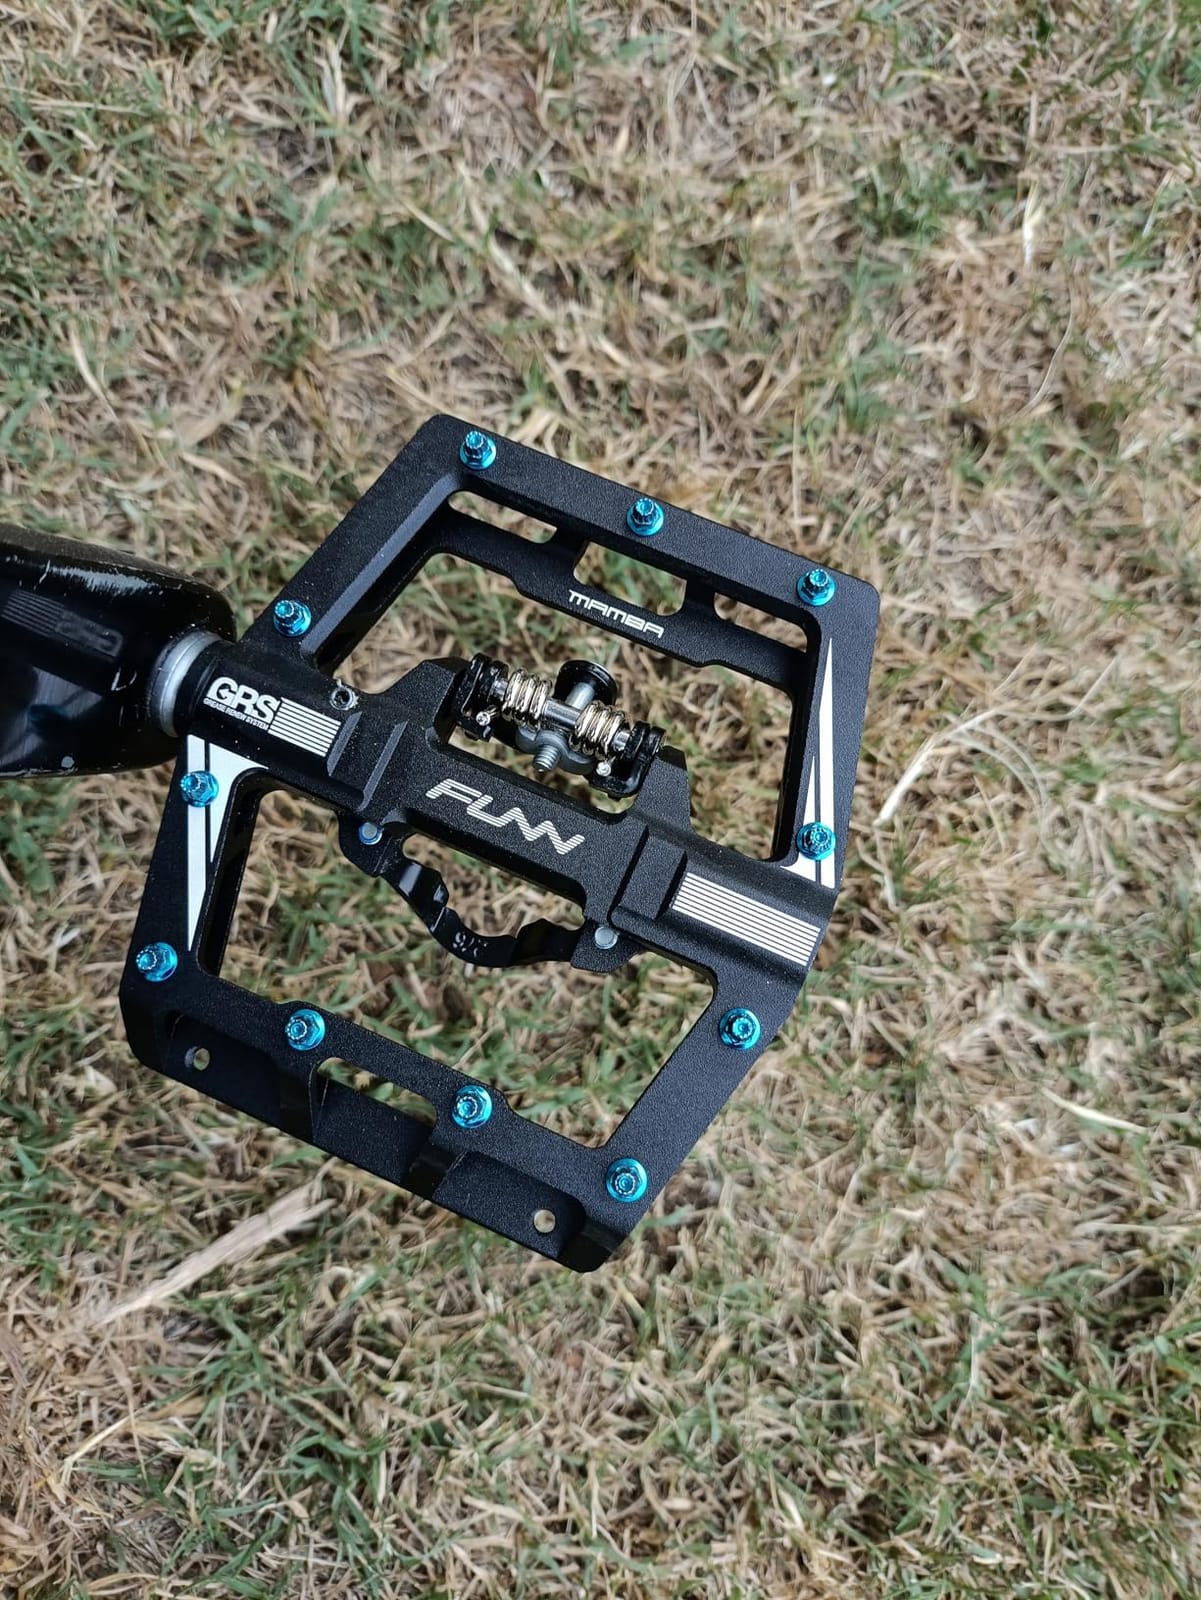
The Grease Renew System is the detail worth knowing about. It is a sealed, serviced bearing arrangement designed so that the internals can be replaced without destroying the pedal, which turns what would be a dead pedal into a maintenance item. On a design built to be ridden for years, that is worth real money over the long term.
Cleats are included in the box and the mechanism is SPD-compatible, so existing Shimano-cleat shoes work without a new set. Six colour options means the orange we tested is not your only choice.
What to check before you commit
The clip-in is single-sided. That is a deliberate trade for the flat platform, but it does slow you down slightly on a sloppy clip-in attempt, and it is the main reason a four-sided SPD pedal feels quicker when you are in a hurry.
Some riders report the release feels stiffer than Shimano pedals. If you are new and slightly tense, that combination is harder to learn on than a pedal with a light, adjustable spring.
Who should skip it
Skip the Mamba if your priority is lightness, because 455g a pair is a lot to carry on a road-legal bike. Riders chasing minimum weight for XC racing will feel that immediately.
Skip it if you ride deep mud and unclip often. A pinned flat platform is not mud-shedding, and the pins plus the binding opening give debris places to lodge.
7. LOOK X-Track MTB Pedals – Best for Road and Gravel Crossover
LOOK Cycle Bicycle Pedals, X-Track MTB Bicycle Pedals Standard SPD Mechanism Compatible Clipless Pedals
450g weight
Aluminum body
9/16 inch thread
2-year warranty
+ The Good
- SPD-standard mechanism works across road and MTB
- Very wide contact area
- Adjustable tension screw
- Good mud shedding
- Lateral contact guides the foot
- The Bad
- Heavier than Shimano XC options
- Only 2-year warranty
- Less platform support than trail pedals
LOOK builds road pedals and this one crosses over to MTB on an SPD-standard mechanism. For a rider who owns a gravel bike or a drop-bar bike with flat mounts and wants the same cleats on both machines, that compatibility is the entire argument, and it is a good one.
The wide contact area is what sets it apart from a minimal XC cage. There is a lot of surface under the ball of the foot, and lateral contact surfaces guide the foot toward the correct position so you spend less time looking down. Riders who like predictability report that the pedal feels settled almost immediately.
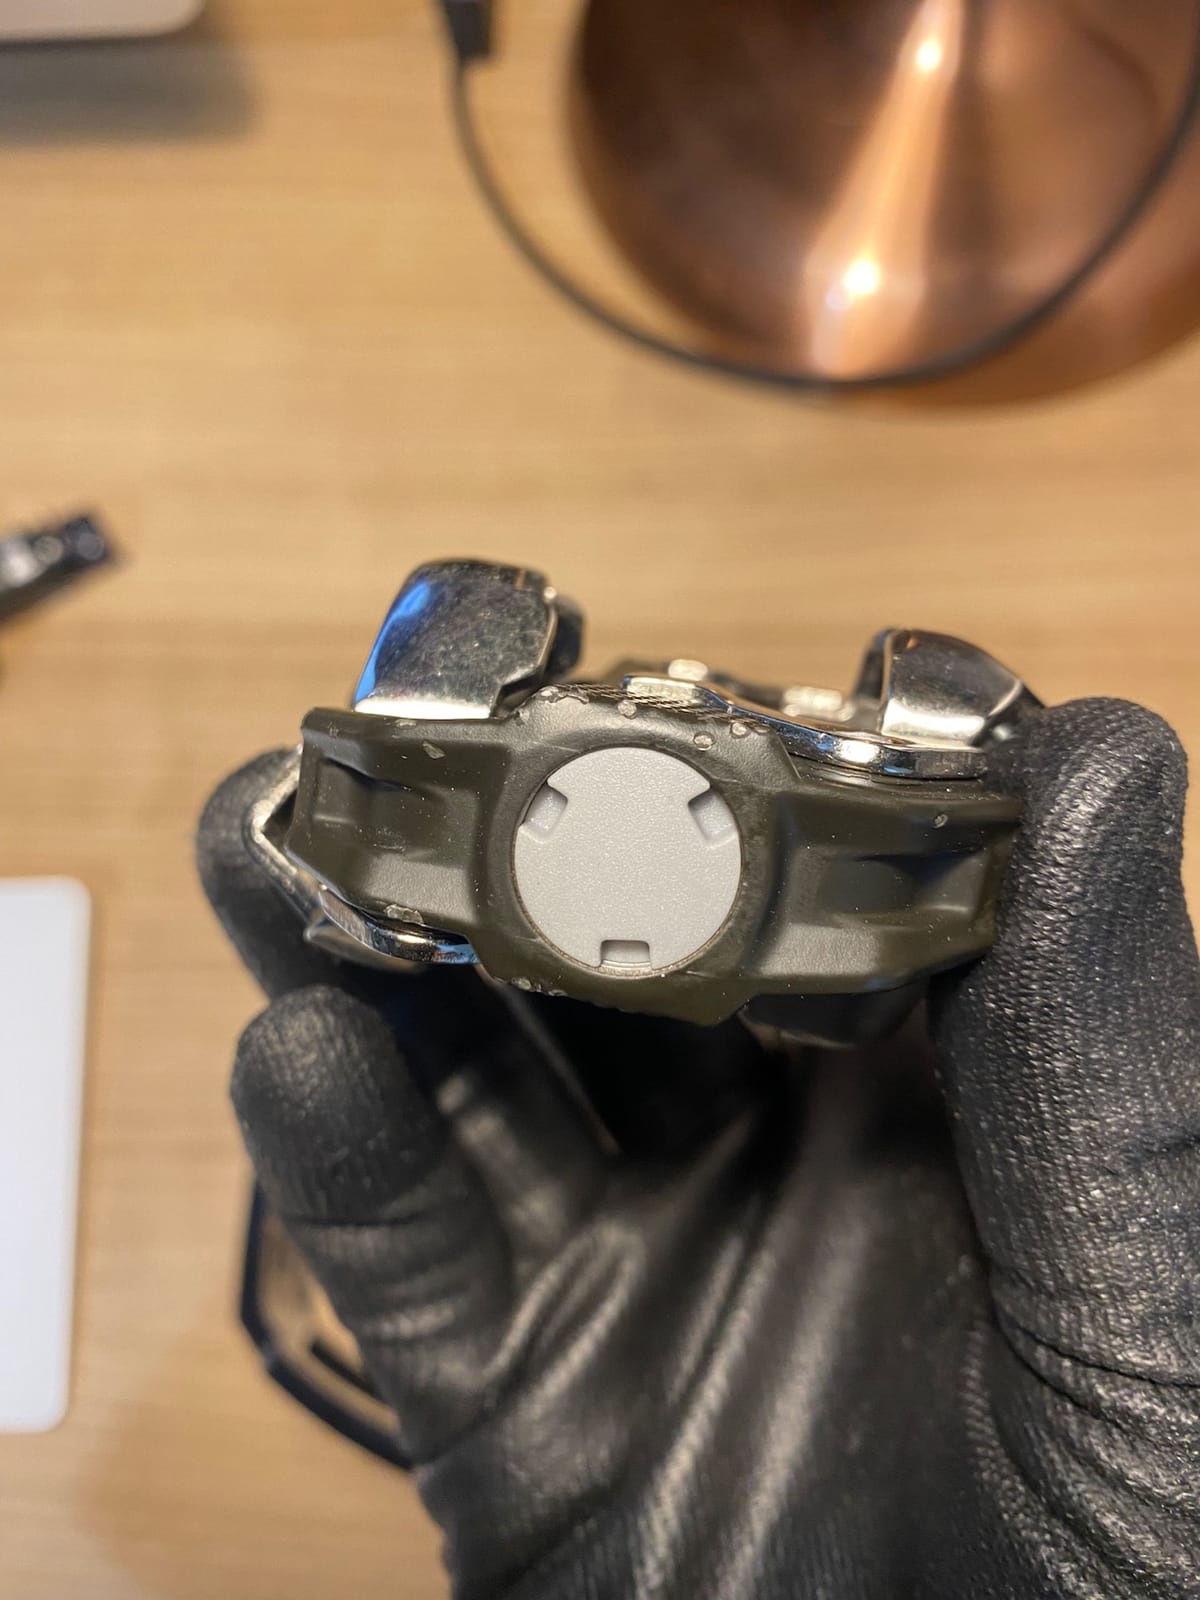
Tension is adjustable with a screw, and two cleat models are available: a standard version and an easy-release version. The easy-release cleat is the one to try first if you are new, because it lowers the force needed to disengage without changing the spring.
The open, mud-shedding design keeps the binding clearable, and the aluminum body with a 9/16 inch thread fits standard cranks. A 2-year manufacturer warranty is the shortest listed, so the long-term case rests on build quality rather than cover.
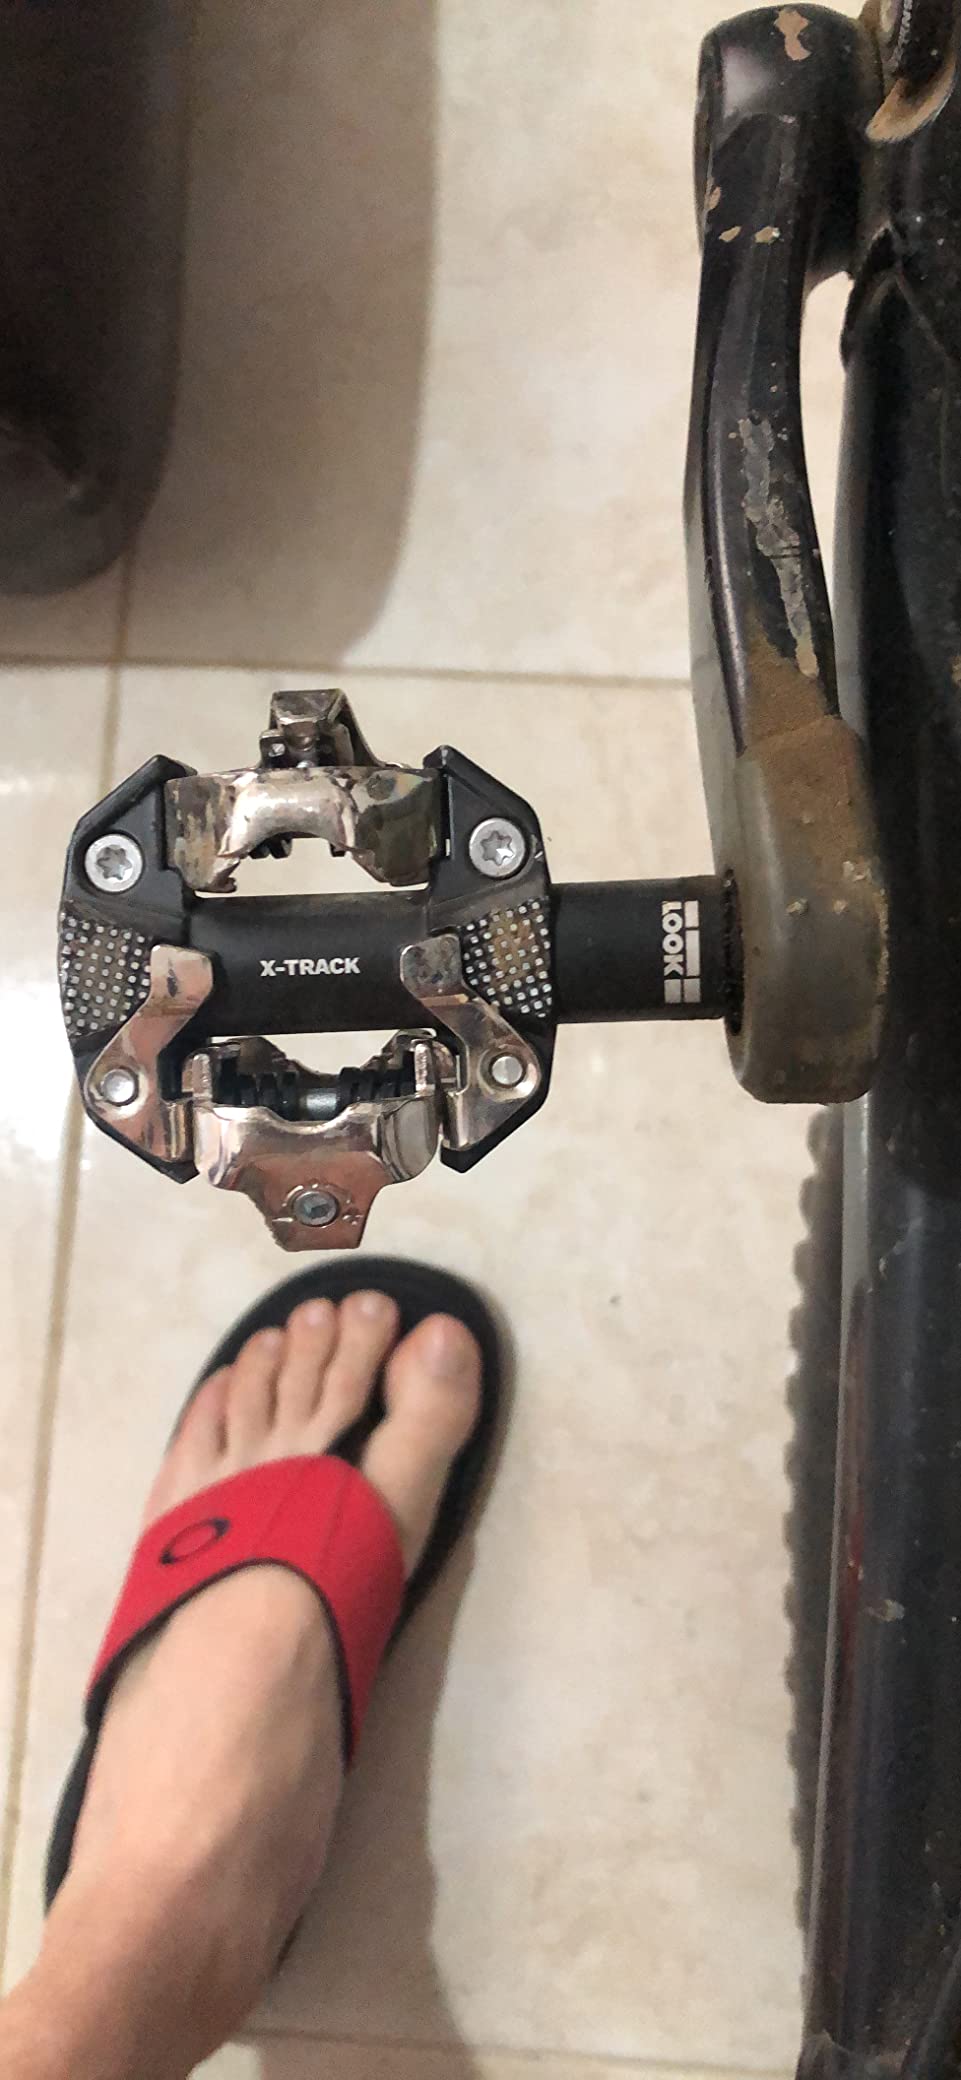
What to check before you commit
At 450g it is heavy for a pedal aimed at efficient pedalling, and you can feel that on a long climb compared with a lighter SPD option. If efficiency per gram is your goal, a Shimano XC pedal is the more efficient answer.
Check that your frame and crank accept the standard thread. Road-oriented setups sometimes use different hardware, and the pedal is sold as a 9/16 inch fitting.
Who should skip it
Skip the X-Track if you ride heavy, wet trail and want a pedal that stays quiet and smooth. Its priority is a wide stable platform rather than serviceable long-term internals, and it offers less support than a dedicated trail pedal on rough ground.
Skip it if you want a 5-year warranty. That is a real difference when you keep a pedal set for multiple bikes over many seasons.
8. Shimano XTR M9100 XC Pedals – Best for Rock Strike Survival
Shimano Unisex Pdm9100 Bike Parts, Standard, 9 16 inches UK
420g weight
Hollow tech aluminum
9/16 axle
Adjustable tension
+ The Good
- Hollow tech aluminum body resists rock strikes
- Low platform height for stability
- Reliable clip-in engagement
- Adjustable tension
- Sealed cartridge bearings
- The Bad
- Premium tier pricing
- Long supply lead times on some runs
- No platform for unclipped riding
- Counterfeit copies exist in the market
The XTR M9100 is the flagship XC pedal here, and the reason to choose it over a cheaper Shimano XC model is durability. Hollow tech construction gives a stiff, light body that reviewers repeatedly say survives rock strikes, and that is the failure mode that actually ends pedals on technical terrain.
The low platform height keeps the pedal body close to the ground, which lowers the centre of the foot slightly and makes the whole thing feel more settled at speed. On a bike that gets ridden hard on rough XC trails, that low-slung feel is noticeable rather than cosmetic.
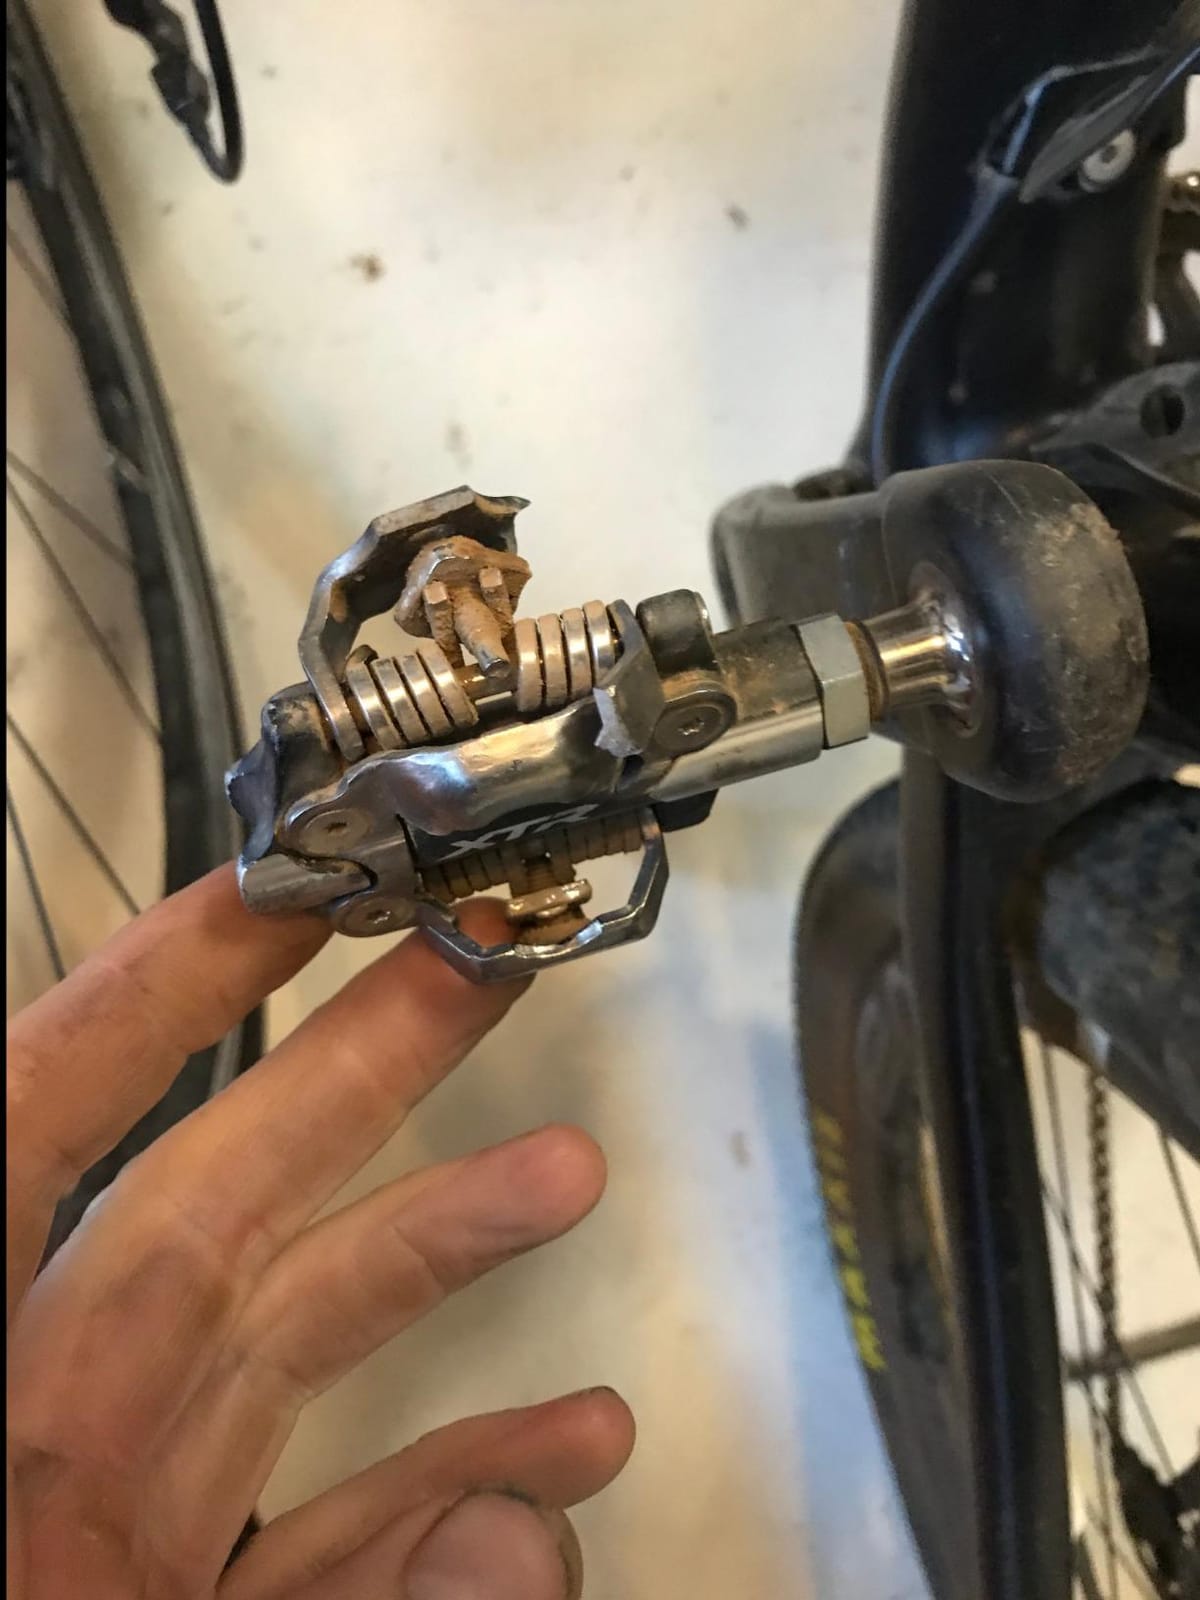
Engagement is the other strength. Clip-in is reliable and immediate, and release tension is adjustable so you can stiffen the spring for rough descents or soften it for the ride home. Sealed cartridge bearings protect the spindle, and the 9/16 inch axle fits standard cranksets.
Two practical warnings from reviewers are worth repeating. Availability on this model has been uneven with long lead times reported during certain periods, so plan your purchase rather than assuming it is always there, and be careful buying from third-party sellers because counterfeit copies have been reported.
What to check before you commit
There is no platform for unclipped riding, so this pedal assumes you stay clipped in for the whole descent. Riders who walk technical sections should skip past it.
Check the pedal fits your crank and that you are buying the genuine article from a seller you trust. A counterfeit version of a flagship pedal is a common problem and it will not perform like the real one.
Who should skip it
Skip the M9100 if your trail is smooth and fast. A lighter aluminium-body XC pedal gives you almost the same ride with less weight, and the flagship tier buys you durability you may never use.
Skip it if you need a wide platform, adjustable pins or a hybrid flat side. Those are different categories of pedal entirely, and this model does not attempt them.
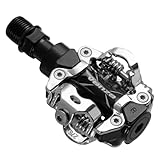
9. VENZO SPD Dual Platform Pedals – Budget Pick
VENZO MTB Mountain Bike Sealed Clipless Pedals Compatible with Shimano SPD Type Cleats SM-SH51 MTB Shoes – Easy Clip in
359g per pair
Die-cast aluminum body
CNC CrMo axle
Cleats included
+ The Good
- Fully Shimano SPD compatible
- Dual-sided entry
- Adjustable tension from 80 to 140kgf.cm
- Sealed bearings with LSL bushing
- Cleats and tools included
- The Bad
- Heavier than some buyers expect
- Bearings not as smooth as premium models
- Occasional quality control variation
- Not intended for technical riding
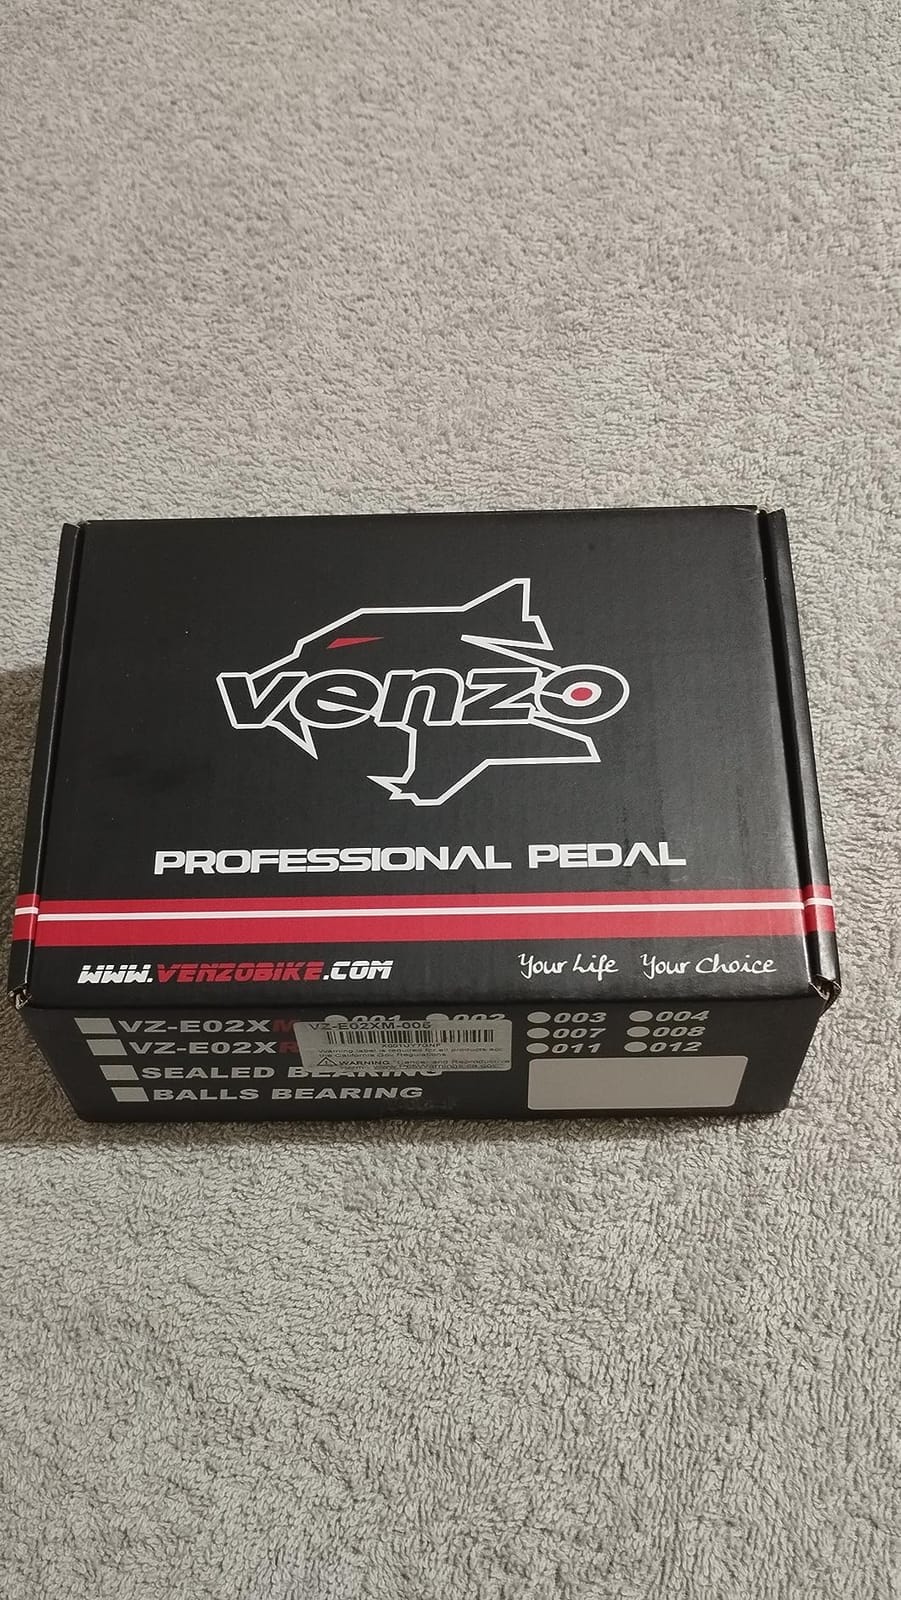
If the goal is to try clipless without changing your shoes or your whole pedal ecosystem, this is the pedal to start on. It is fully compatible with Shimano SPD cleats, takes them from both sides, and the box includes a pair of cleats and the tools to fit them, so the total setup is as close to plug and play as a pedal gets.
The body is die-cast aluminum with a CNC-machined chromoly axle, and it runs sealed bearings with an LSL bushing, which is a sensible layout at this level. Adjustable tension spans a useful range from 80 to 140kgf.cm, wide enough that a nervous beginner and a heavy rider can both find a workable setting on the same pedal.
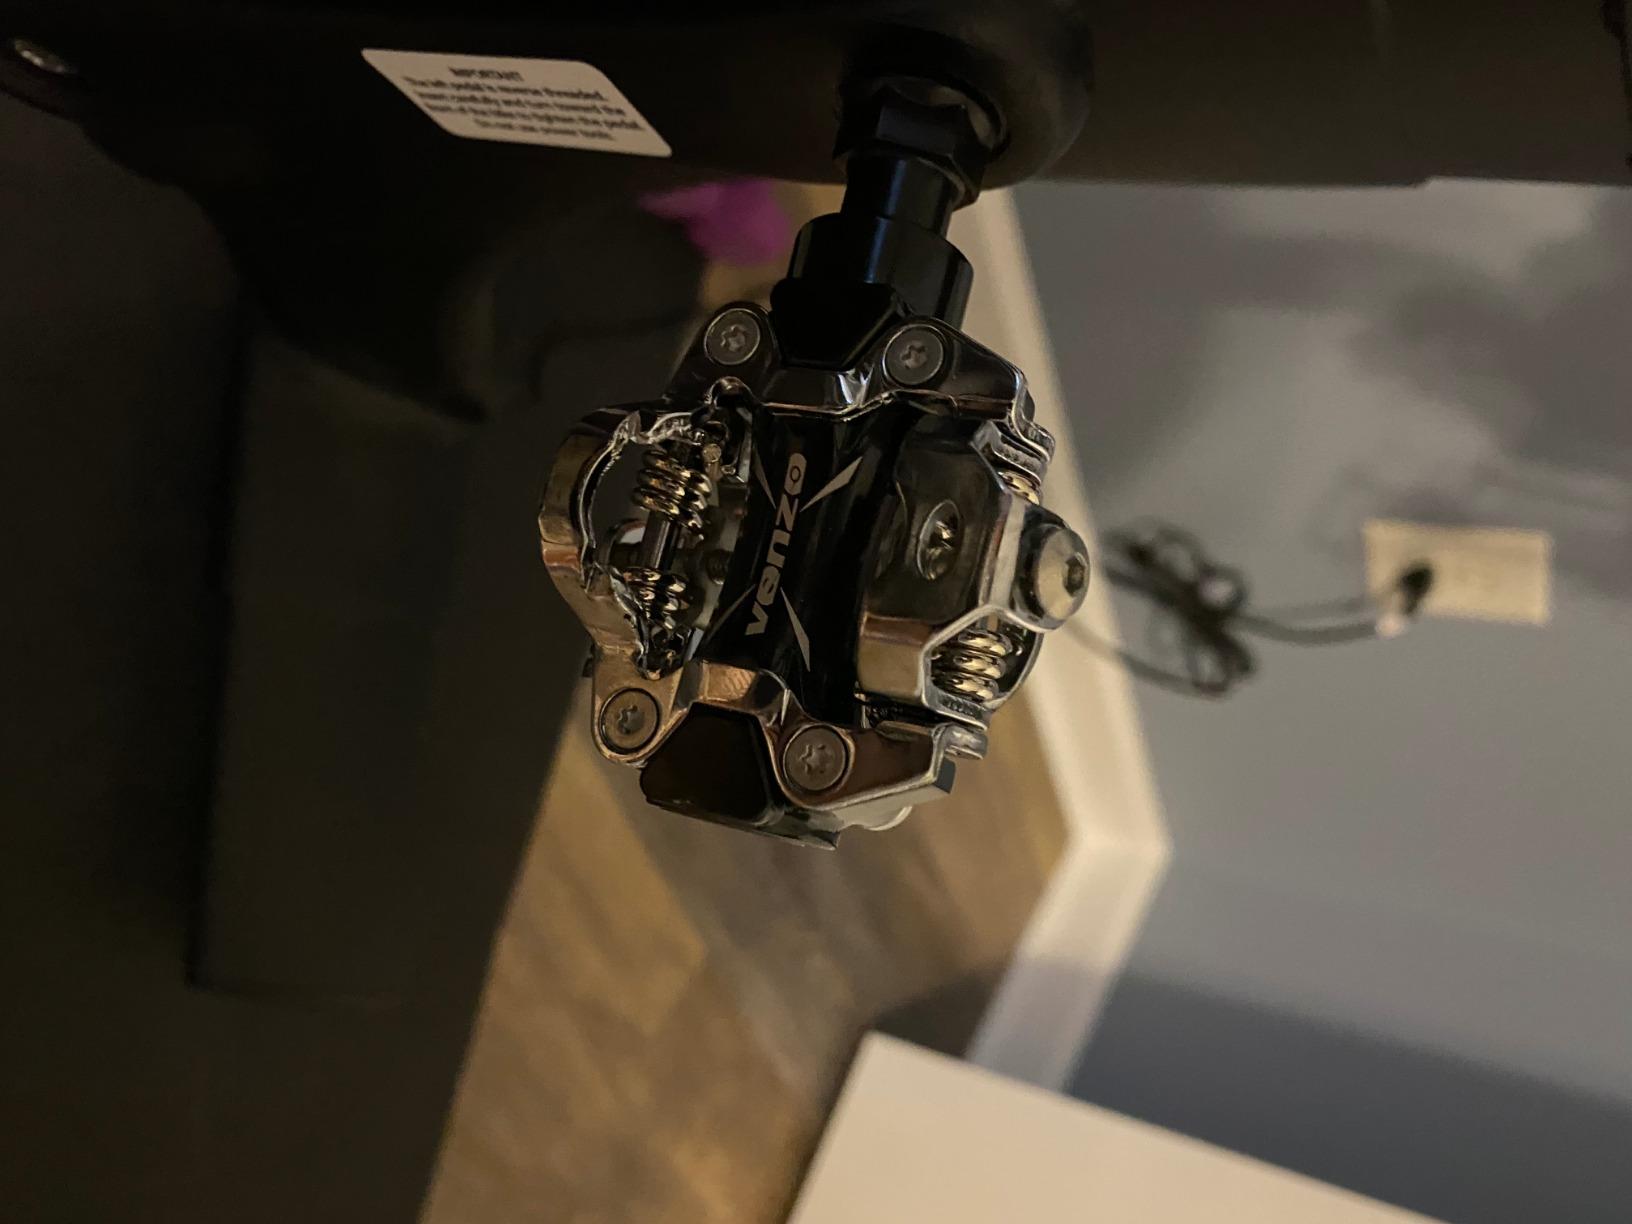
Reviewers commonly use it for commuting, first rides and casual trail, and that is exactly where it belongs. It is not a pedal for bike park laps or aggressive rocky terrain, and we would not put it on a long enduro race bike. Buyers should know that boundary before they buy rather than after.
Quality control is the honest weakness. Most riders are happy, and a minority report unclipping reliability issues and a tension screw that loosened over time. At this weight and price, a small batch variation is not surprising; keep a multitool with you for the first few rides.
What to check before you commit
Check the stated weight against what you expected. It is listed at 359g a pair but some riders report it feeling heavier in use, because the platform is solid rather than skeletal. If lightness is your priority, this is not the pedal.
Check your cleat tension early. It is adjustable, but it will move, so re-check it after the first few rides and after any ride where you clip out aggressively.
Who should skip it
Skip this pedal if you ride technical, rocky trail regularly or take your bike to a bike park. Durability and bearing smoothness are where budget construction shows, and that is exactly the environment that punishes them.
Skip it if you want long-term rebuildability or a long warranty. The 2-year manufacturer cover is honest but short, and the components are not designed to be serviced indefinitely.
10. Funn Ripper MTB Clipless Pedals – Best for Downhill and Enduro
Funn Ripper Mountain Bike Clipless Pedals, Rocker Clip/Spring-Loaded Clip-in Mechanism, Compatible with SPD Cleats, 9/16″ CrMo Axle Bicycle Pedals for MTB/Gravel Cycling (Green)
570g weight
CNC 6061 alloy body
9/16 CrMo axle
3.94L x 3.66W inches
+ The Good
- Double-sided SPD entry with an angular engagement system
- Large platform with adjustable pins
- CNC 6061 alloy body
- Rebuildable with available parts
- Includes pins
- cleats and tools
- The Bad
- Heaviest pedal tested at 570g
- Pins can catch the cleat if set too high
- Some creaking reported after extended use
- Limited colour options
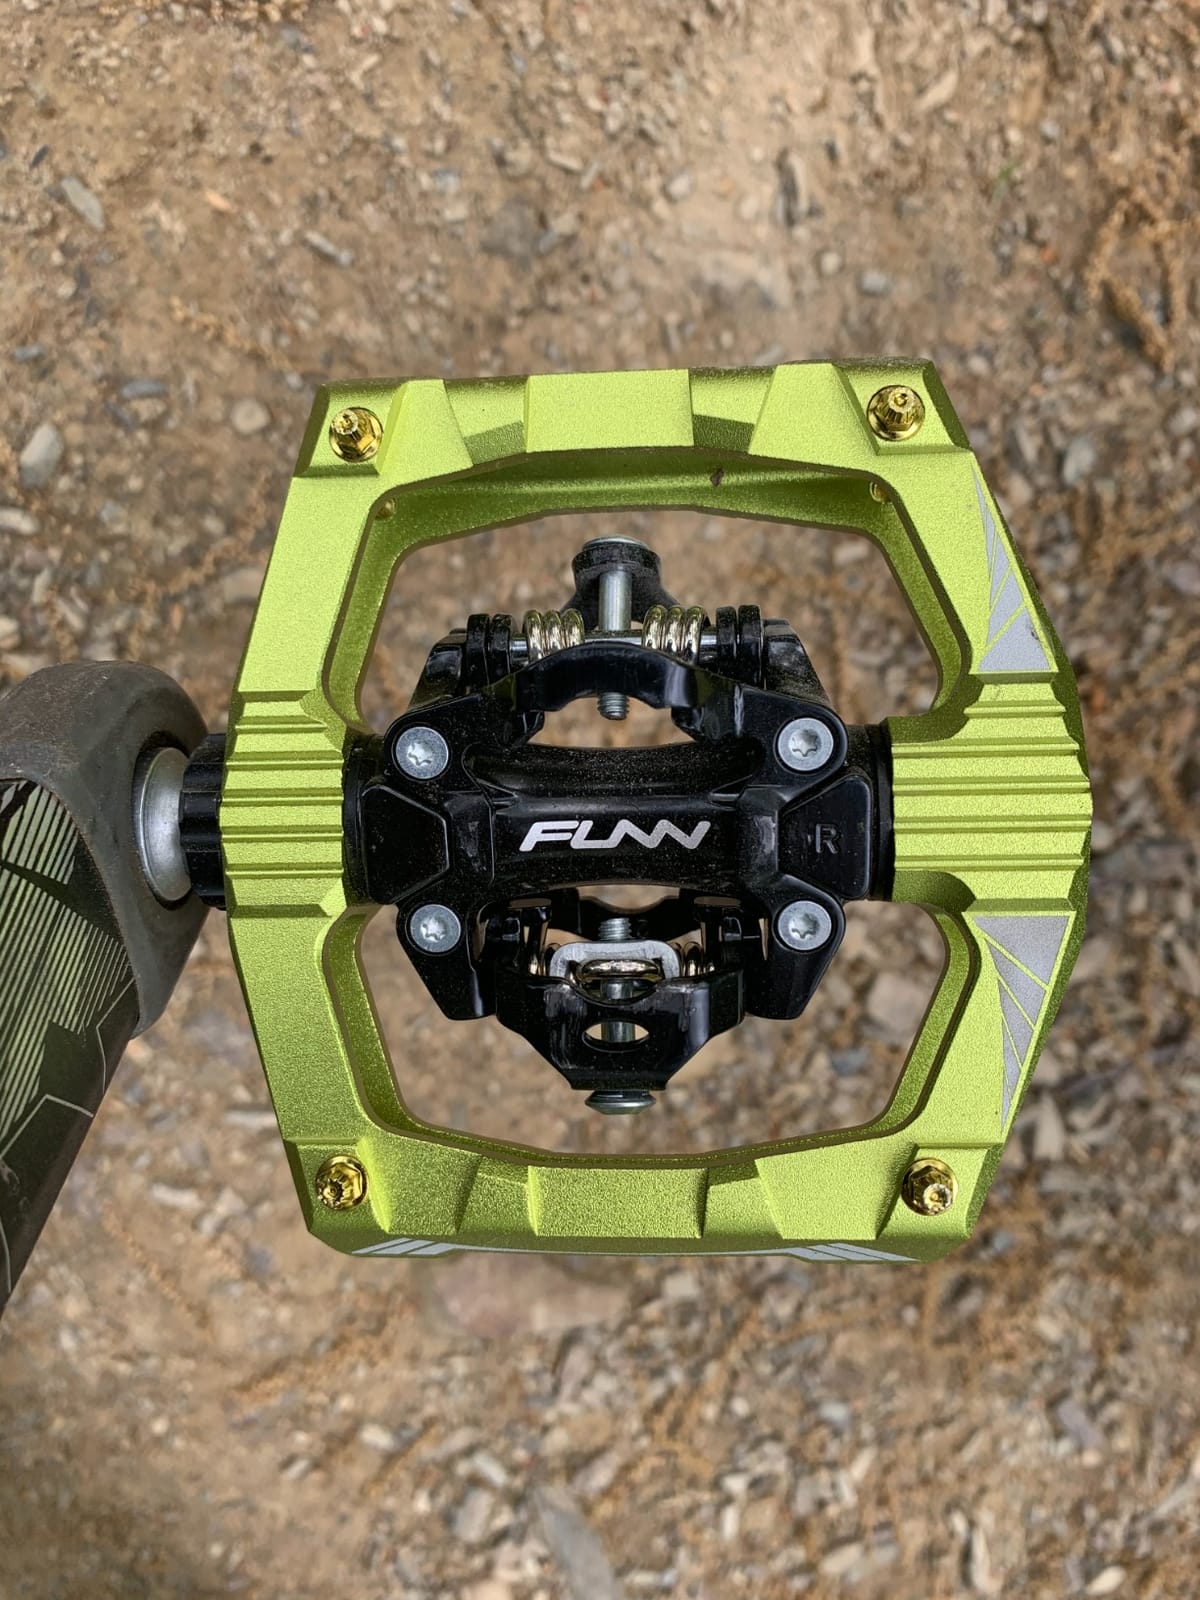
The Ripper is built for steep terrain and it shows in the shape. The platform is large, the body is CNC-machined 6061 alloy, and the double-sided clip-in is paired with an angular engagement system that riders describe as a magnetic-feeling snap. On a steep, loose descent that confidence is the point.
Unlike the Mamba, the Ripper is double-sided for the clipless mechanism, so you keep fast four-way entry on the trail and still get a wide pinned platform to stand on. That makes it the more capable gravity pedal of the two, and the trade is weight: 570g a pair is the heaviest here by a wide margin.
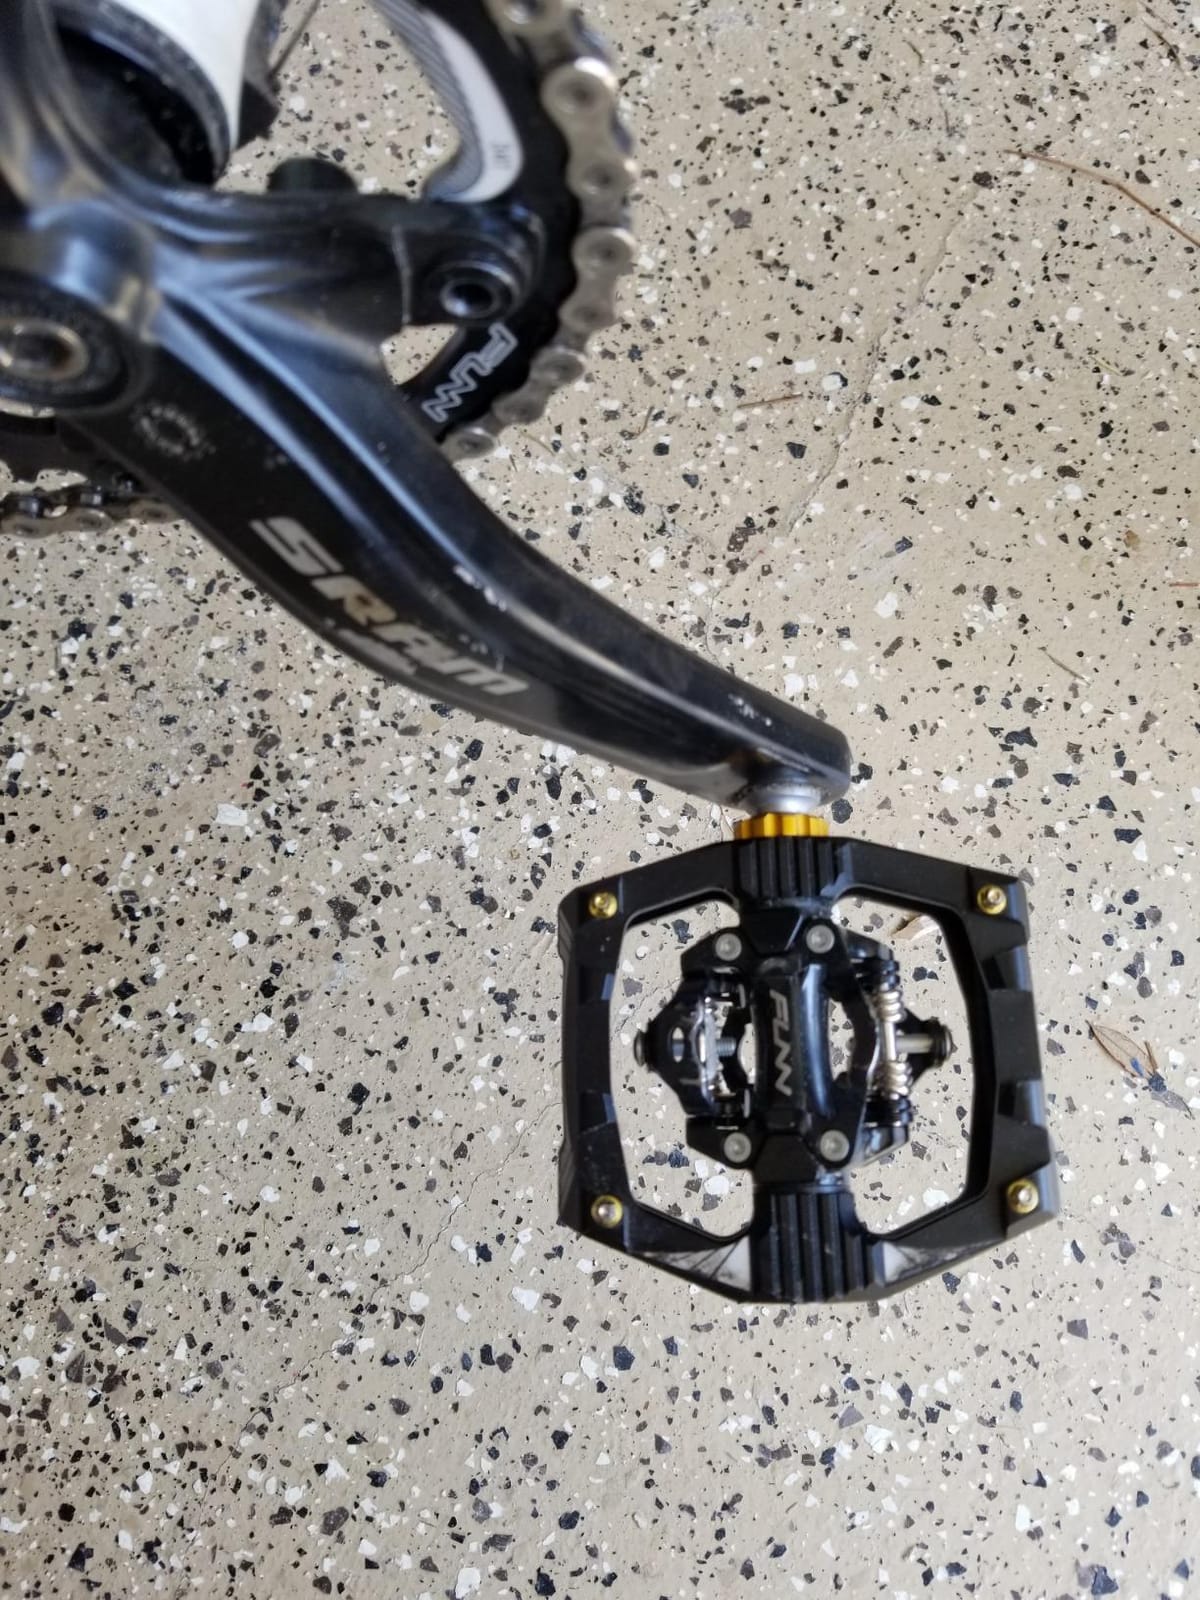
The 9/16 inch chromoly axle with a sealed cartridge bearing and DU bushing takes the loads gravity riding generates, and the whole pedal is rebuildable with parts available from the manufacturer. Spare pins, cables and tools come in the box, so a stripped pin is a trail fix rather than a trip home.
It suits large MTB shoes particularly well, because the platform is wide enough that bigger feet still sit centred on it. Riders running size 46 and up said this was the first gravity pedal that felt properly planted.
What to check before you commit
Pin height is the setup task. Set the pins too high and they can catch the cleat on the way out, which is the most common complaint in reviews. Start low, clip in and out a few times, then raise them one notch at a time.
Creaking shows up on some units after extended use. It is usually the interface rather than the bearing, and tightening the axle to spec resolves it in most cases, but check the crank threads before assuming the pedal is at fault.
Who should skip it
Skip the Ripper if weight matters at all. On a bike that gets pedalled up a fire road, 570g a pair is felt immediately, and there are lighter double-sided options for riders who do not need the platform.
Skip it if your riding is fast XC. The platform and pins are dead weight there, and the large size works against you when you are out of the saddle rather than on it.
How to Buy Clipless MTB Pedals: A Buyer’s Guide
Flat vs Clipless: What Mountain Bikers Actually Use
Clipless pedals lock your foot to the pedal, which gives you an upward pedal stroke, more efficient climbing and far less foot movement on rough ground. Flat pedals let you get off instantly, which is why most riders stay on them for the first season or two.
The honest version is that flats are better for falling over and clipless is better for everything else. If you ride tight low-speed switchbacks, want to dab a foot on a steep descent, or wear soft shoes without a stiff midsole, flats remain the correct choice for now. Riders with solid fundamentals who want efficiency and body control on technical descents are who clipless is built for.
If you want one pedal set that covers both, look at the hybrid designs further up. One side is a working binding, the other is a pinned platform, and you can choose per ride rather than per bike.
Float: How Many Degrees You Actually Need
Float is the number of degrees your foot can twist side to side while clipped in. Too little and you feel every rock through your shin; too much and the pedal feels vague, and some riders report knee discomfort as their lower leg rotates with the foot.
Most Shimano SPD cleats give you roughly 3 to 6 degrees depending on the model, which is a sensible middle ground. Crankbrothers cleats are offered in higher float options, and riders who like them usually say they are easier on the knee over long descents. The forum consensus is consistent: high float feels good after a few rides, but it feels wrong for the first week.
Riders coming from flats should start with a mid-range float cleat and only experiment with high float once clipping in and out is automatic. If your knees start complaining, drop the float rather than blaming the pedal.
Release Angle and Spring Tension for Beginners
Release angle is how far you must rotate your ankle to unclip, and spring tension is how hard the binding grips before that happens. Lower tension and a lower angle mean easier release and more accidental releases. Higher settings mean the opposite.
Start every new pedal at the softest setting. Practise clipping in and out until it is automatic, then add tension in small steps. Tension adjustment screws sit on the outside of the pedal and take a standard hex key, so a multitool is enough for most of the models here.
Cleats change the release angle too, which is how the non-tension-adjustable pedals are tuned. An easy-release cleat lowers the force needed to disengage without touching the spring, and it is the cheapest way to make a fixed-tension pedal feel friendlier.
Stack Height and Rock Strikes
Stack height is the thickness of the pedal body. A low pedal keeps the foot closer to the ground, which reduces the chance that the pedal body catches a rock and stops the cranks dead. That jolt is what riders mean when they describe a pedal strike.
Low-stack race pedals feel fast and precise but give you less to stand on and less protection. Trail and gravity pedals accept a taller body in exchange for platform area and pin coverage. The chamfered edges on the wider designs in this roundup exist specifically to help a pedal roll over a rock rather than catch it.
Platform Size, Traction Pins and Cages
Platform size is the surface area you can stand on. On flowy terrain a small platform is fine. On rooty, loose or off-camber ground, a wider platform gives you something to stand on when your balance goes, and pins add grip for shoes that are not fully stiff.
Adjustable pins let you tune that grip, but they introduce a setup step. Start them low so you can clip out cleanly, then raise them. The failure mode is familiar: pins set too high catch the cleat on the way out and the rider blames the pedal.
Buy a small pin wrench or multitool with the tool bit for it. Every wide-platform pedal in this list needs one, and every one of them will need it at some point.
Q-Factor and Stance Width
Q-factor is the distance from the crank centre to the outer edge of the pedal. A wider stance is more stable when standing; a narrower stance keeps the feet closer to the cranks, which is often more comfortable for riders coming from flat pedals with a narrow stance.
Wide-feet riders struggle most here, and the practical rule is simple: if you can stand on the pedal with the ball of your foot and your heel supported without your foot hanging off, the platform is wide enough. If your heel overhangs, move up a size or add cleat shims to bring the foot inward.
Matching Your Cleats to Your Shoes
Stiff-soled XC shoes pair with minimal cages, because a rigid sole transfers power directly to the pedal. Soft DH shoes with a flexible midsole need a wider platform and pins, or the cleat flexes and you lose power and comfort.
Cleat pattern matters more than most riders expect. SPD cleats only work in SPD pedals, and Crankbrothers cleats only work in Crankbrothers pedals. The good news is that SPD covers most of the field and works across road, gravel and MTB, so a rider with one SPD shoe can move between several of these pedals without changing anything.
If you own soft shoes already, you can often fit cleats into the existing sole if the pattern allows it. Otherwise, budget for a dedicated clipless shoe and wear them for the rest of the day, because they are noticeably less comfortable walking.
Mud Shedding and Binding Openings
Mud shedding is simply how much open space a binding has for debris to fall out of. Open cage designs shed almost everything. Minimal SPD cages with a plate around the binding shed a good deal but will pack in deep wet clay, and that is when riders get stranded mid-trail unable to clip in.
A solid plate under the binding is the enemy of mud clearance, but it is also what makes clipping in more repeatable. That is a genuine trade-off rather than a flaw, and it is why wide gravity pedals feel slower to clip into on a muddy ride even though they feel safer once you are standing.
Weight Against Durability
Every gram matters less than riders assume. The difference between the lightest pedal here and the heaviest is real but modest next to the weight of a pair of shoes and a water bottle, and you will not feel it on a ride unless you are racing.
Where weight and durability genuinely conflict, look at the material. Plastic and composite bodies save grams and lose to rock strikes. Hollow or CNC-machined aluminium costs a little more and survives contact with stone. Our rule is to save weight on the frame and the tyres before the pedals.
If you ride in any kind of wet condition, carry a multitool and a spare cleat. The most common mid-trail failure is not a broken pedal; it is a cleat or spring that lets go far from the car.
First Time on Clipless? A 20-Minute Setup Routine
Before anything else, fit the cleats to your shoes. Position them so the cleat sits under the ball of your foot, roughly the same spot where a flat pedal bolt goes, and tighten them evenly. Check them with a hex key before you ride, because a loose cleat rotates.
Set both springs to the softest tension setting. This is the single most important step, and skipping it is why so many first rides end badly.
Place the bike in a safe, flat area away from traffic. Standing over the bike on a slope while learning to clip in is how people fall over.
Look down, hold the pedal at the correct angle, and push the cleat into the binding with your heel weighted. Confirm you are clipped in by lifting the pedal.
Rock the bike side to side and heel to toe. Your foot should stay attached and the pedal should stay level, which teaches you what a clipped-in ride feels like.
Practise the bail-out. Twist your heel outwards hard and step off deliberately, repeatedly, until your body knows the movement before your brain does.
Clip in and out twenty times without looking down. This is the actual skill, and it takes longer than you expect.
Roll the tension up one notch at a time, repeating the clip-out drill each time, until the pedal holds your foot on rough ground without you fighting it.
Give it a full ride before changing anything again. Almost every early complaint about clipless is a tension or cleat position problem, and both are fixed in under five minutes with a hex key.
Before the first trail ride of the season, it is worth checking that your mount, tools and route are all in order. We keep a short guide to bike phone mounts for mountain biking that covers keeping navigation accessible without catching a pedal or a branch.
Maintenance and Troubleshooting
What to Do When You Cannot Clip In
Stop, put a foot down, and look at the binding. Nine times out of ten the cleat is misaligned or the opening is blocked.
Knock the sole of your shoe against the pedal to clear debris, then push down and forward rather than straight down.
Check the cleat is fully seated in the shoe and that the bolt is tight. A loose cleat rocks and never seats properly.
Check the spring tension. If it is wound very stiff, back it off a notch and try again.
Try a different approach angle. On four-sided designs almost any angle works; on single-sided designs you must find the front.
Why Cleats Stick and How to Free Them
Stuck cleats are nearly always a tension or wear problem rather than a mechanism failure. A binding wound too stiff needs more force than a tense rider can generate, and worn cleat teeth lose the purchase they were designed to have.
Lighten the spring tension first. If that does not solve it, clean the cleat and the binding with a stiff brush, then run a strip of 120-grit paper across the cleat teeth to restore the edge. Replacing the cleat is the final step, and it is cheap insurance to carry a spare.
Fixing a Mud-Jammed Binding Mid-Trail
Lift the bike, rotate the cranks a quarter turn, and knock the sole of your shoe against the binding to break the clay loose. Water and a stick work; a pocket knife works better once the mud has softened.
If the binding is still jammed, push the bike a short distance. A wheel rotation changes the pedal’s position and often frees a packed cleat. Riders who are stranded mid-trail usually get back in within a couple of minutes; the ones who struggle are the ones who sit down and wait.
Replacing a Broken Pedal Spring
Crankbrothers designs are straightforward to open: remove the cleat, unscrew the binding plate, lift out the old spring and fit the replacement. Do it on a bench with the pedal supported, and note the spring’s orientation before it comes out.
Shimano models are serviceable with the right tools but need more care. Springs and bushings are available as spares, which is a genuine advantage of the SPD platform: a pedal that has been in production for years still has parts behind it. Check the manufacturer instructions for your specific model before starting.
Cleat Bolt Torque and Cleat Position
Tighten the cleat bolts evenly with a hex key. The torque figures vary by cleat, so follow the cleat maker’s spec rather than tightening as hard as you can. Over-tightening strips the soft thread in the shoe sole, and the failure looks exactly like a loose cleat.
For position, place the cleat so the front of it sits just behind the ball of your foot. Too far forward and you cannot pull up on the pedal; too far back and you lose the ability to float the foot on technical ground. If you ride with the ball of your foot centred, the standard mounting position is close enough for almost everyone.
Frequently Asked Questions
Are clipless pedals good for mountain biking?
Yes, for riders who have solid fundamentals and want efficient pedalling and more body control on technical descents. Clipless pedals lock your foot to the pedal, which gives an upward pedal stroke and cuts foot movement on rough ground. Beginners doing tight low-speed switchbacks, riders who want to unclip instantly, and anyone in soft-soled shoes without a stiff midsole are usually better served by flat pedals.
Which Shimano pedals are considered the best for mountain biking?
The Shimano PD-M520 is the best overall for most riders: it is 380g a pair, clips in from both sides, has adjustable cleat tension and sealed cartridge bearings. The PD-M8100 is the pick for XC racing, with a wide 175mm platform and a 3.5mm hollow axle. The XTR M9100 is the most durable of the three, with a hollow tech aluminium body built to survive rock strikes.
Do I need special shoes for clipless pedals?
You need shoes with a stiff, cleat-compatible sole, but you can often fit cleats into an existing pair if the sole pattern allows it. A rigid XC sole transfers power directly to the pedal and suits minimal platforms. Soft DH shoes with a flexible midsole need a wider platform and pins, otherwise the cleat flexes and you lose both power and comfort.
What should I do if I cannot clip into my SPD pedals?
Stop, put a foot down and look at the binding. Knock the sole of your shoe against the pedal to clear debris, then push down and forward rather than straight down. Check that the cleat is fully seated in the shoe and the bolt is tight, back off the spring tension if it is wound very stiff, and try a different approach angle.
Why are my SPD cleats hard to unclip?
Stuck cleats are almost always a tension or wear problem. A binding wound too stiff needs more force than a tense rider can generate, and worn cleat teeth have lost their grip. Lighten the spring tension, clean the cleat and binding with a stiff brush, run 120-grit paper across the cleat teeth to restore the edge, and replace the cleat if it is worn through.
How much float do I need on clipless pedals?
Most Shimano SPD cleats give roughly 3 to 6 degrees of float, which is a sensible middle ground for almost every rider. Higher float options feel easier on the knee over long descents but can feel vague in the first week. Start with a mid-range float cleat and drop the float if your knees start complaining rather than blaming the pedal.
The Bottom Line on Clipless Pedals in 2026
For most riders, the Shimano PD-M520 is the best clipless pedal for mountain biking. It takes standard SPD cleats, clips in from four directions, adjusts tension easily and has the parts and support behind it to last years rather than seasons.
Choose differently only for a clear reason. Riders who ride deep wet mud want the open, 280g Crankbrothers Eggbeater. First-timers who want a little platform to stand on should pick up the Crankbrothers Candy with its 6-degree easy-release cleats. Technical trail riders who need pins and a cage want the Crankbrothers Mallet, and gravity riders who want the biggest platform available should look at the Funn Ripper despite its weight.
Whichever one you settle on, spend twenty minutes on the setup routine above before your first trail ride. Correct spring tension and cleat position solve almost every problem riders run into in their first season, and they cost nothing but a hex key.